

I posted about the bedroom makeovers in another post but thought I’d share a few more details about what we did just in case anyone else wanted to do something similar.
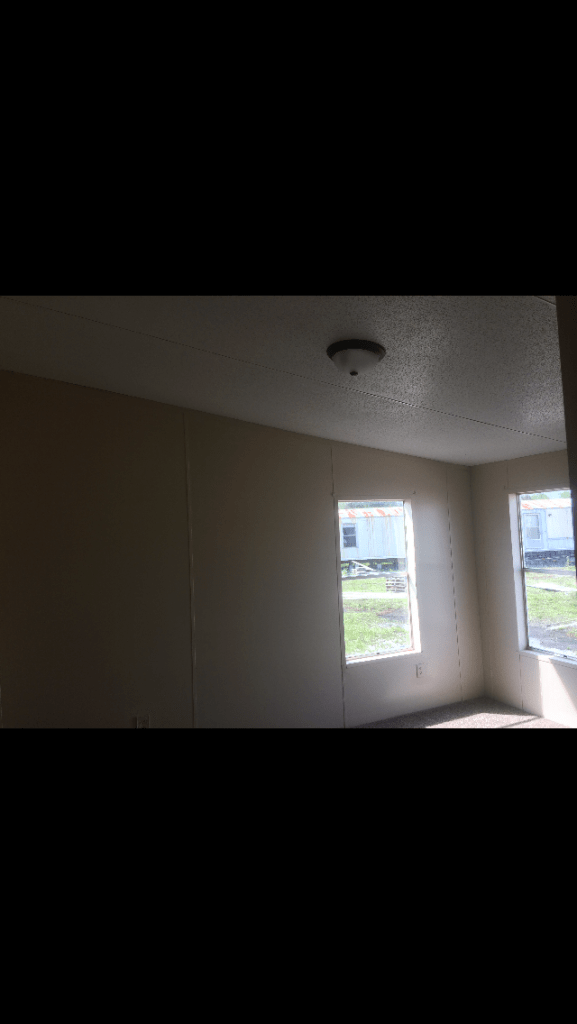
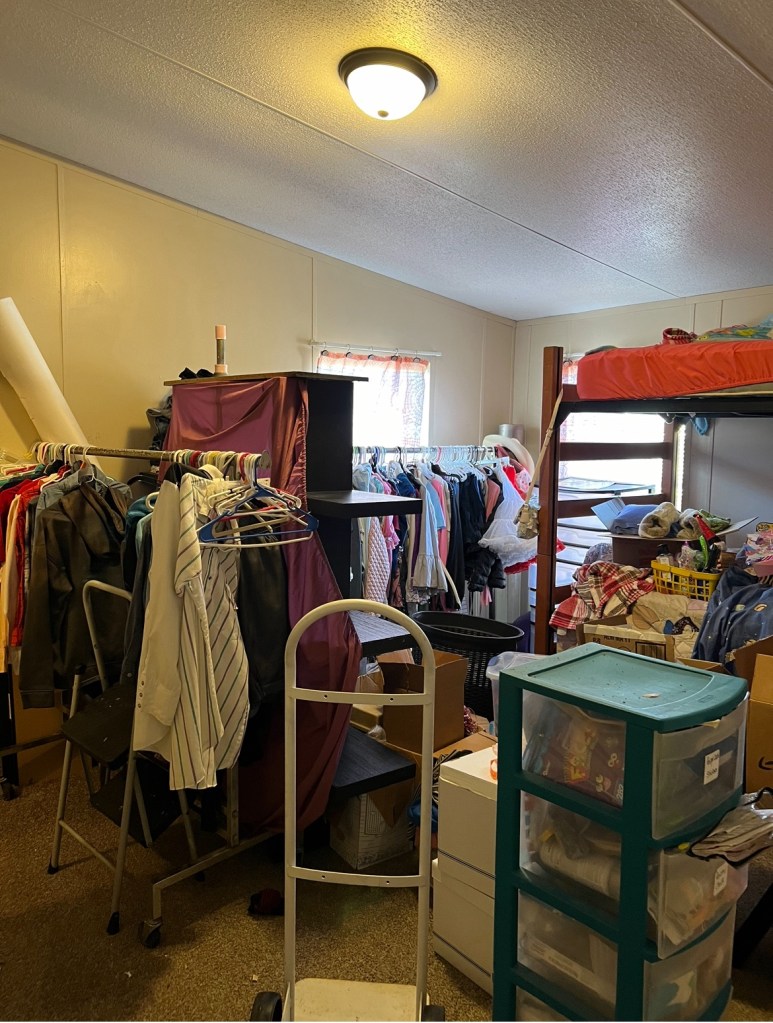
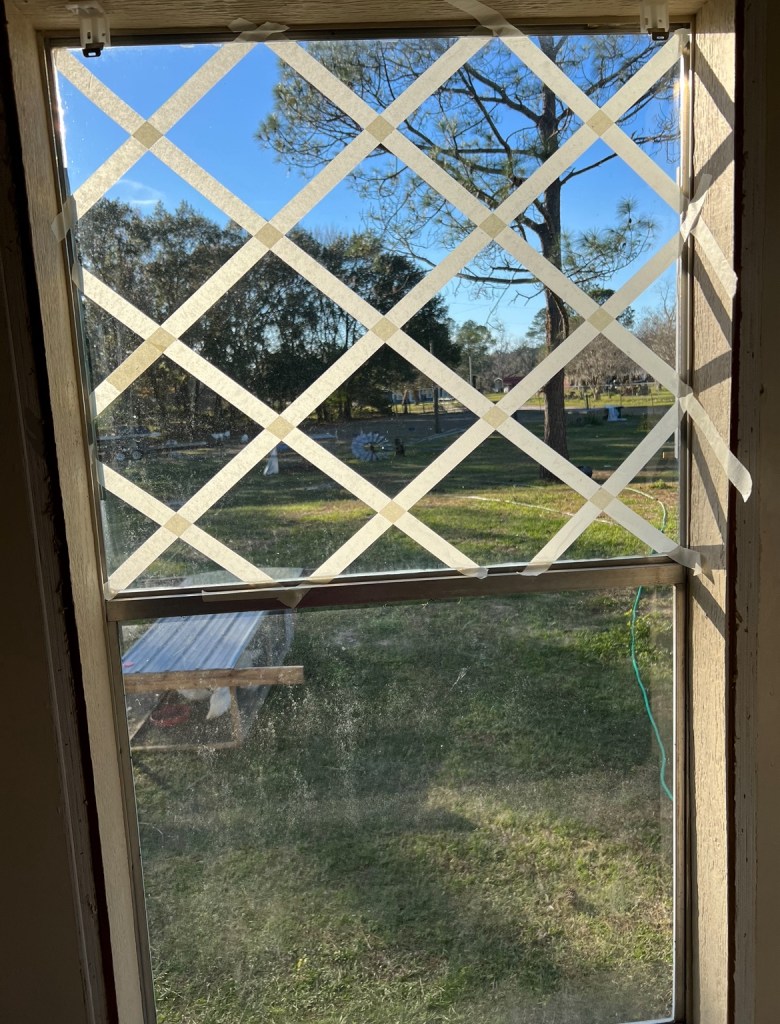
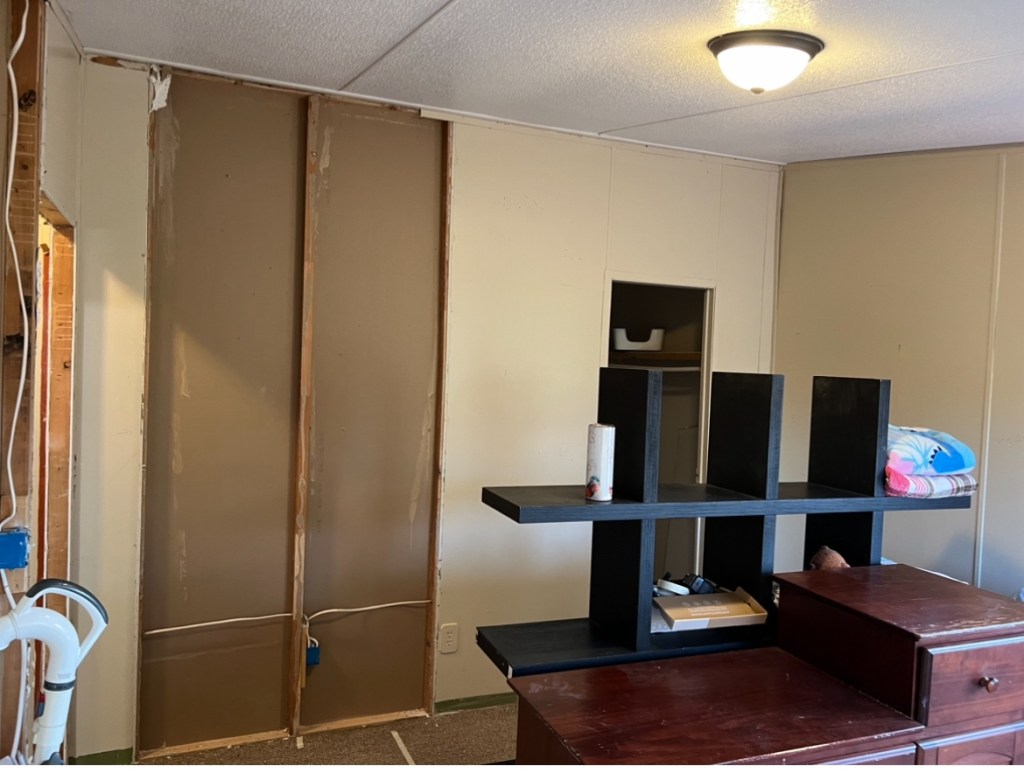
This is the room we started with:
These are the two rooms we ended with:
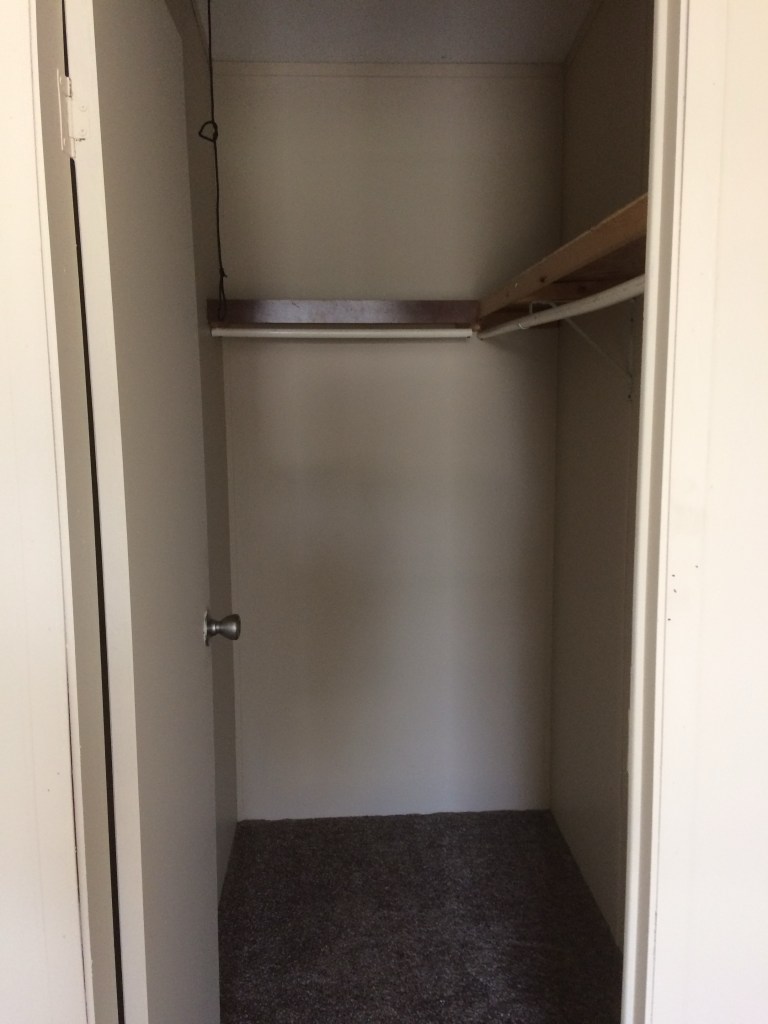
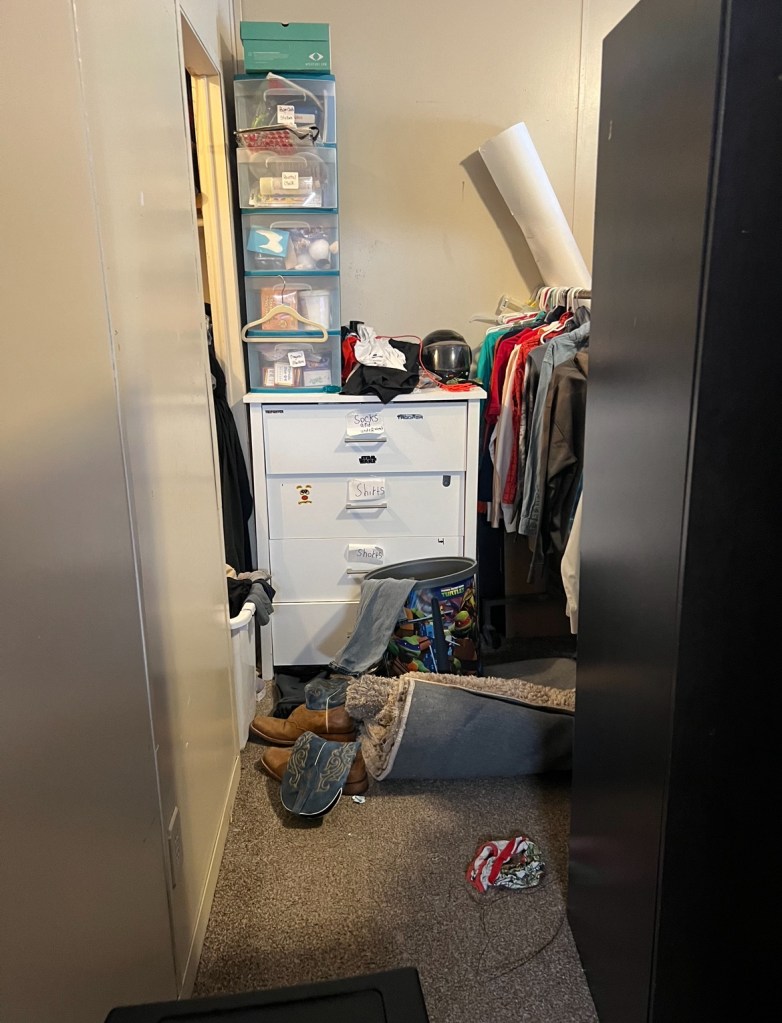
We actually divided this room into two parts… not quite halves as one side also has the walk-in closet space. We’ll just be focusing on the girls’ room for this post.
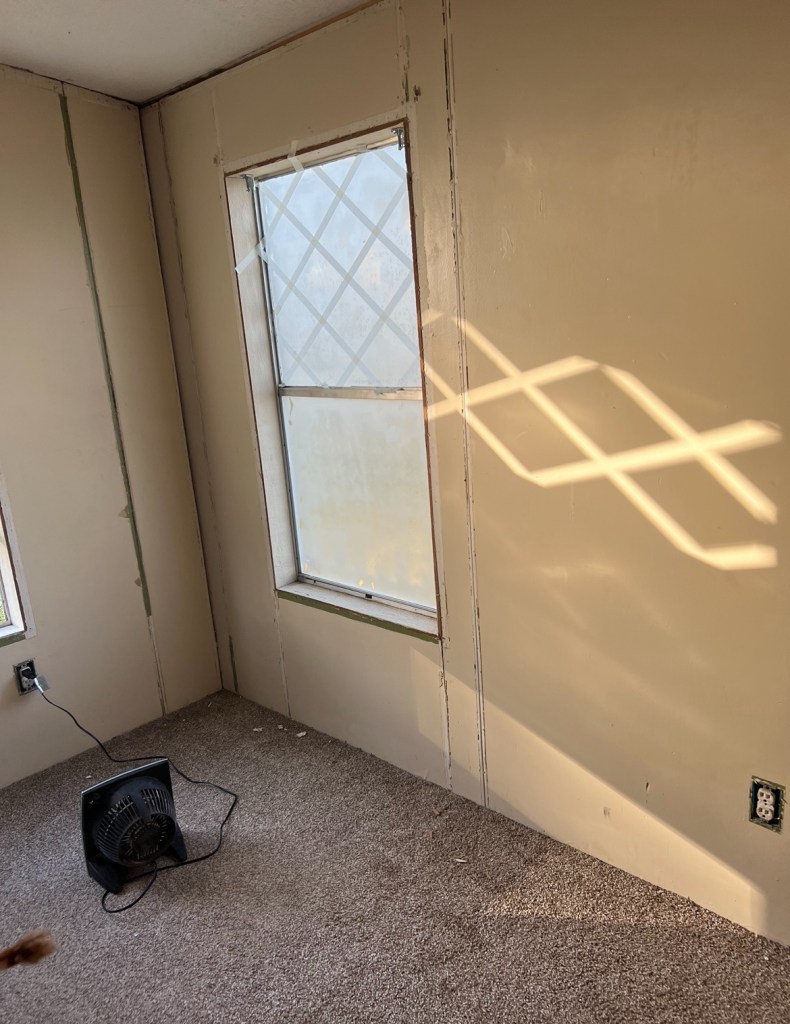
First, we cleared everything out of the room.

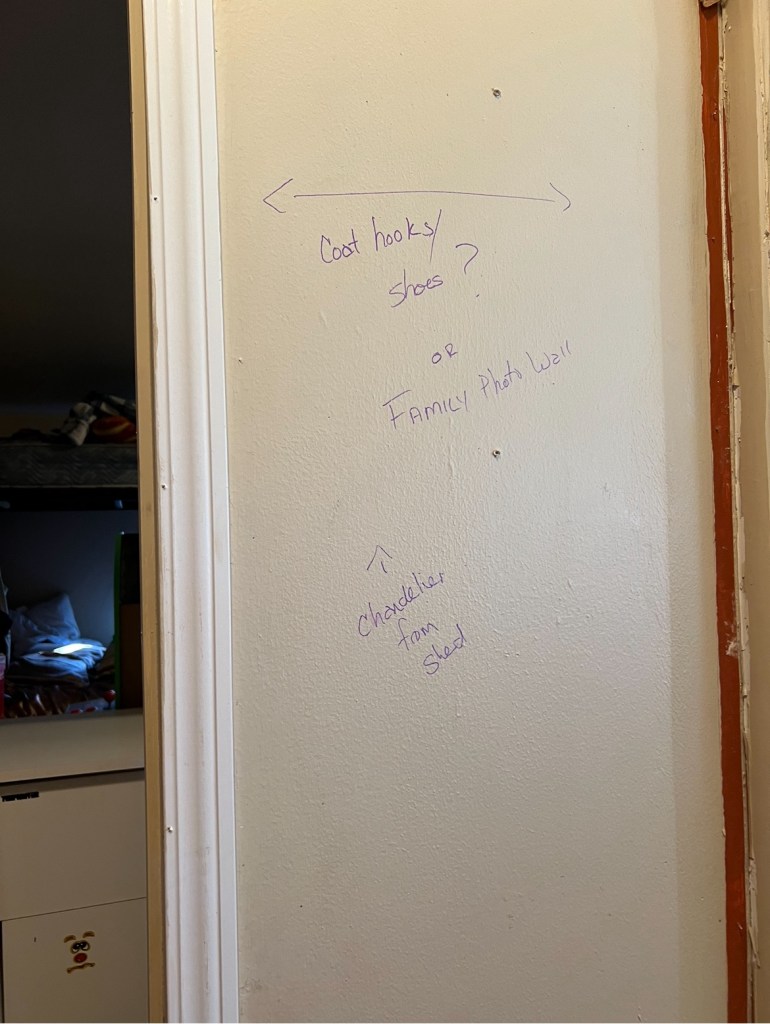
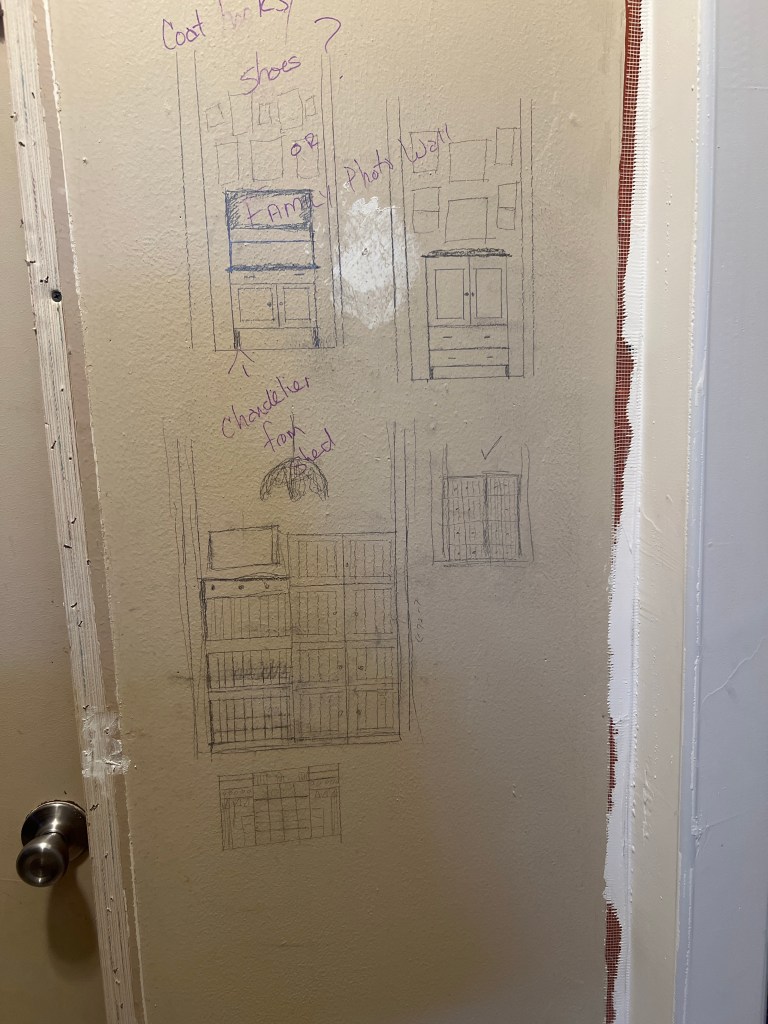
Then I marked the walls and floors to show Mr. Awesome what I had planned:
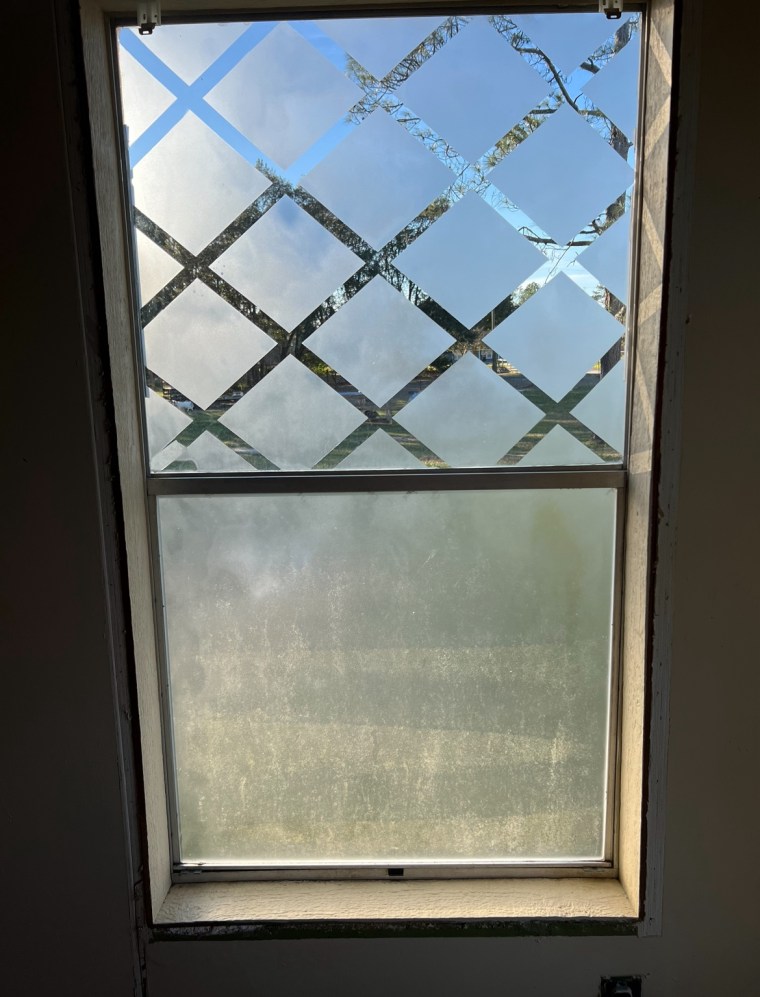
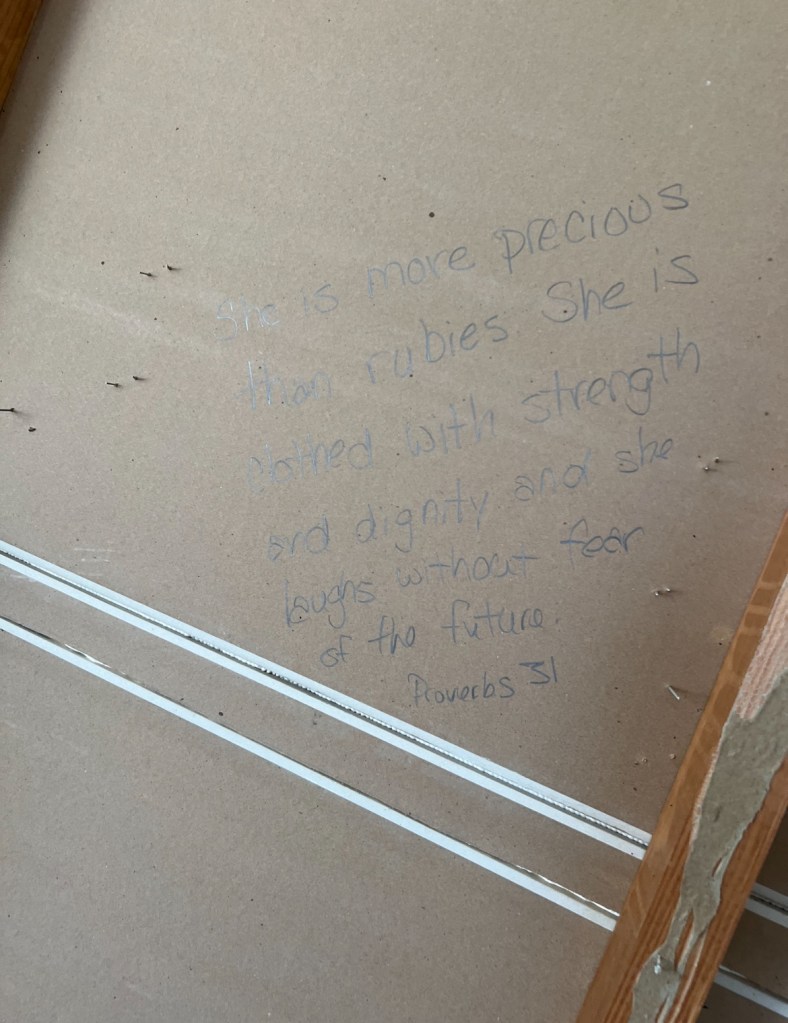
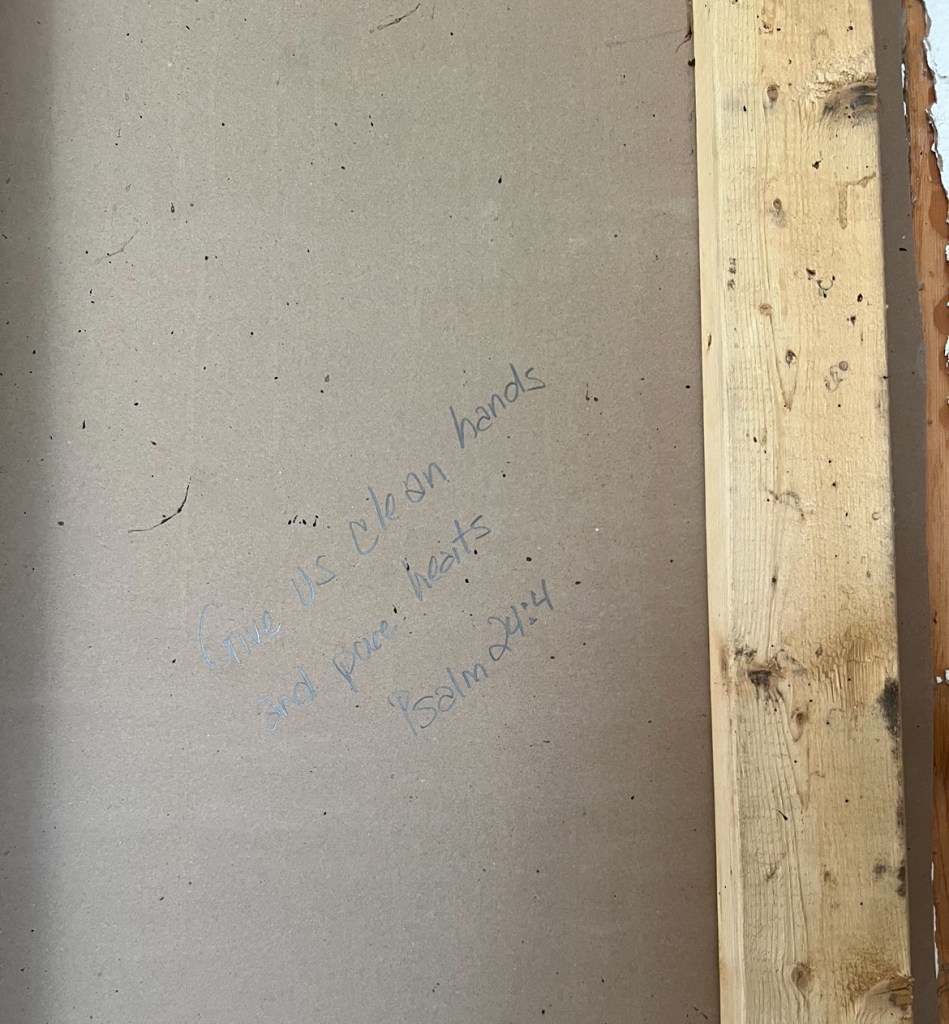
Then I added some frosting to the windows and some Bible verses to the walls.

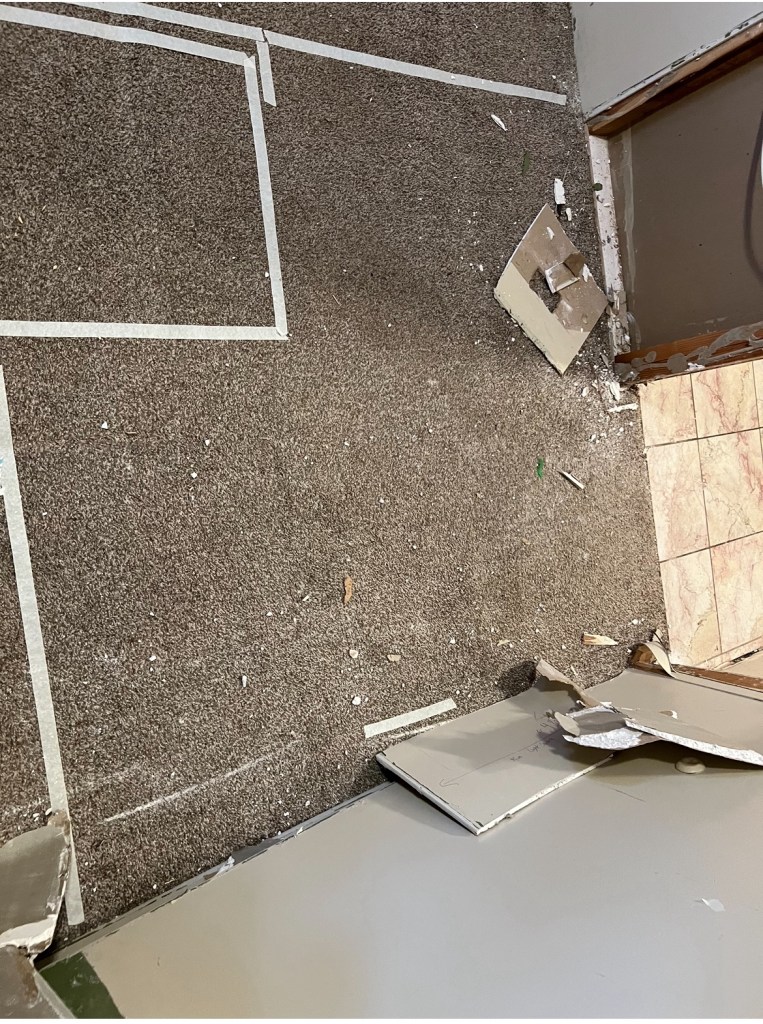
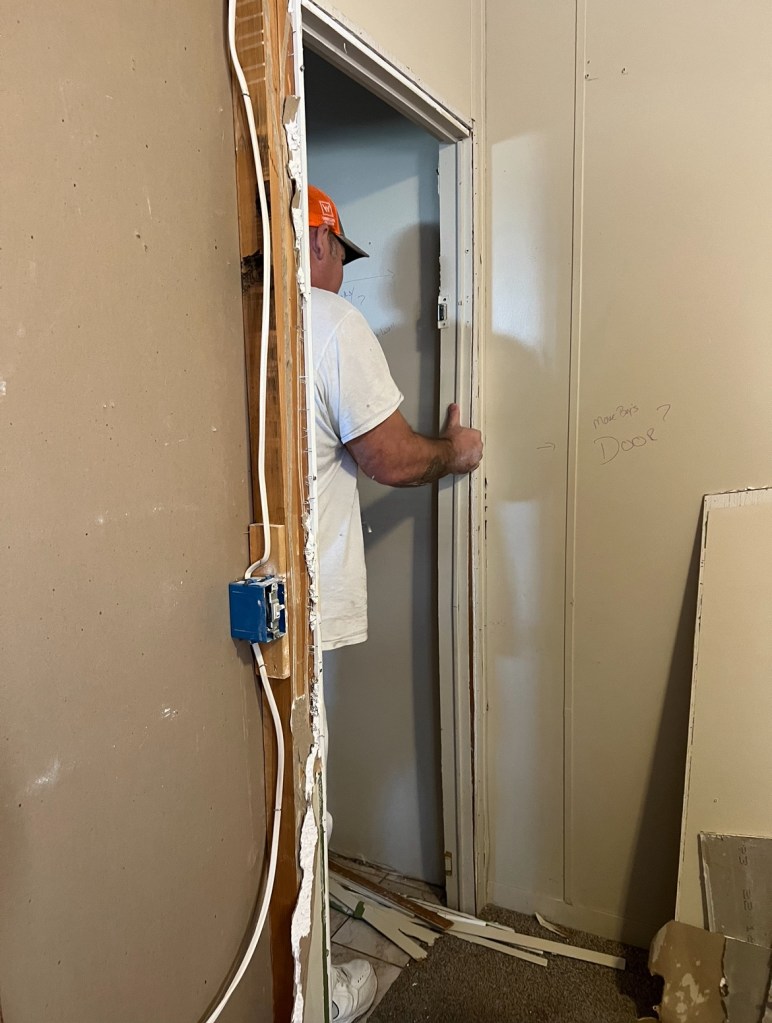
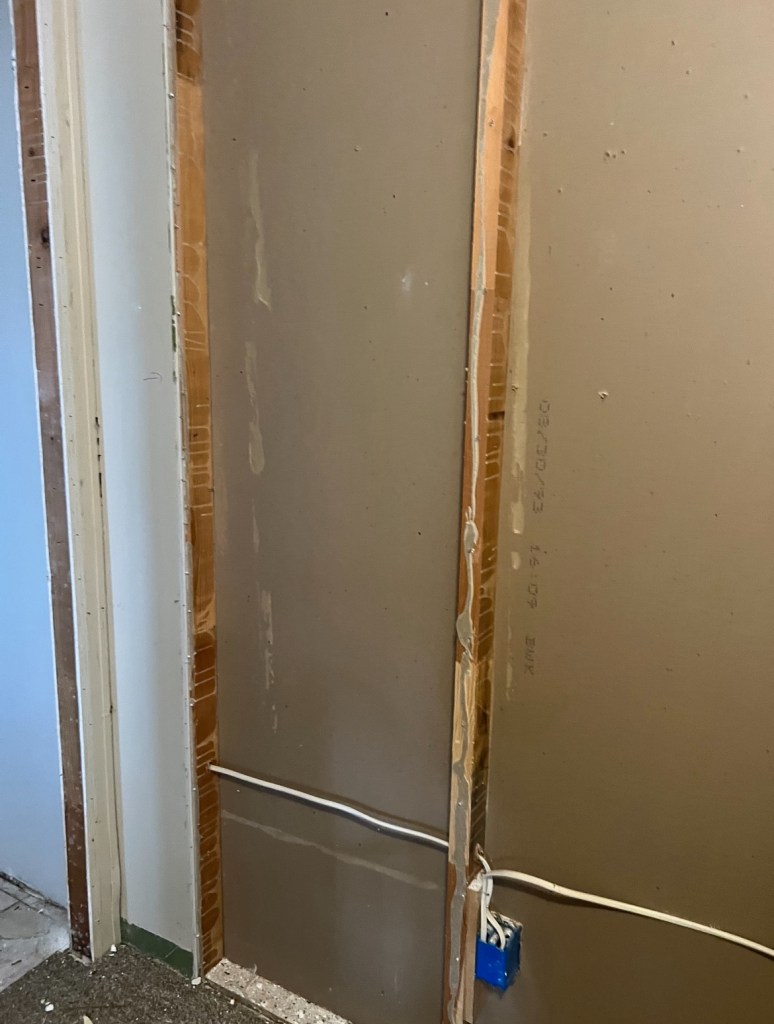
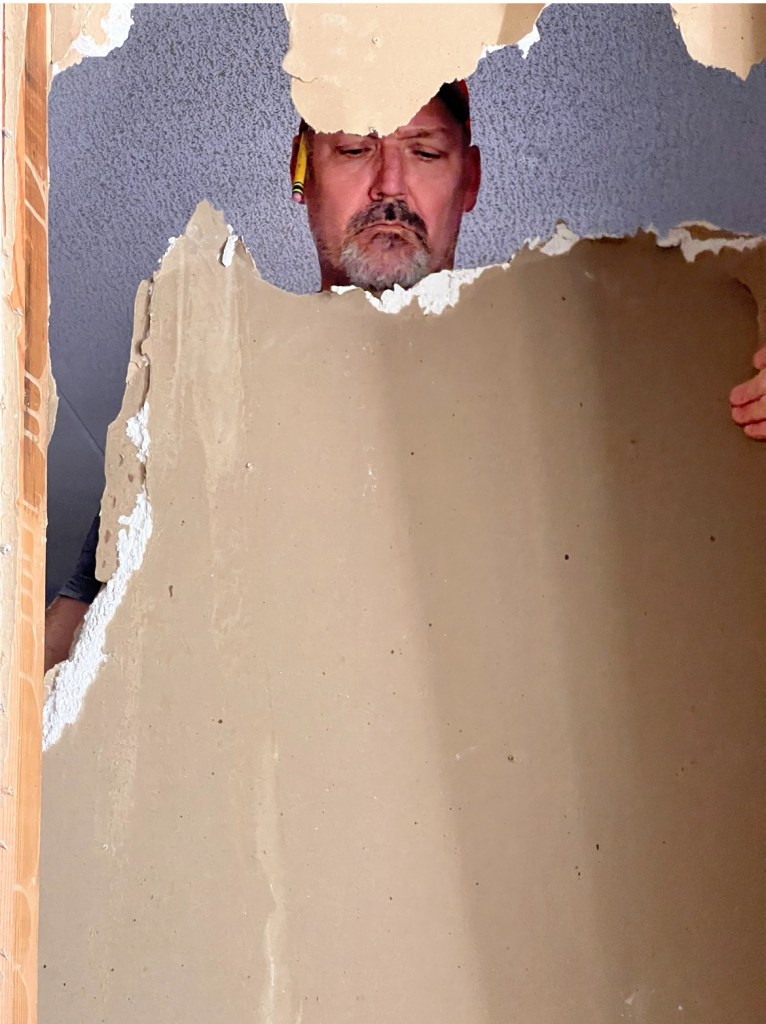
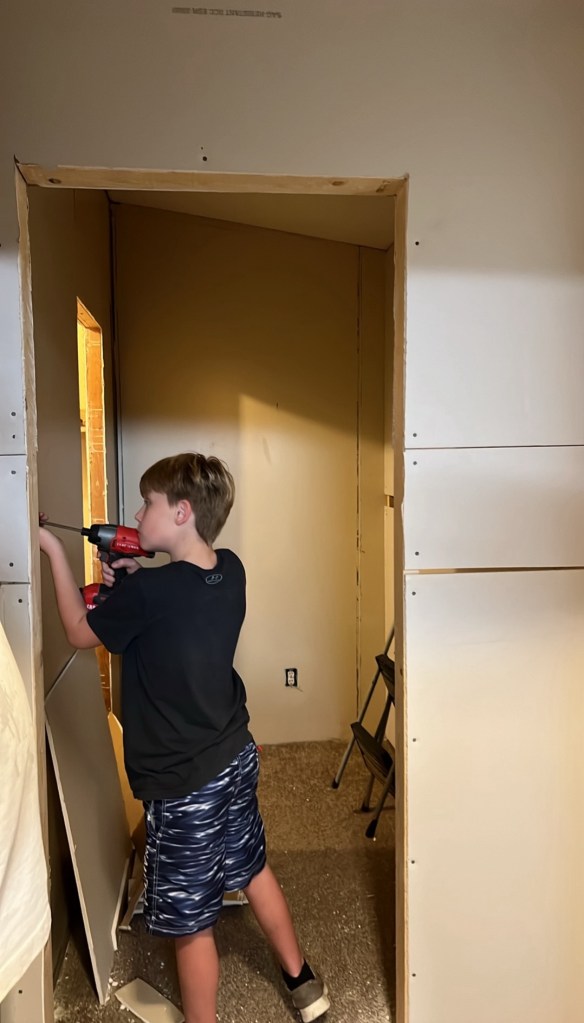
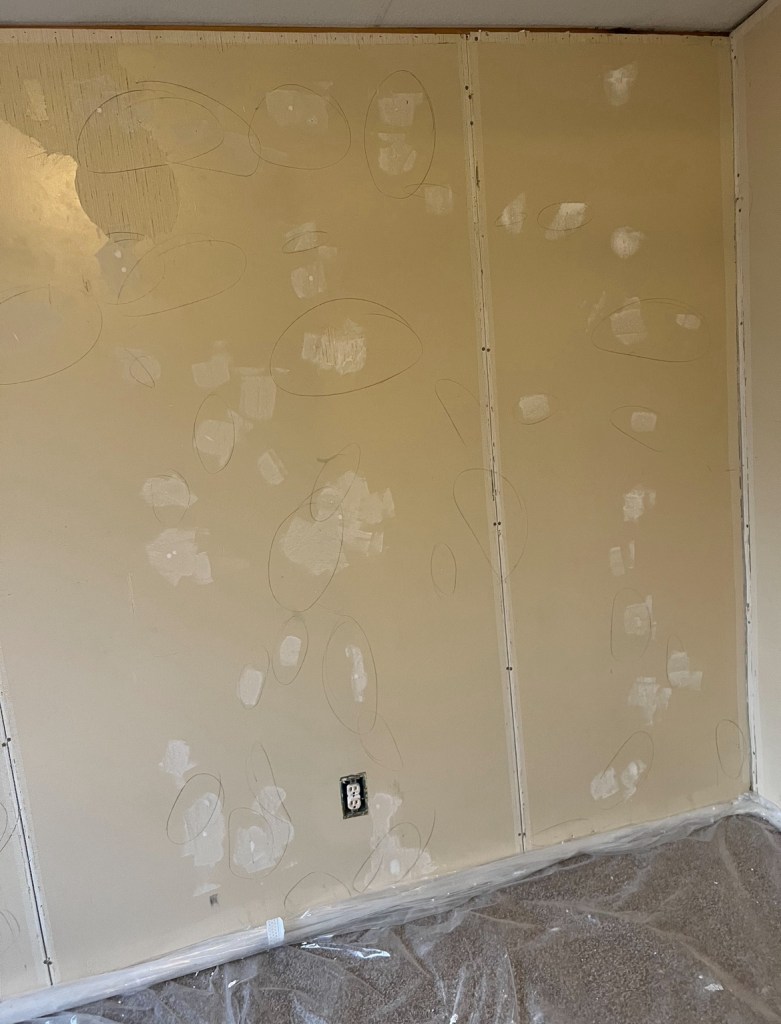
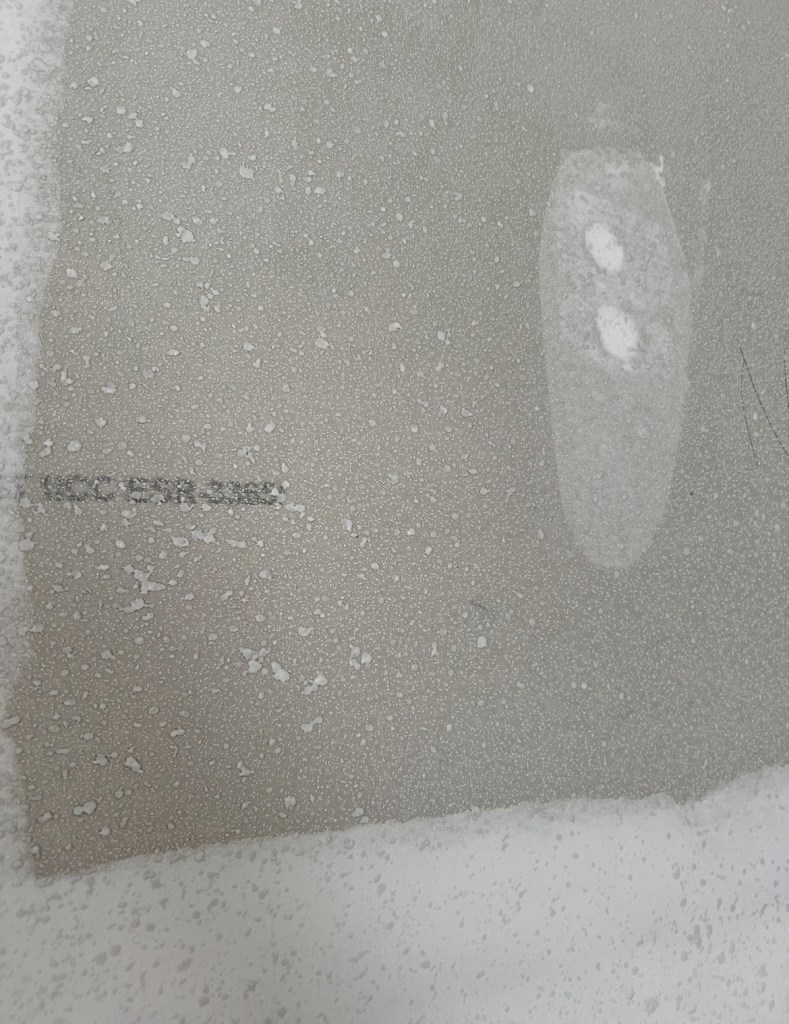
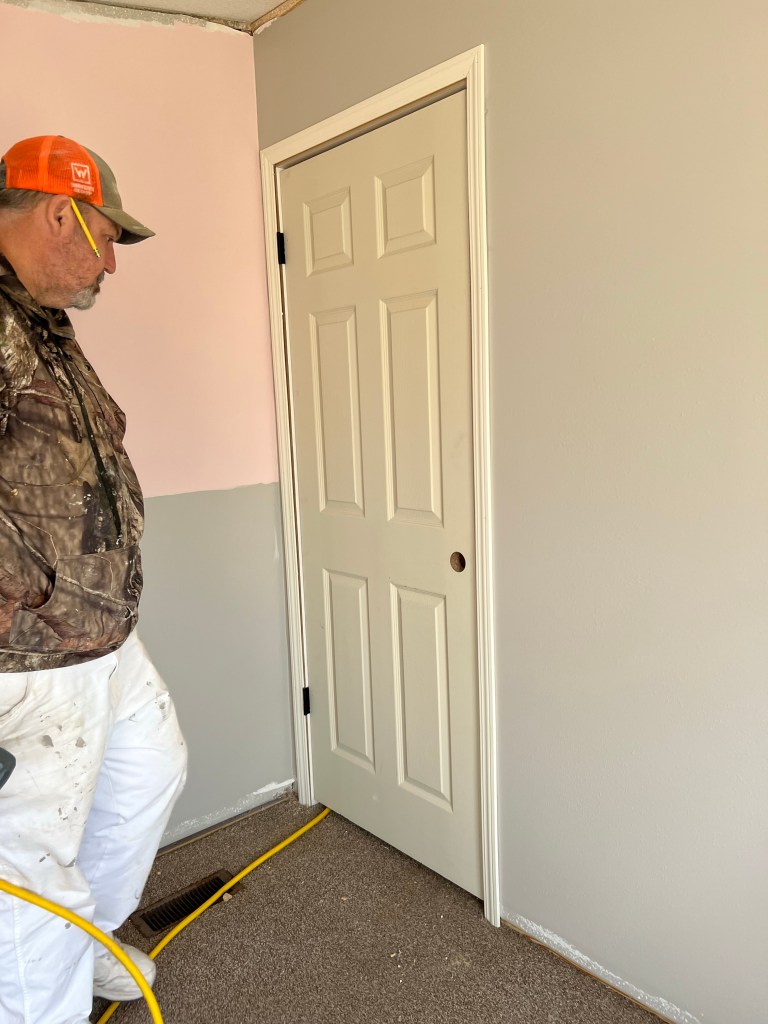
We removed the walls that were being moved, added new walls where we needed them, took down all the batten strips, and scraped the walls to check for nails and screws. We also screwed in the previous drywall to secure it better to the wall before adding the mud and texture. Mr. Awesome added the bullnose around the windows which gave them a really updated look.


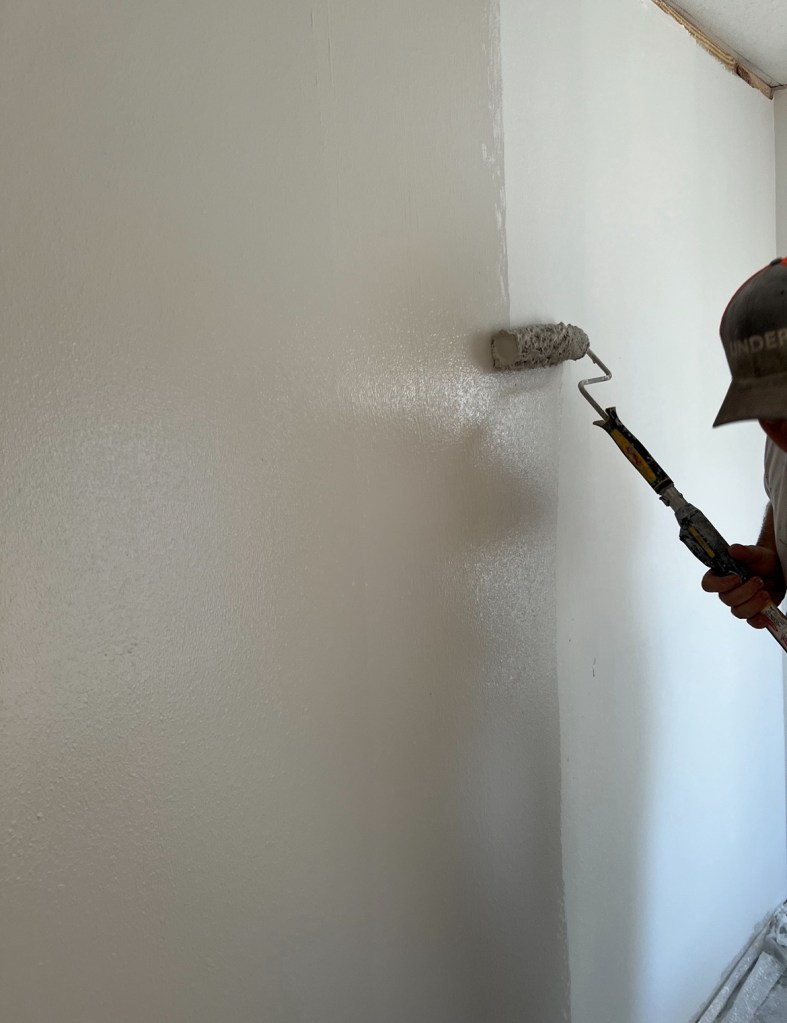
Once everything was prepped we finished the walls and then painted them with some paint we already had from previous projects.

These are the colors we used along with Alpaca Gray for the main color.


I will post the links to the products we used at the bottom of this post but please note that many of them are affiliate links.
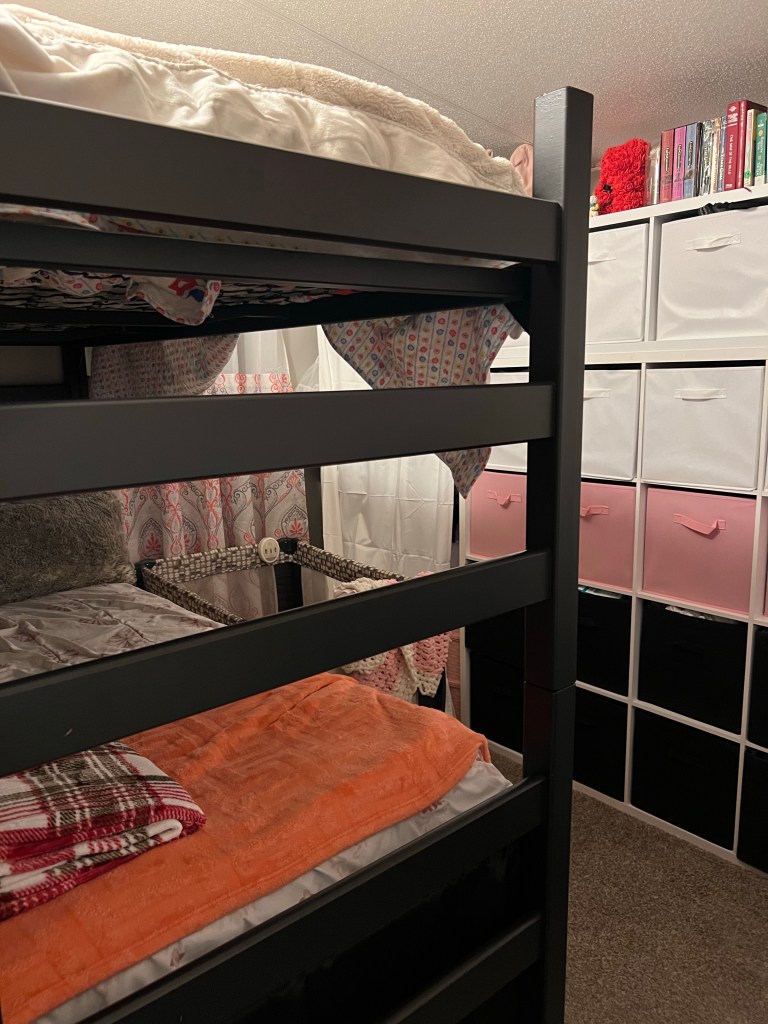
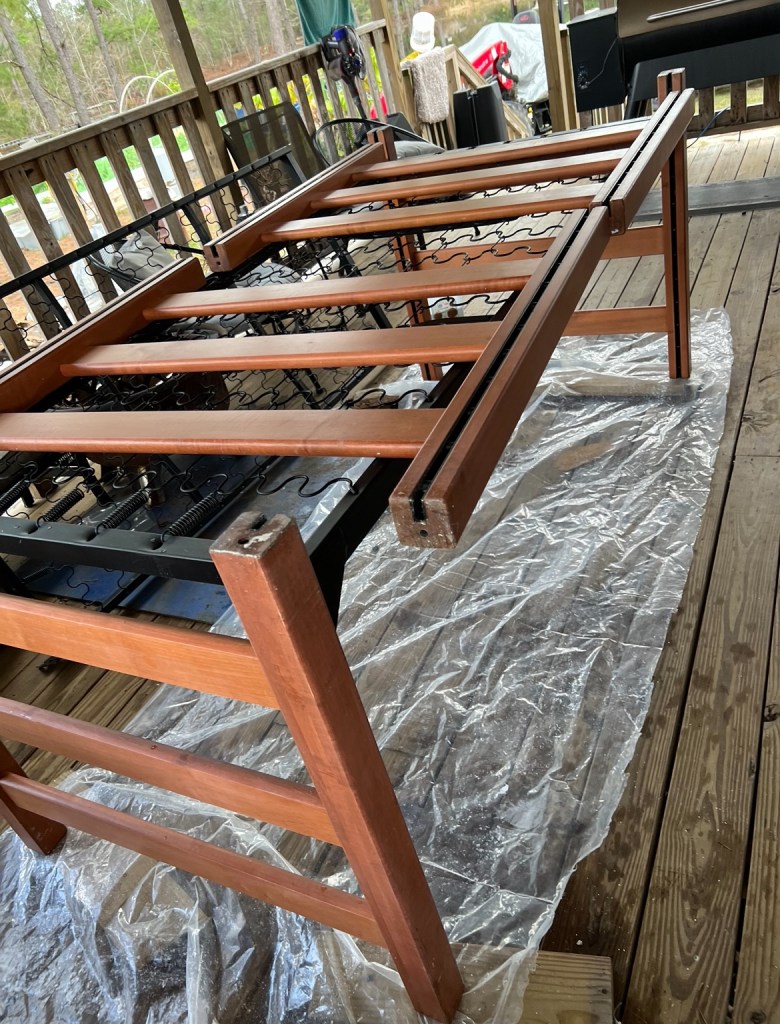
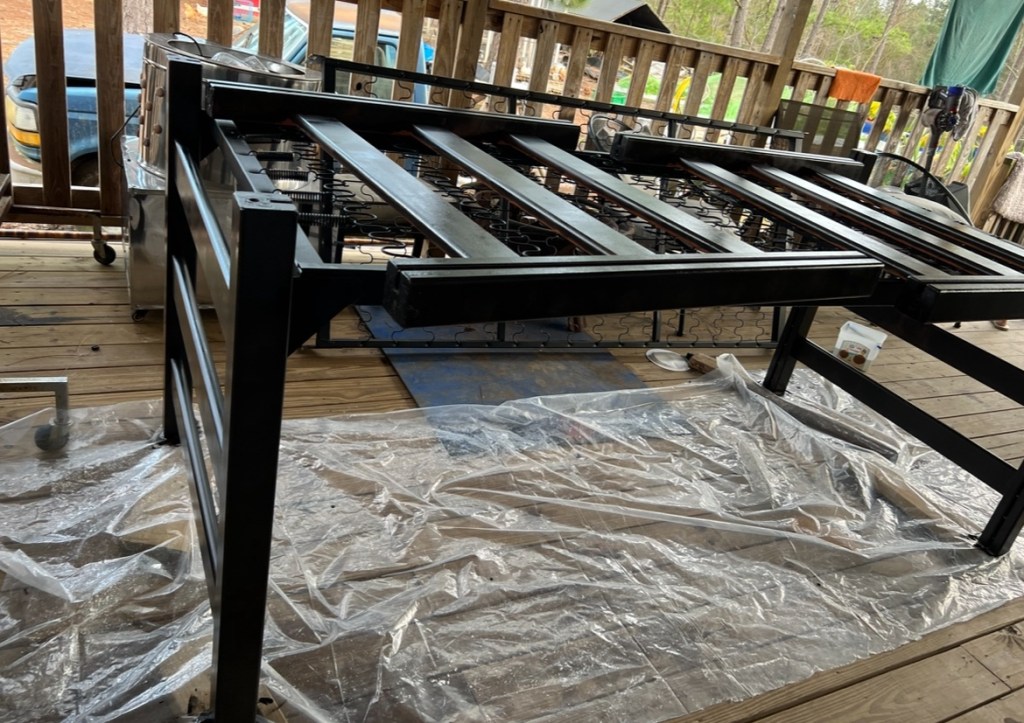
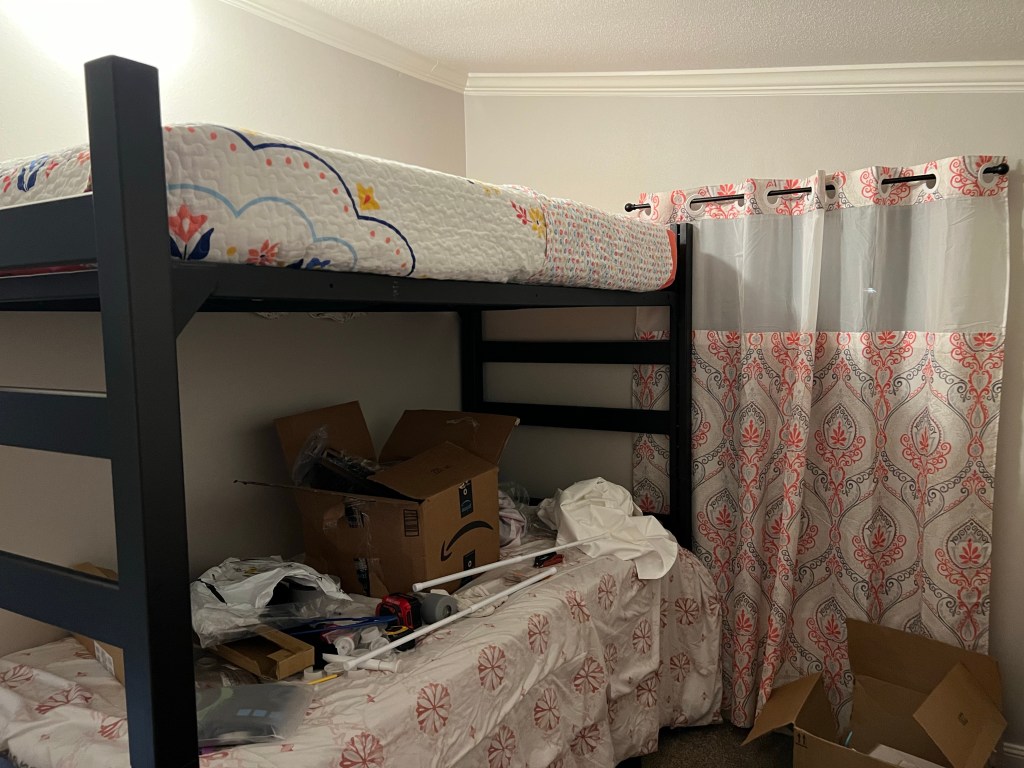
I also painted the bunkbeds that the girls had in the room before. I used Heirloom Traditions in Warm Ember. This paint has held up well in the kitchen so I am hoping it does well in the bedrooms too. I bought 2 quarts so that I would have enough to do the boys’ bunk beds in the future.
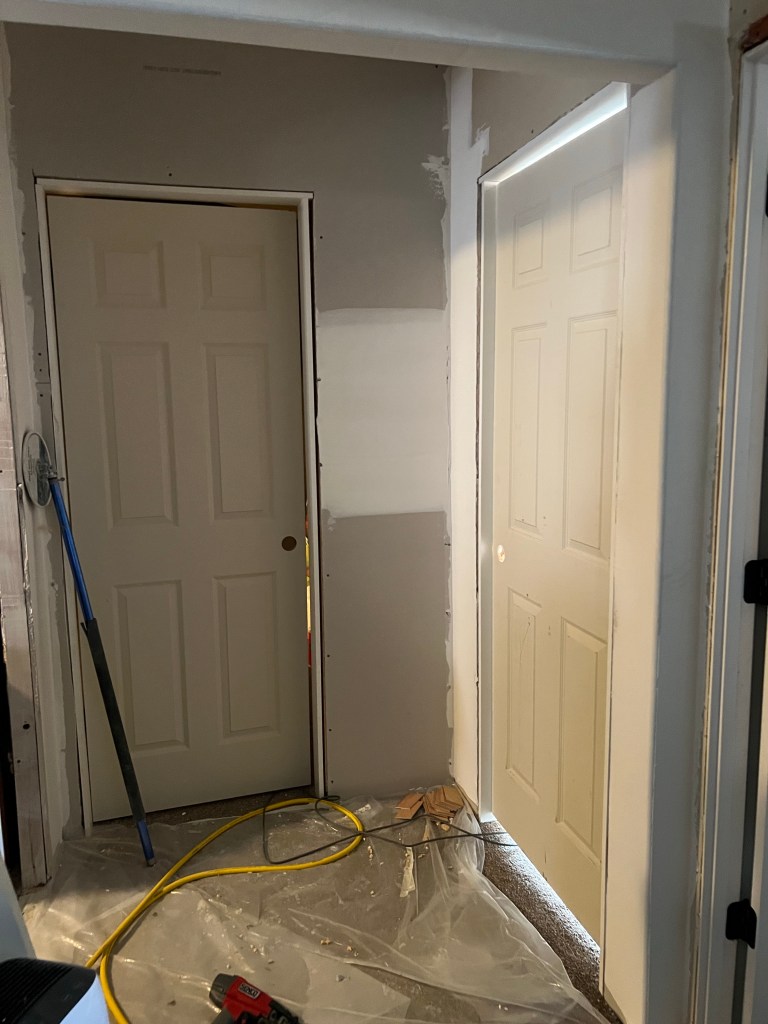
Once the paint was dry we added the molding, trim, and doors and then we caulked everything in.

Now it was time to put the room together. First, we moved the bunk beds back into the room so that I could make sure my plan would work. I also had the kiddos help to move the big cube shelf into the room as well. I used a couple of black curtains to make a ‘bed skirt’ for the bottom bunk so we could use the area underneath for a little storage if needed.
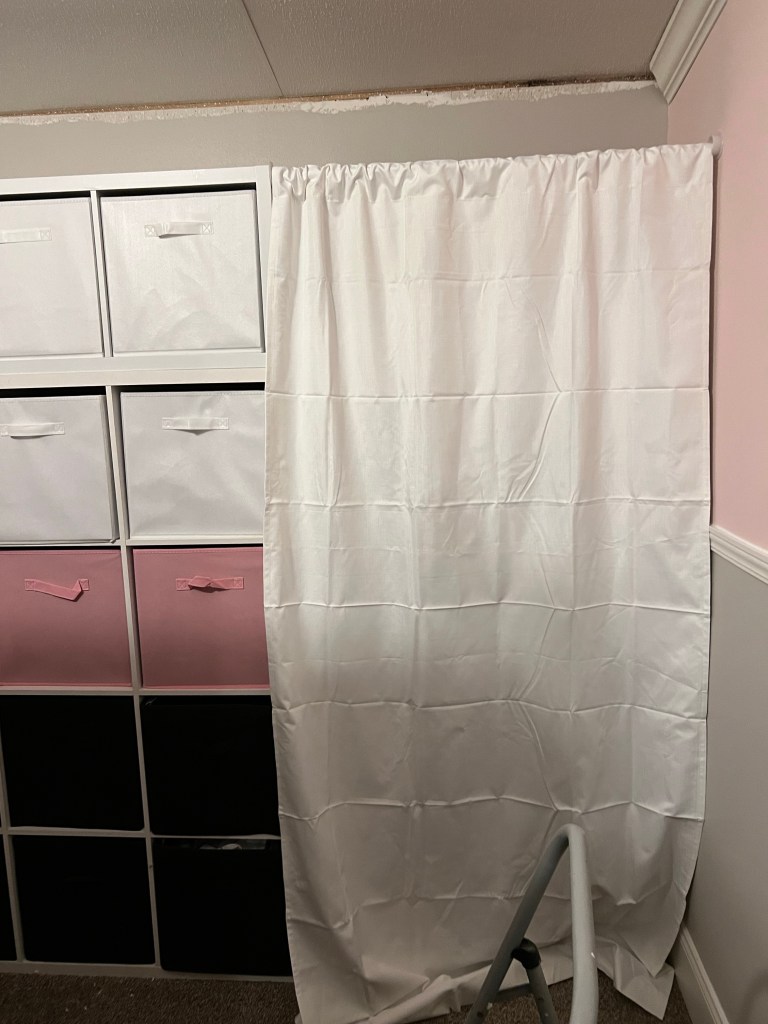
Then I hung the curtains on the windows. We had bought some gray curtains to use for the closet area but then decided to use the white ones we had bought for another project. We ended up using a shower curtain for the one window that is visible as the curtain is pretty and matches the theme.
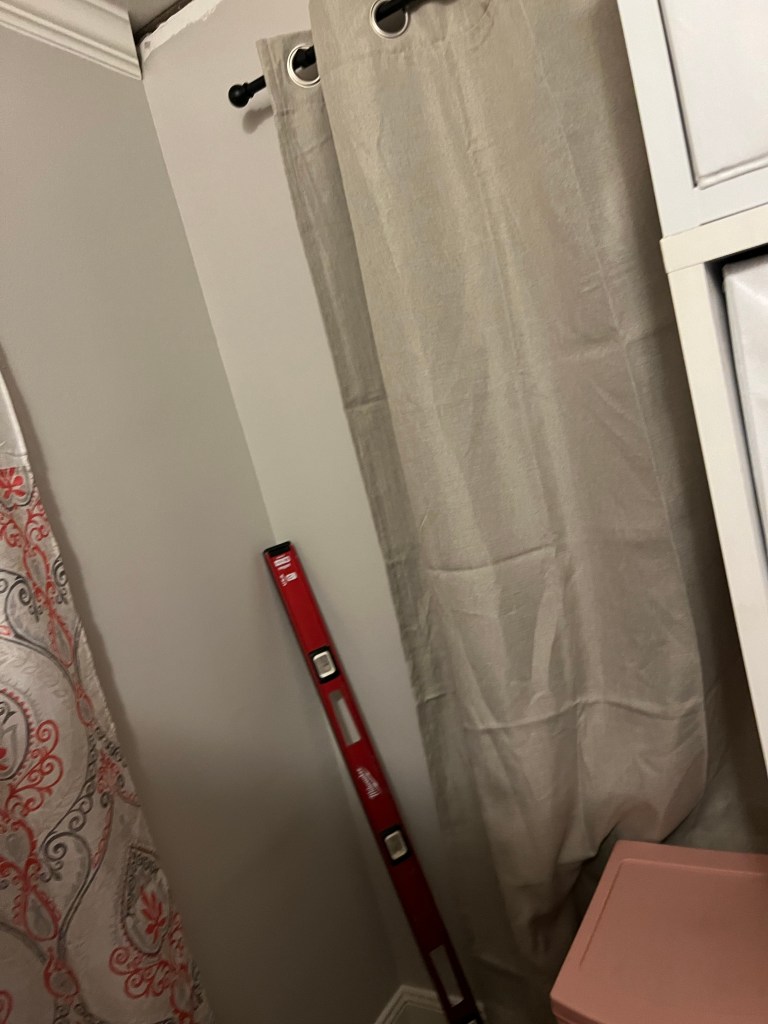
We had planned to use the gray ones for the windows but one of them went missing so I only used a gray curtain in the closet area where it wouldn’t be seen. I had also bought another shower curtain to make curtains with but it wasn’t the correct style when it arrived.
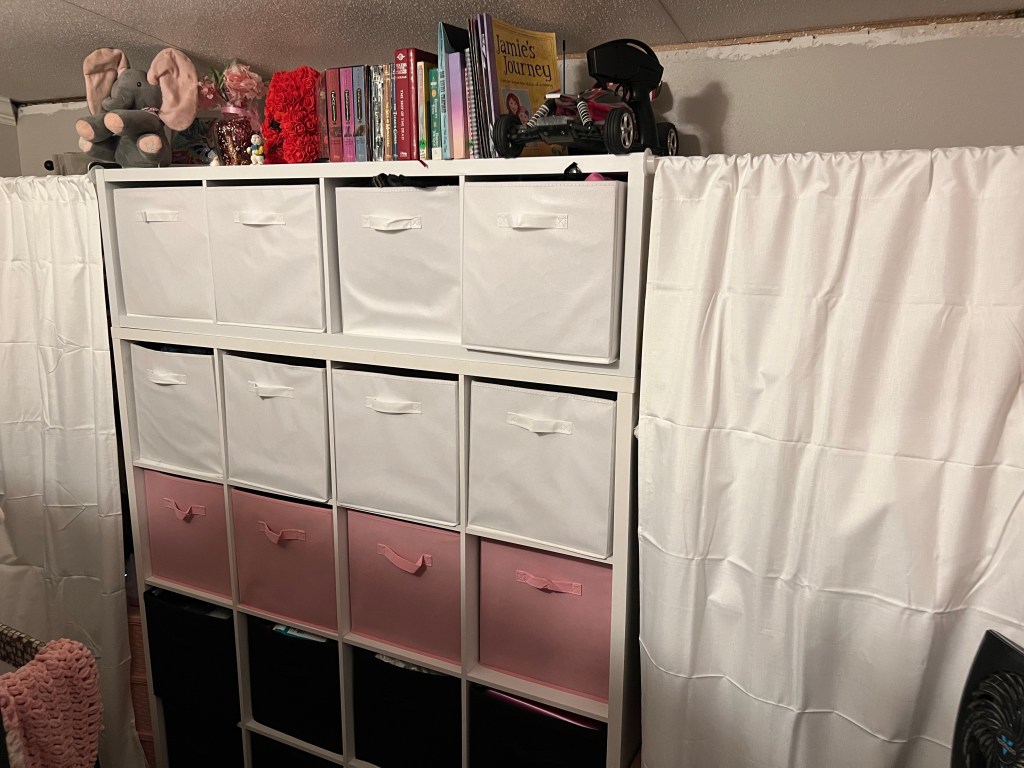
Once the curtains were hung and the beds were in place I was able to put the cube shelf in its new home and secure it to the wall… we have a very rambunctious 3-year-old who likes to climb. Miss B also helped me to assemble the smaller cube unit to place on top and then I attached it to the wall as well.
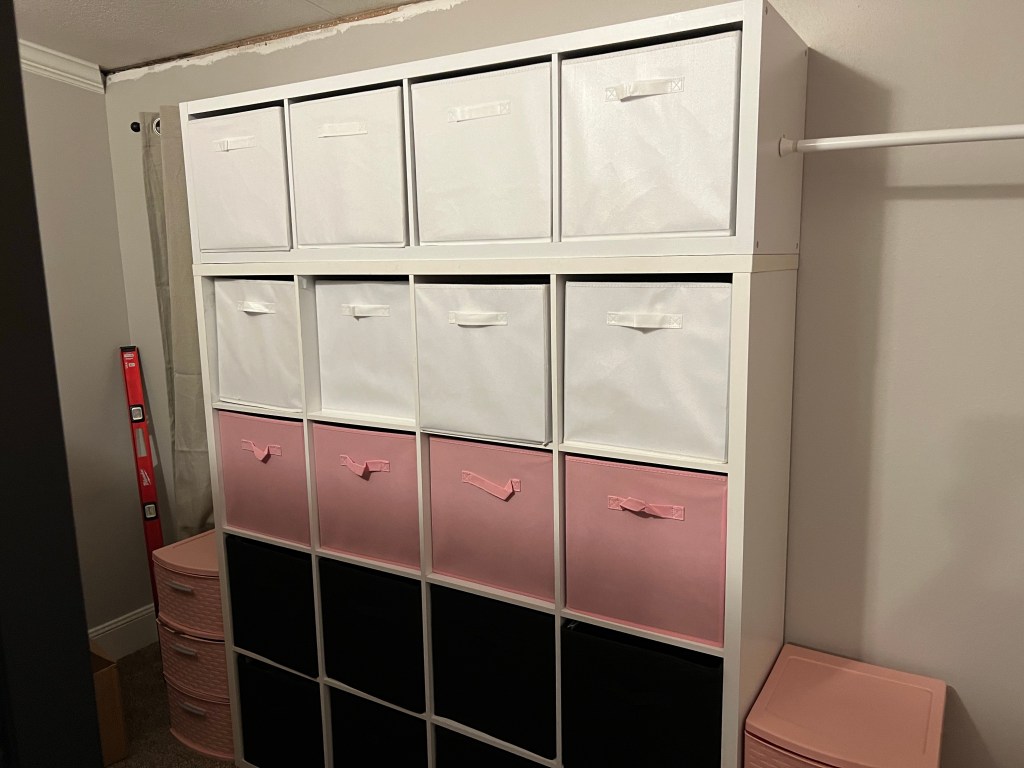
NO MORE DRESSERS! Once the cubbies were in place we added the bins. I had already helped the kids sort through their clothes and such so this part didn’t take too long. They had 4 or 5 empty bins to put their other ‘stuff’ in. Each of the older girls has 8 13×13 cubes of one color and the baby has 4 pink cubes for her stuff. She also has toy shelves in the living room and her hamper slides under the bed. I’ll be using similar setups in all the kids’ rooms for their clothes and toys!
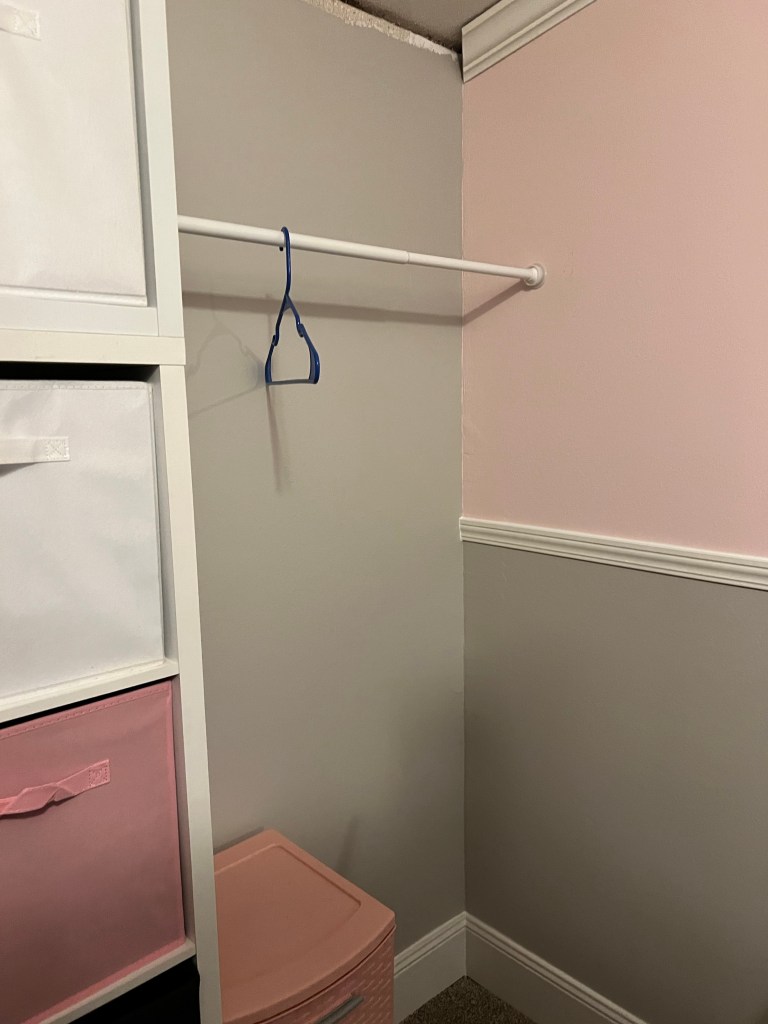
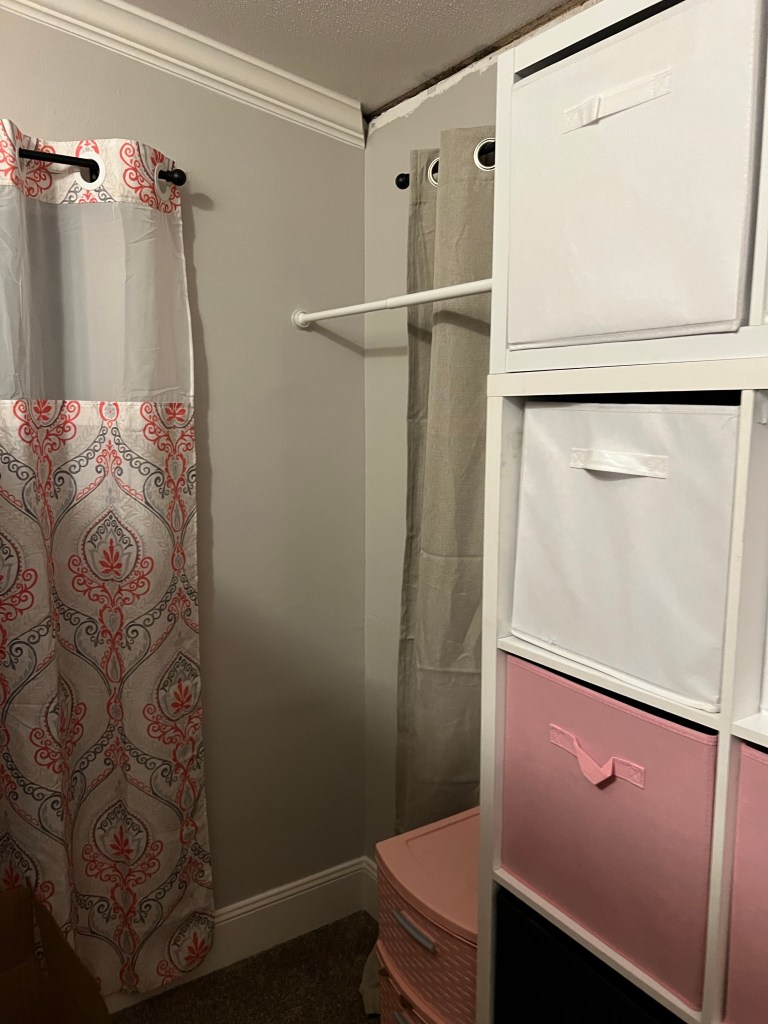
I got to work hanging the closet rods and the curtain rods for the closet areas. They have about 3 feet of closet hanging space on either side.
They now have a place to hang their clothes and store their hampers as well as space for some little drawers that I had previously purchased for another project.
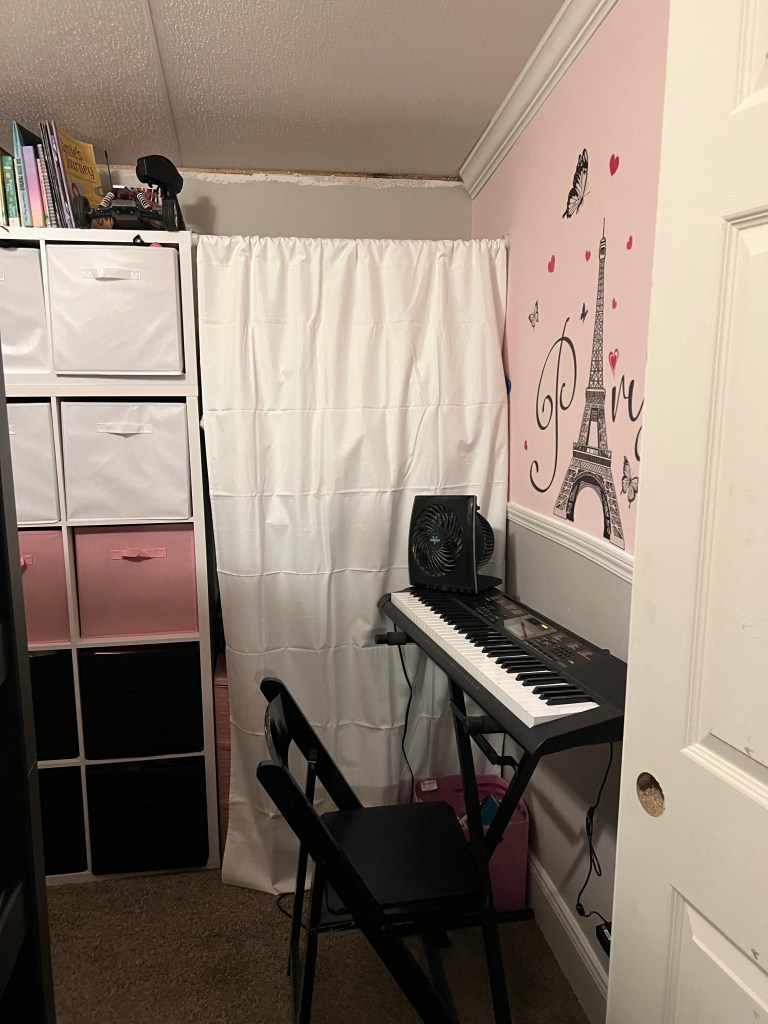
Once the girls saw how cute their room looked they wanted to order the new bedding that we had looked at the week before. I had let them look on Amazon and pick out a couple of things but told them to wait until the room was finished in case they changed their mind or in case the plans changed in the room.
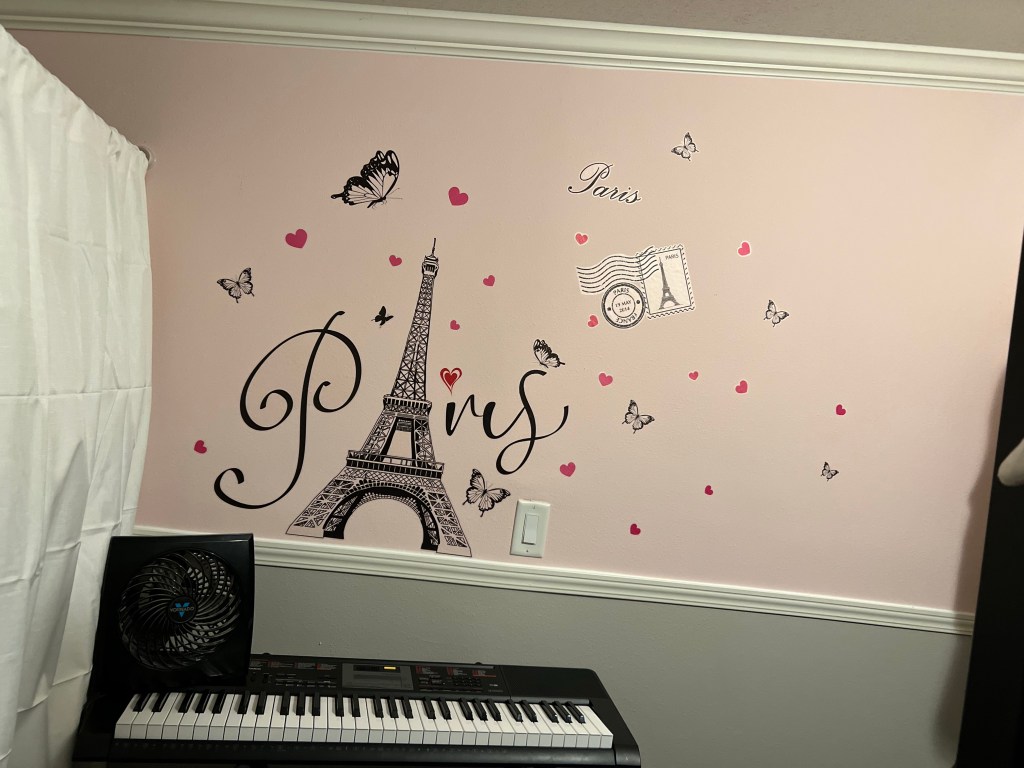
I also surprised them with the wall stickers for the wall. They also had plenty of room for their hand-me-down keyboard!
We originally had the baby’s bed in here but I decided to just put her mattress on the floor so she could be a little more independent. She then insisted on using the fuzzy pillow and blanket that Aunt B had given her. It matches so well here and she is just so ADORABLE!

The baby’s bed can be tucked under the bunk beds when she isn’t using it so they have even more space.
This makeover was a little more intensive than most but it was something that we truly needed to do to make our home work better for us. It also gives the girls a nice place to relax. It was very nice that we didn’t have to buy a whole lot of expensive things and we were able to reuse or repurpose a lot of items that we already had around the house… we also did some ‘shed shopping’ as the kids like to call it and I think I still have a few more items in the shed that I had planned on using in their room but that’ll be for another day.
The whole house has felt a bit calmer since we’ve made these new spaces as everyone is a little less stressed. We got rid of A LOT OF STUFF during this process so that has helped with the stress levels too because they aren’t constantly losing things or having to clean up so many MESSES.
I hope this inspires you to look around your house and make some small changes to help your home function better for you.
God Bless!
**This post does contain some affiliate and/or referral links to products and/or services that we use. If you happen to click through a link and make a purchase we may earn a teensy-weensy small commission (at NO EXTRA cost to you) if a purchase is made through these links. These links help to support our family, our blog, and our homeschooling mission. This means that we can keep bringing you great recipes, ideas, and tips for FREE! Click HERE for a full disclaimer. –Thank you!
Affiliate Links to products used:
Girls’ Room:
Frosting Spray – I used less than 1 can of spray for this project.I had several cans from a previous project.
Heirloom Traditions Warm Ember paint – check out their site for deals and coupons
Girls’ closet
Cube organizers/bins – the black one in the boy’s room was given to me a couple of years ago. The white ones came from Target and the small black on came from Walmart a few years ago. Prices have drastically changed since then… the only one I had to purchase for this project was the 4 cubes white organizer for the girls’ room.
tension rods for closet curtains
gray curtain (matches with the Alpaca gray walls – on the window covered by the closet area)
shower curtain – used as a window curtain but I couldn’t find it available anywhere as I have had this since 2020 this is the one I had purchased but they sent the wrong design.
black curtains (used as bed skirts for the lofted bottom bed)
Paris bedspreads:

4 thoughts on “A Pink Posh Paris-themed Shared Bedroom”