
I love that I can come up with an idea in my head, put it down on paper, and Mr. Awesome can make it come to life! He has done this time and time again… just AMAZING! My Ube plants were going crazy and starting to take over the greenhouse so I needed to make a place for them to grow. I didn’t have a lot of money to put towards this as our bathroom really needs attention so we spent less than $100 on materials and I scavenged the scrap piles for materials.
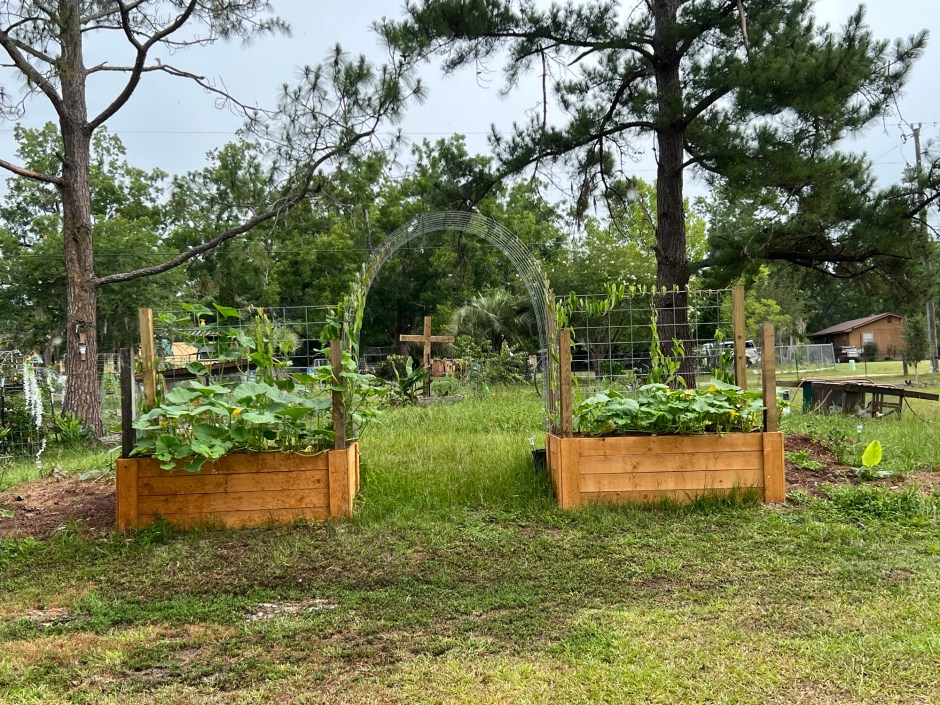
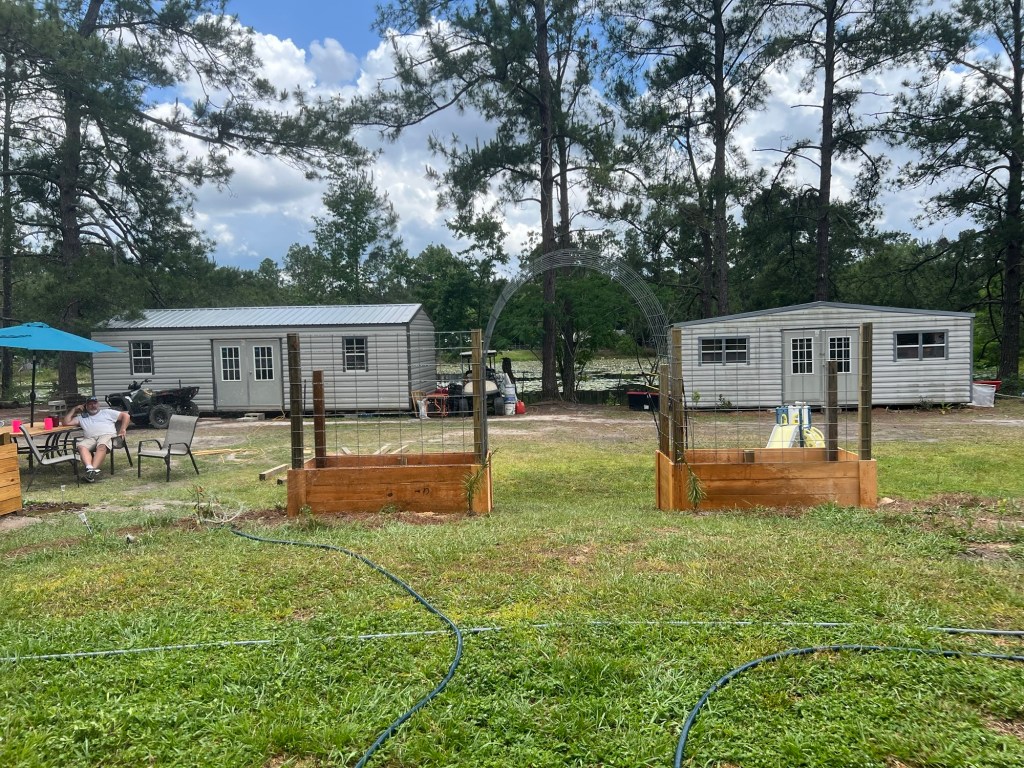
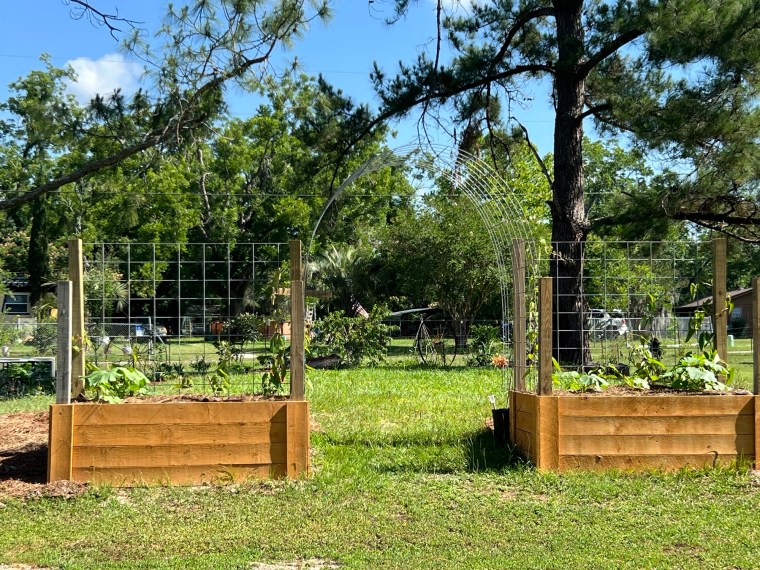
While this isn’t exactly as I had planned, as we couldn’t find the lumber I had planned for, it is pretty close and just as AWESOME. I wanted a couple of beds for planting as this area is close to the septic and I didn’t want to take any chances with contaminated food but I also wanted to screen the backyard a little bit as we have a couple of sheds in this area. The solution was two trellis beds with a cattle panel arch to act as an ‘entry’ to the backyard area. It may also prove to be a pretty backdrop for pictures!

We chose to build the beds in place to allow for the slope of the land. It also allowed us to use less lumber in the end.
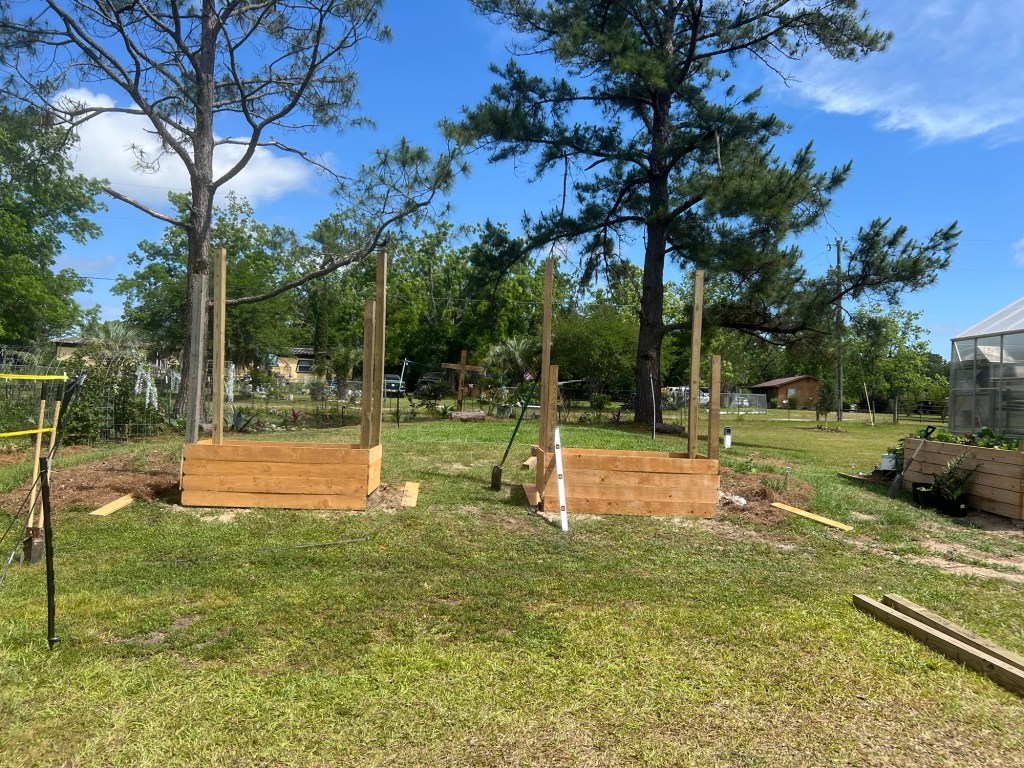
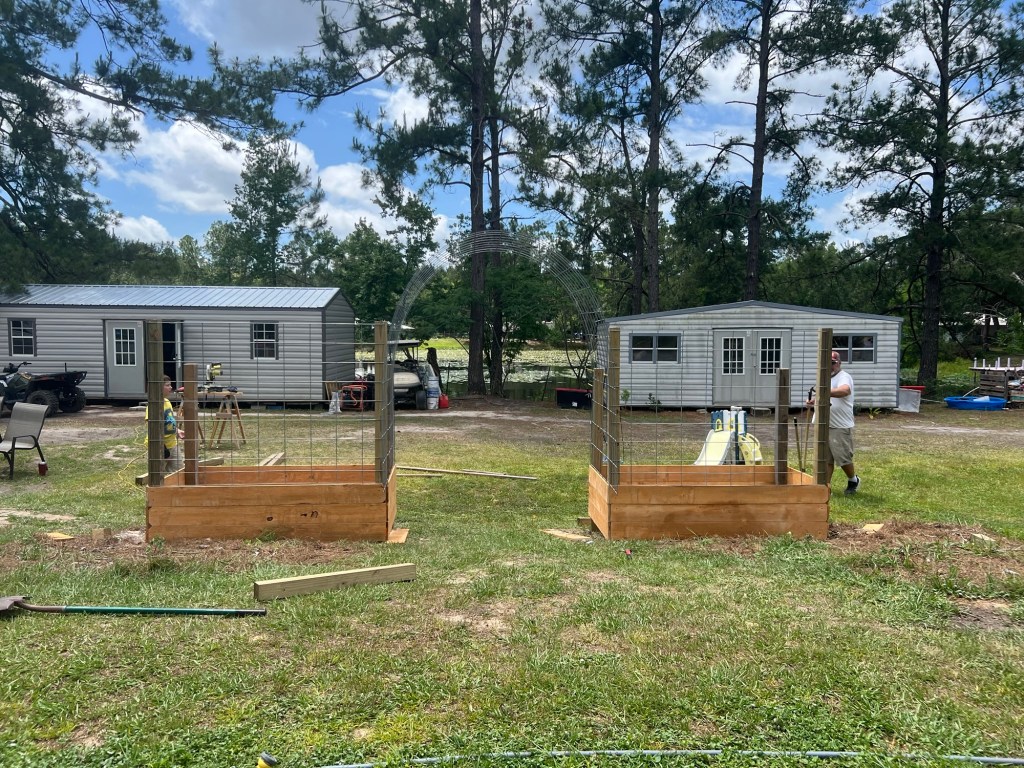
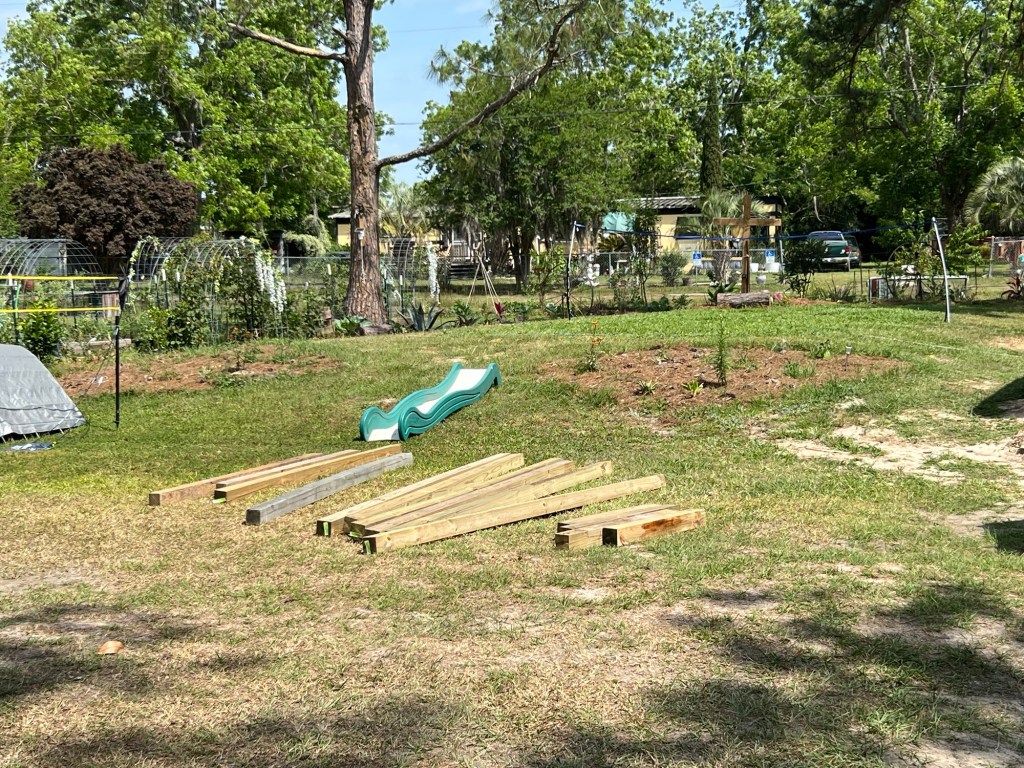
We had some 4x4s already on hand from previous projects as well as the cattle panels that I planned to use for the trellises. My original plan called for 4×8 beds but we couldn’t find the 8′ fence pickets so we went with 3×6 beds instead.
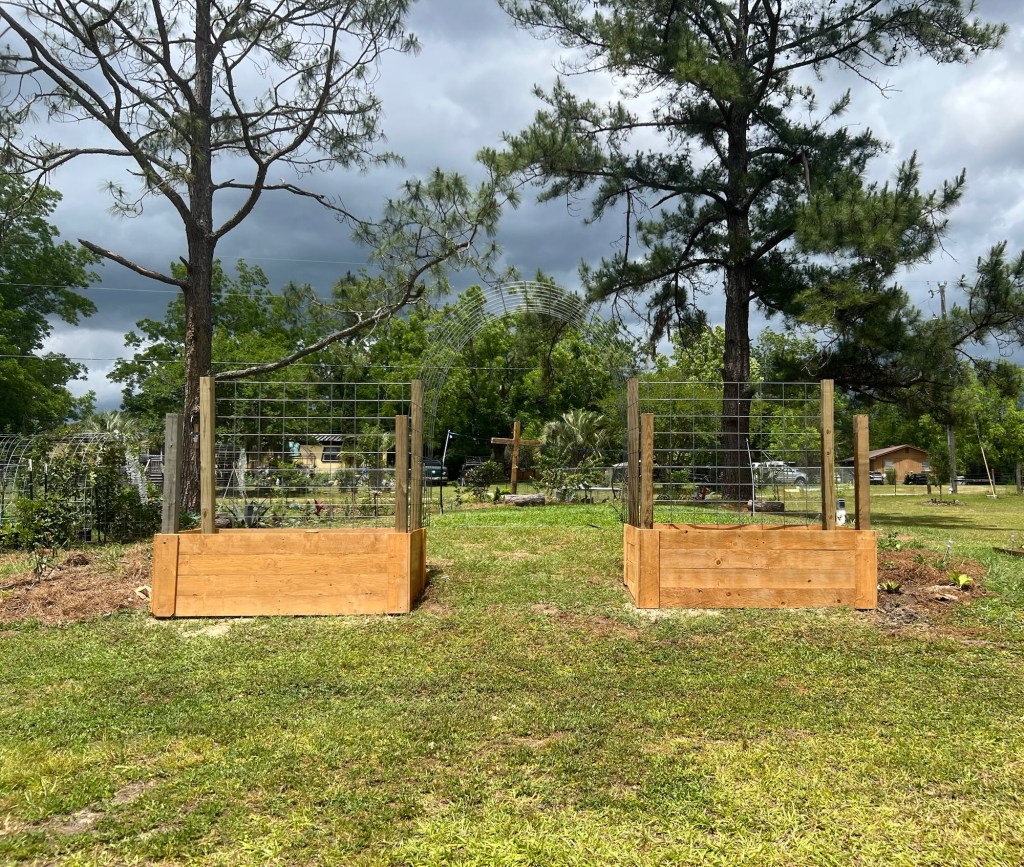
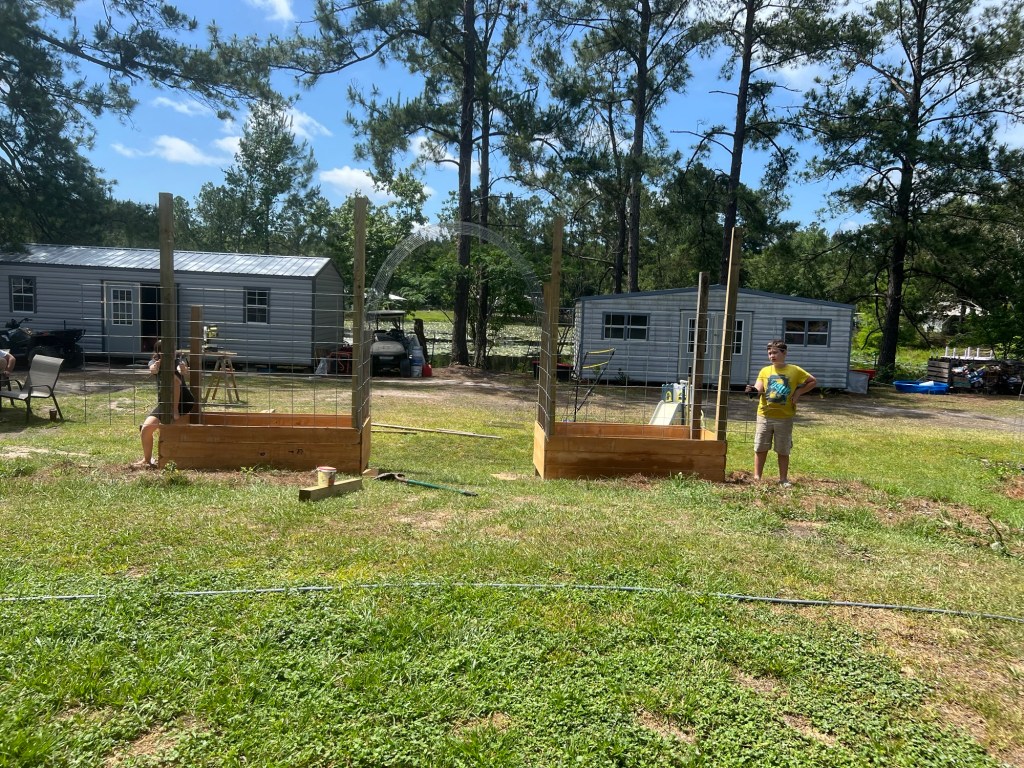
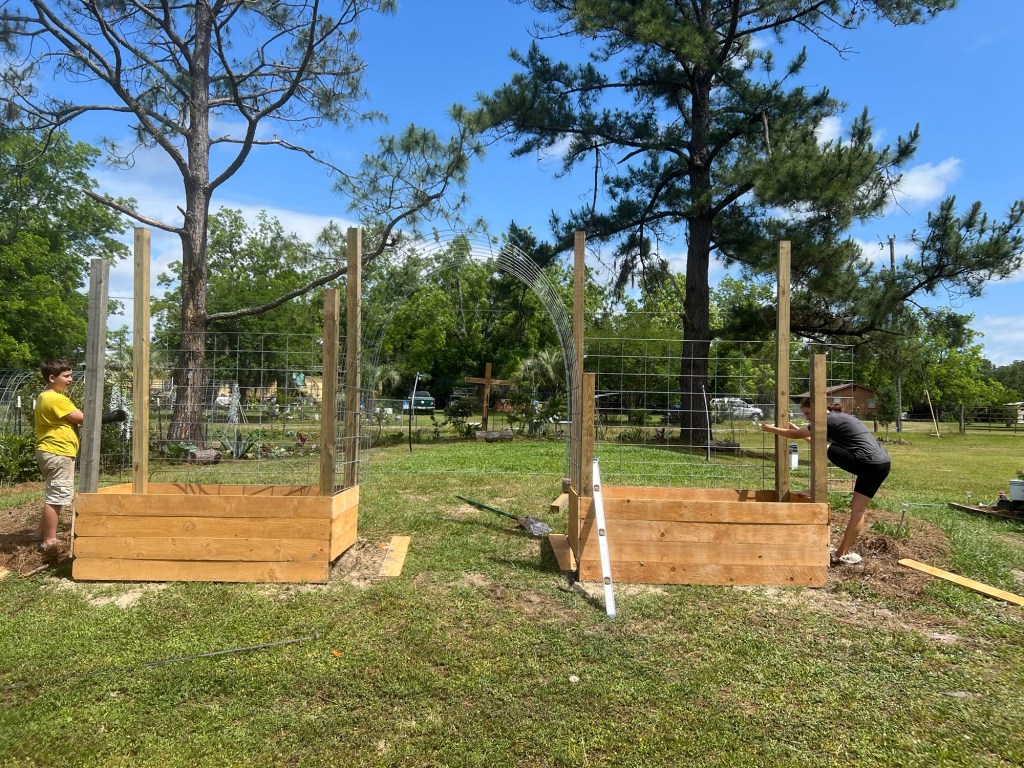
The beds went together pretty quickly… we had this entire build done in just 3-4 hours! I LOVE how the arch frames our cross!
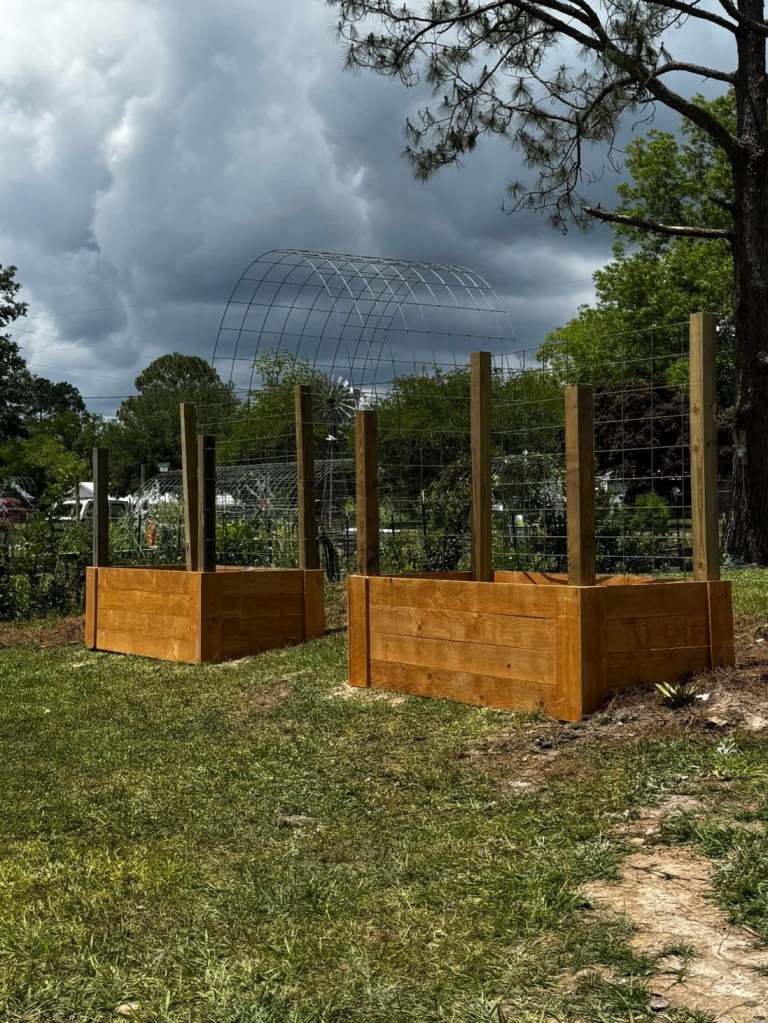
We cut some of the pickets in half and used those for the sides. We used full-length pickets for the fronts and backs. Then we cut some pickets to ‘trim’ out the edges to cover and gaps and the ‘dog ears’ on the ends of the pickets. We used some 4×4 cut-offs and scrap 2x4s to make braces for the middles to prevent them from bowing out when filled with dirt.
The middle arch is a full 4×16 cattle panel… one foot sticks out in the front of the beds and I have put some planters there with vining flowers. Each of the bed trellises are approximately 6 feet. We used a grinder to cut them and knock down any sharp edges. The panels are attached with fence staples because I don’t want to take any chances that a Hurricane will take off with these!
Once finished we filled them with some of the dirt and compost that we still had on hand. I planted some Ube and then I popped in a couple of pumpkin plants that needed a home… they have since taken over! Don’t mind the grass… I’m starting to miss my goats as they really did help keep the lawn under control last year!

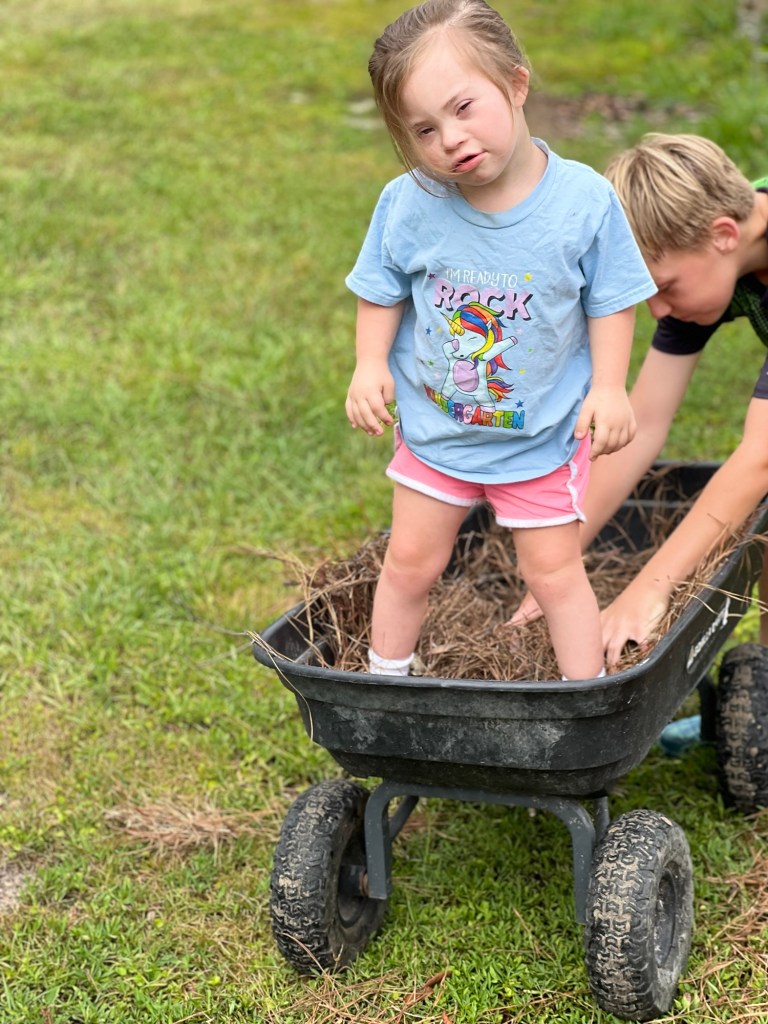
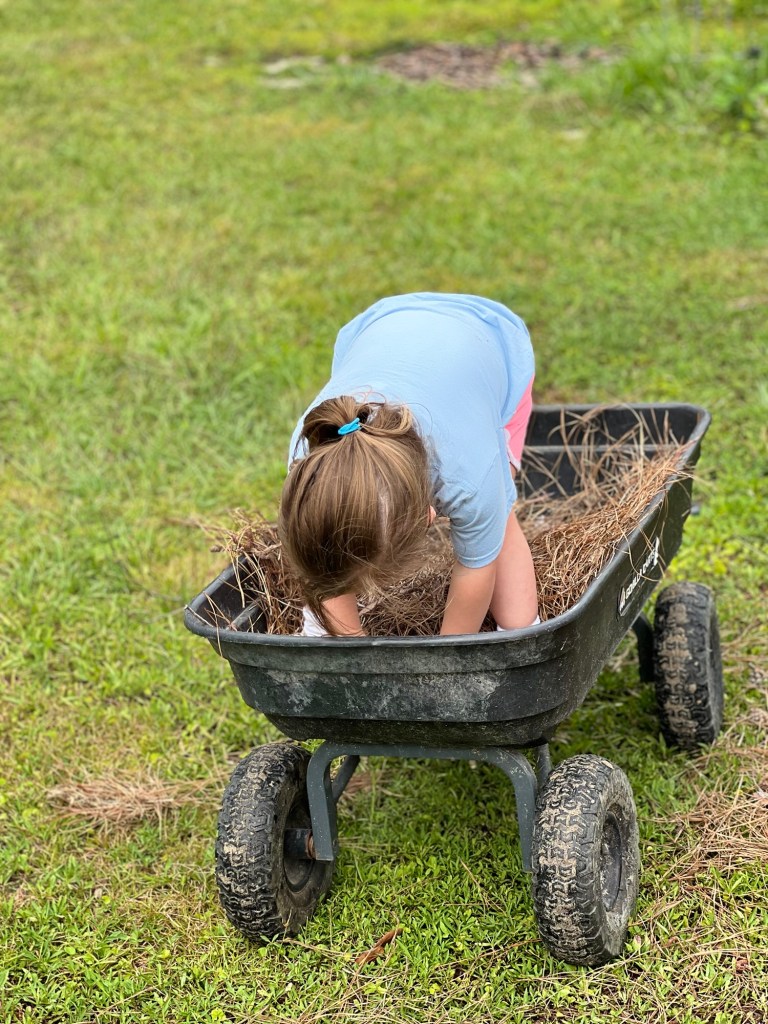
The kids also helped to redo the flower beds in front of these and they gathered some pine mulch for the beds as well.
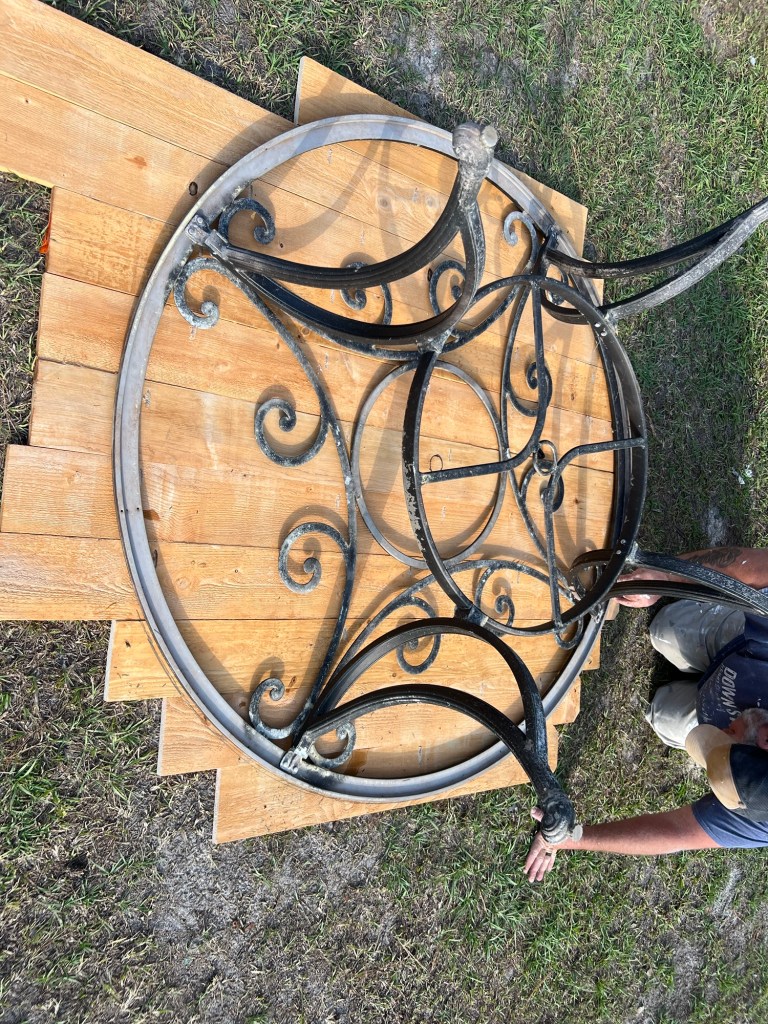
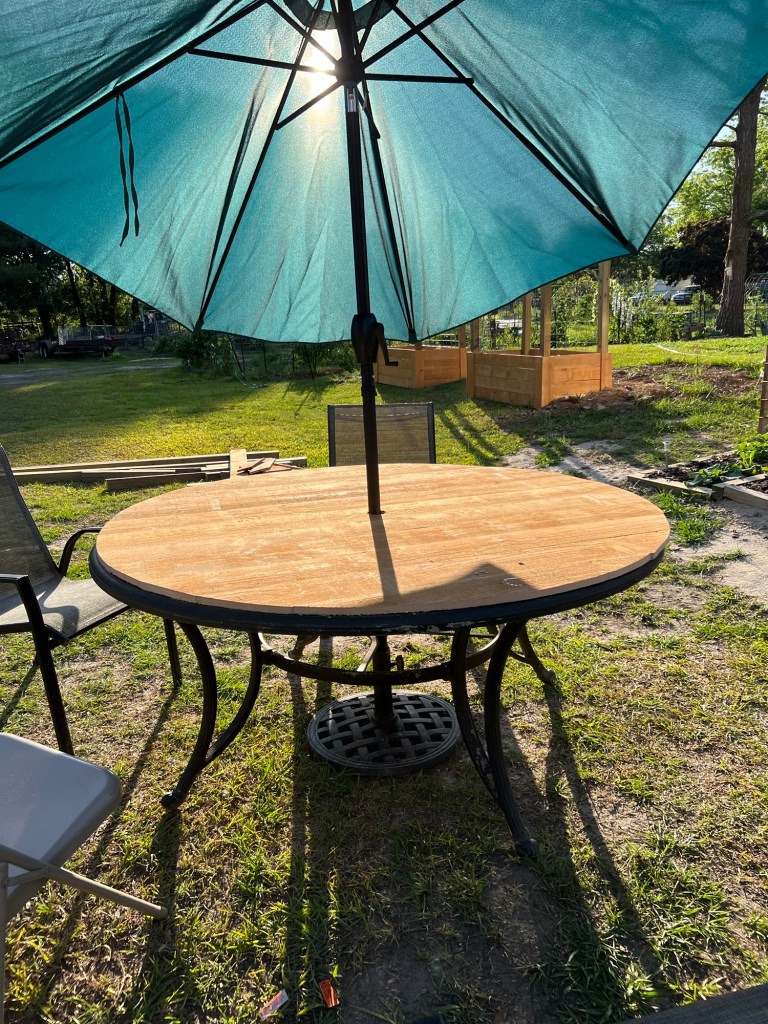
We had a bit of lumber left over so Mr. Awesome made a new top for my table… the glass top got broken last year. We also splurged a little on a new umbrella as the old one was destroyed by Hurricane Milton last year.
I am thinking that I may want to add a couple of beds to the sides or maybe just another trellis to the sides of the beds to provide a little more screening but I really love the way these turned out. We do have a vision for this area and this is just one step towards that goal but it is progress and we are so thankful for that.

I hope this inspires you to start on a project that you’ve been putting off. Maybe you are waiting until you can knock the whole thing out at once but sometimes it is best to do a little at a time. Just do what you can with what you have… that’s how we manage to knock out projects around here. I still have a long list of things to get knocked out and more get added as we go but we just keep trying to do a little something here and there.
God Bless!
