
As many of you already know, we bought this house and it has already been well-loved. It was definitely in need of some TLC… a bit more than we had realized at the time but we’ve been making improvements as time and budget have allowed.
We had a lot of hopes and dreams for this house when we first moved in but there were so many issues that happened and had to be dealt with that we just had to focus on those. Plus the pandemic had just started, we were dealing with an unexpected high-risk pregnancy and then a stressful premature birth with a NICU stay and other complications, and then when we thought things were getting better we were sidelined by an unexpected leukemia diagnosis.
That’s life and it wasn’t fun for a bit. It was hard. It was stressful. It was scary. We survived and we thank God that we are all here and healthy now. He has blessed us more than we could ever believe possible and we are trying to do the best we can with all that HE has provided us with.
Last year we had really intended to work on some projects in the house as we had completed some work outside. Then we had issues with the septic and then the washer and stove… it really does seem like it’s always one thing after another.
Finally, we just decided that we needed to get some of these renovations completed because they really were a necessity at this point. One of them was to make a bedroom for my older son with Down Syndrome. He needs his own space as he can get quite agitated by several things. If he sees someone’s clothes, shoes, or toys lying around then he will mess with them. This results in things being lost or sometimes destroyed. This often resulted in people getting upset and yelling at each other… sometimes it sounded like we had a civil war about to happen.
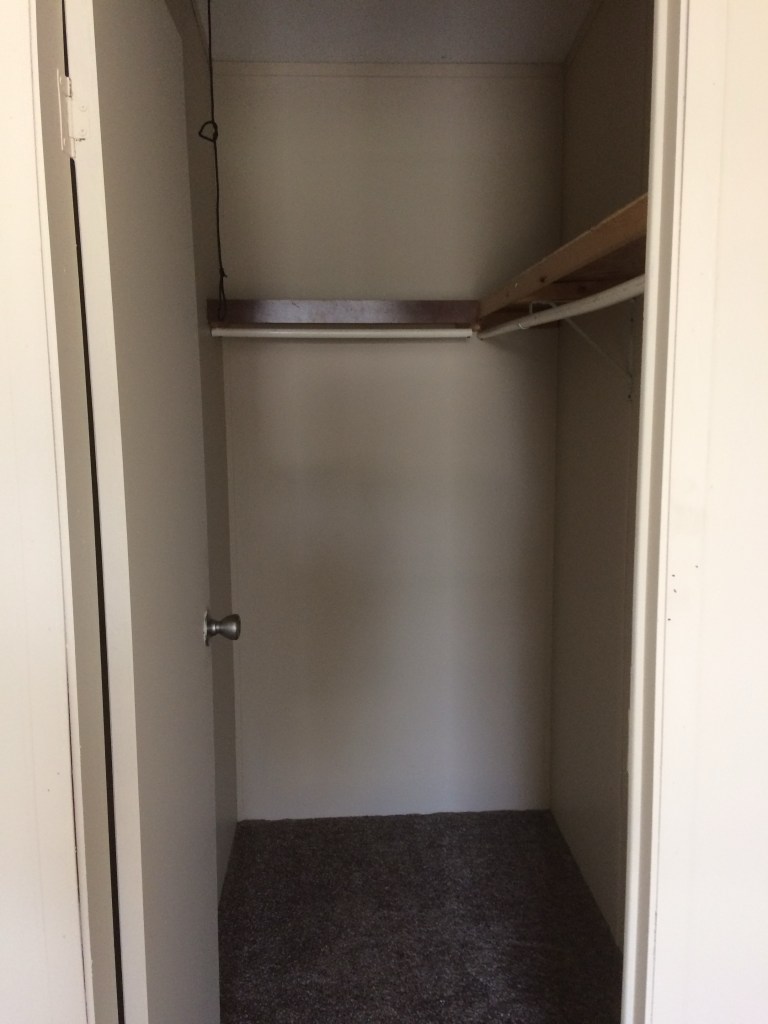
We had tried many different configurations but they just made it more plain that we needed to make him a room. You might remember that in our little house, he had claimed the walk-in closet as his room. It had space for his bed and his armoire where he stored his clothes and toys… he loved that little room.
In the house before that, we had walled off a small breakfast nook to make a small bedroom. He also loved that room as well. If you put him in a bigger room he isn’t so happy though. So we knew from experience that he needed a room but it needed to be small and cozy.
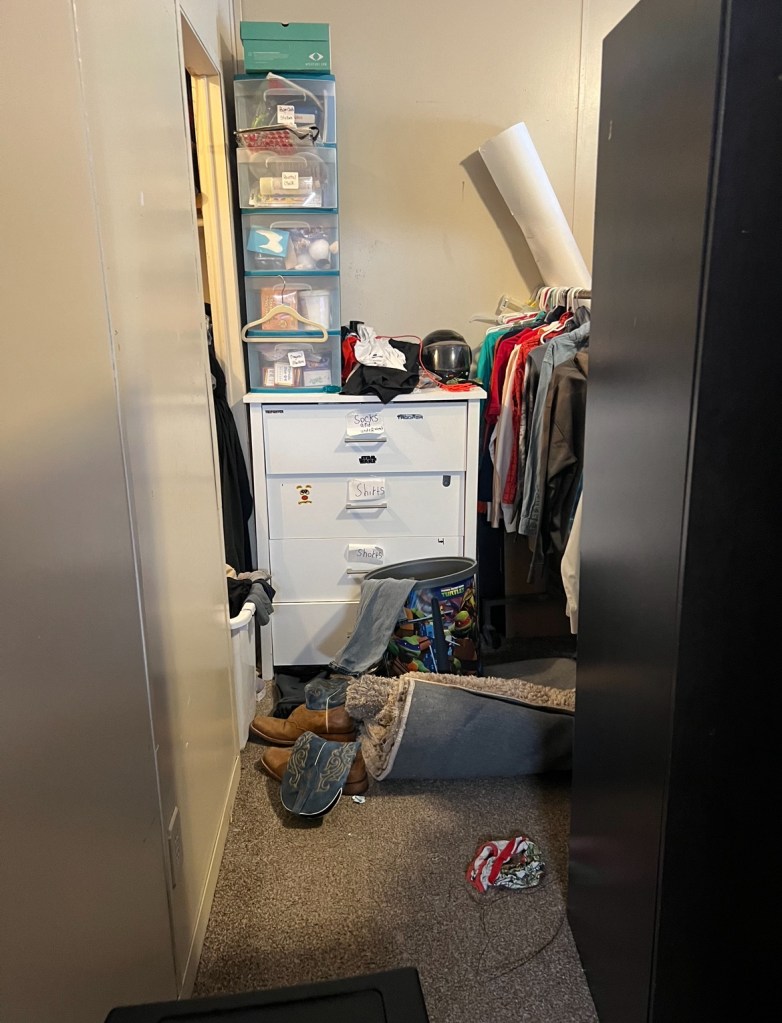
I had already planned it out and had made a ‘wall’ with some cabinets in the girls’ room to give the configuration a try. We hadn’t moved him over but we used that space as a walk-in closet for the boys’ clothes and some other household storage… it had become quite the ‘catch-all’.
The girls’ side worked beautifully and they had plenty of space so we finally decided to make it permanent… at least semi-permanent as it can easily be reverted back to one big bedroom later.
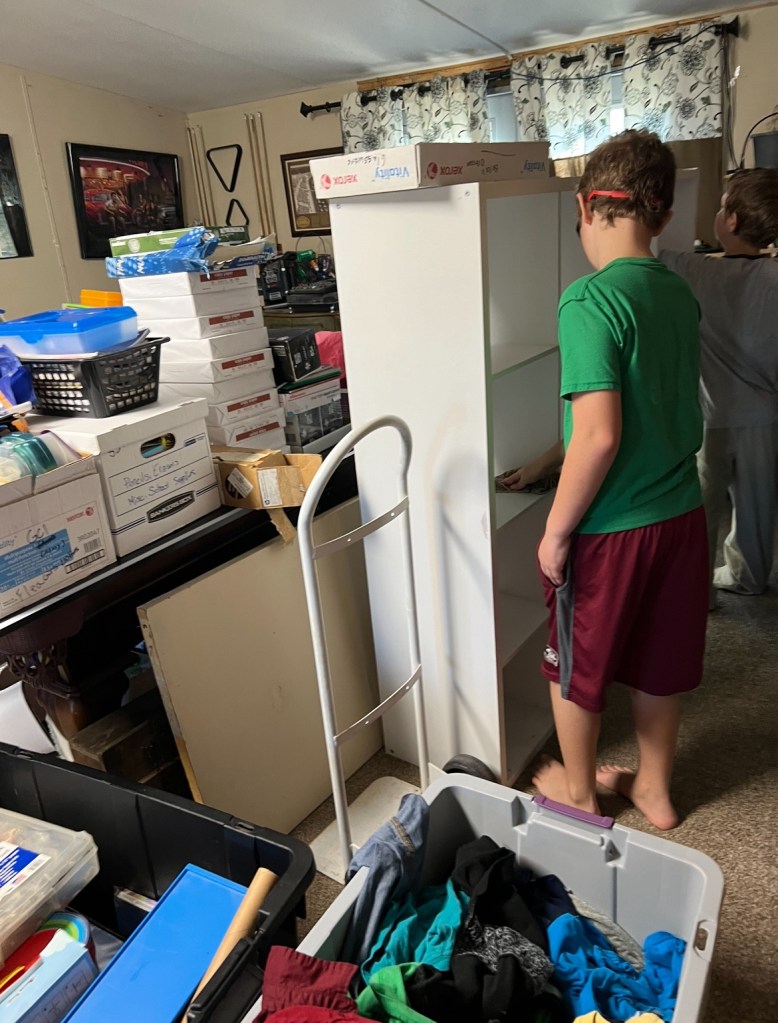
First things first was to get all the STUFF out of the area… we did do a MAJOR declutter of the area before putting anything back. Nothing went back that didn’t NEED to be in there and we made several trips to the donation center. I really loved the imagery of thinking about the STUFF as things we are putting in our shopping carts. When we get to the checkout (heaven) and it all gets rung up (or burned up because we can’t take it with us) what would we have left to show for our time here? We have so many things that we truly don’t need, things that take up space, things that make cleaning harder, and things that are just clutter… clear it out so you can BREATHE and have more TIME!

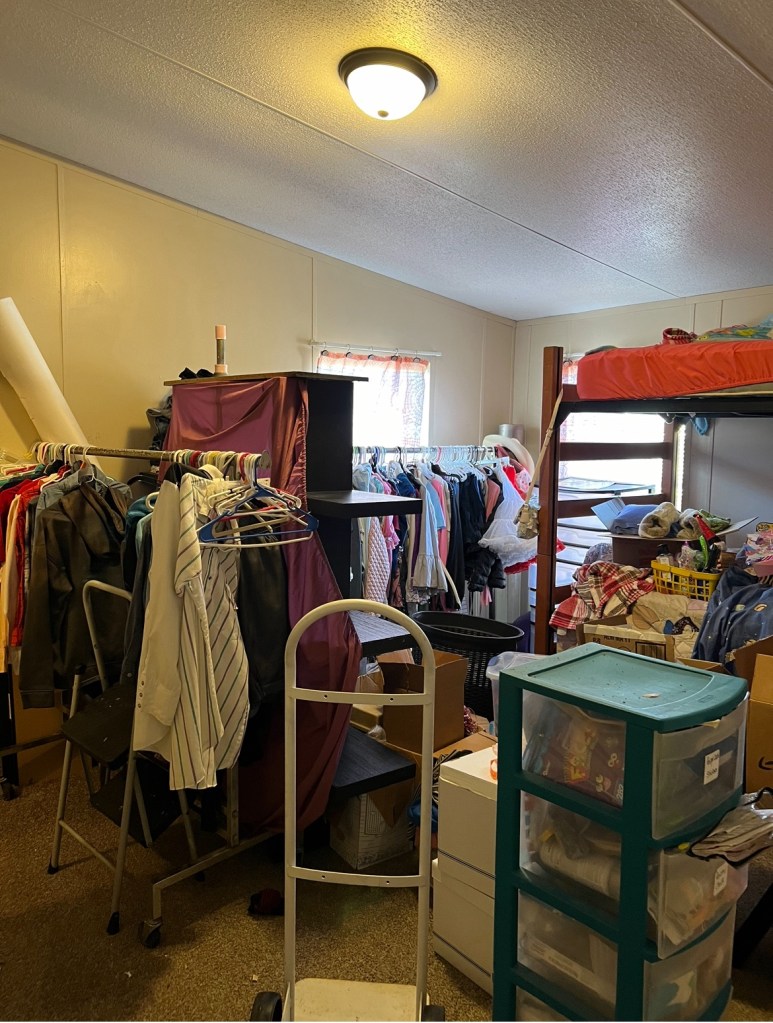
This meant that our living room was full of STUFF for a while but that’s part of the process.
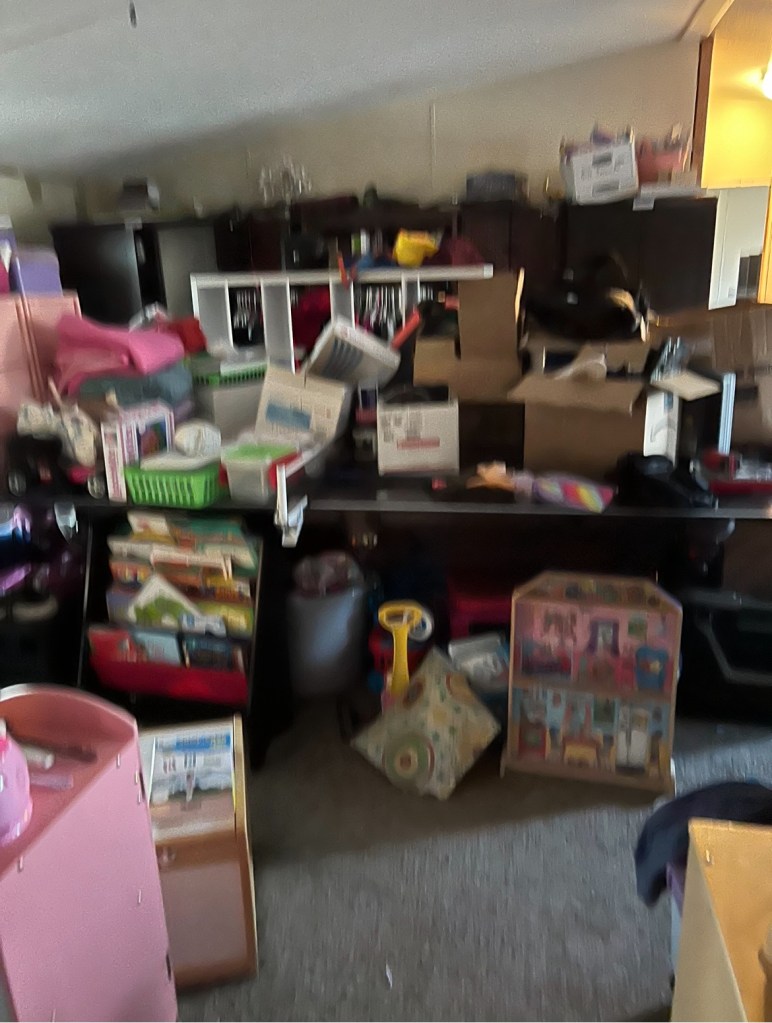
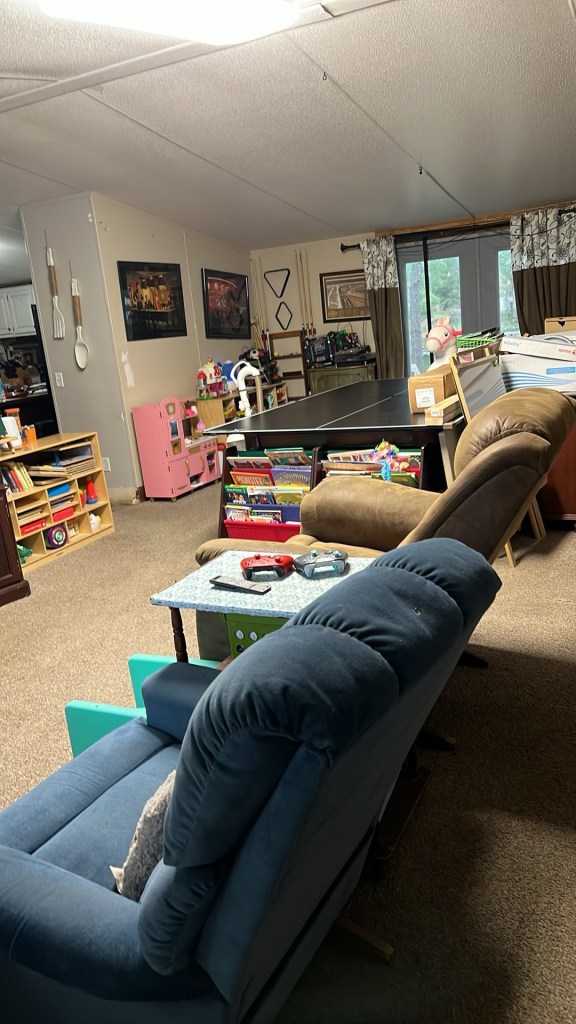
Here’s a picture of the living room after finishing up most of the project… you will see that it looks much better even though there are still a few misplaced cabinets and a couple of pieces of big furniture that I haven’t decided what to do with yet.
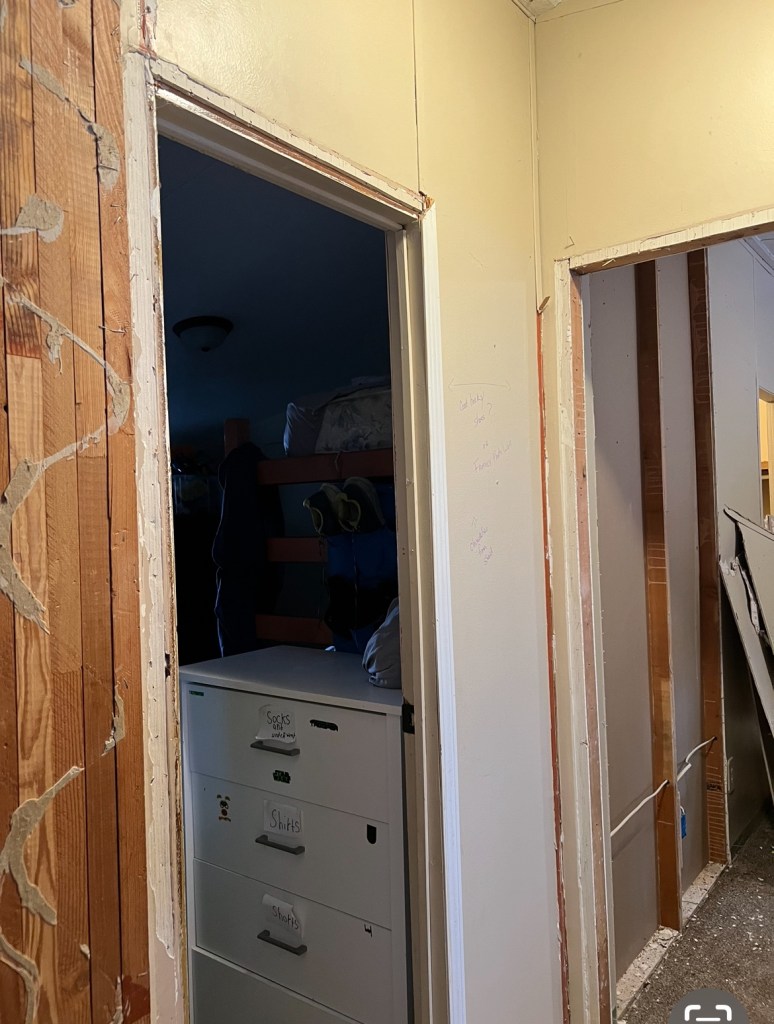
Here is what the before of the areas looked like:
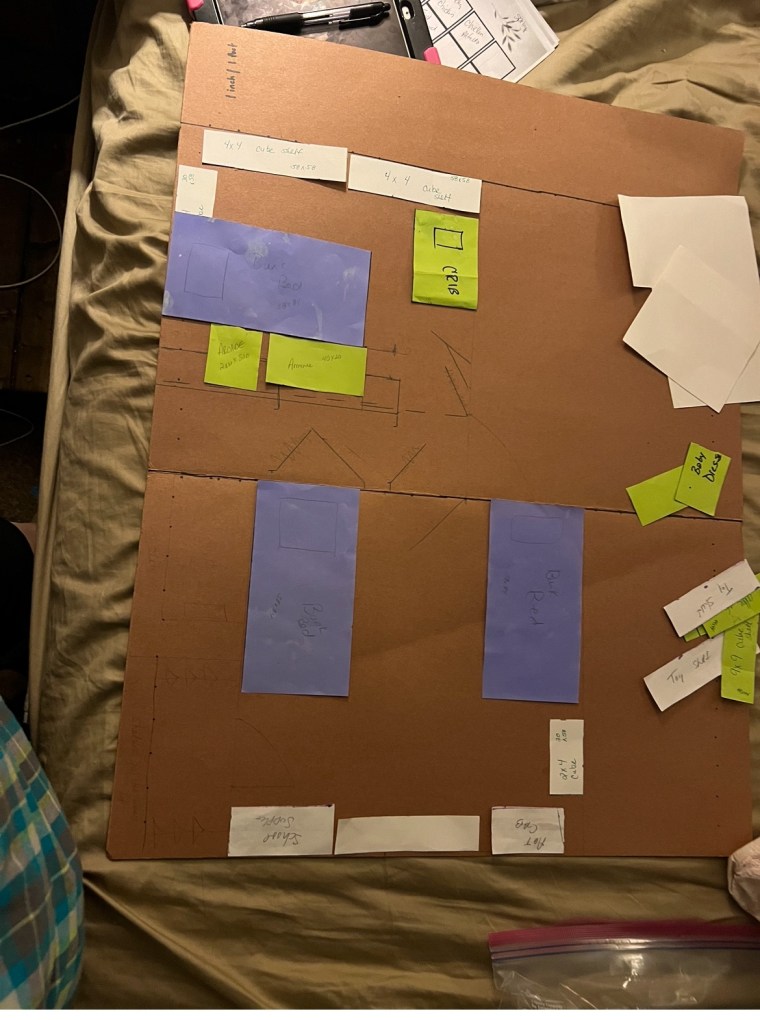
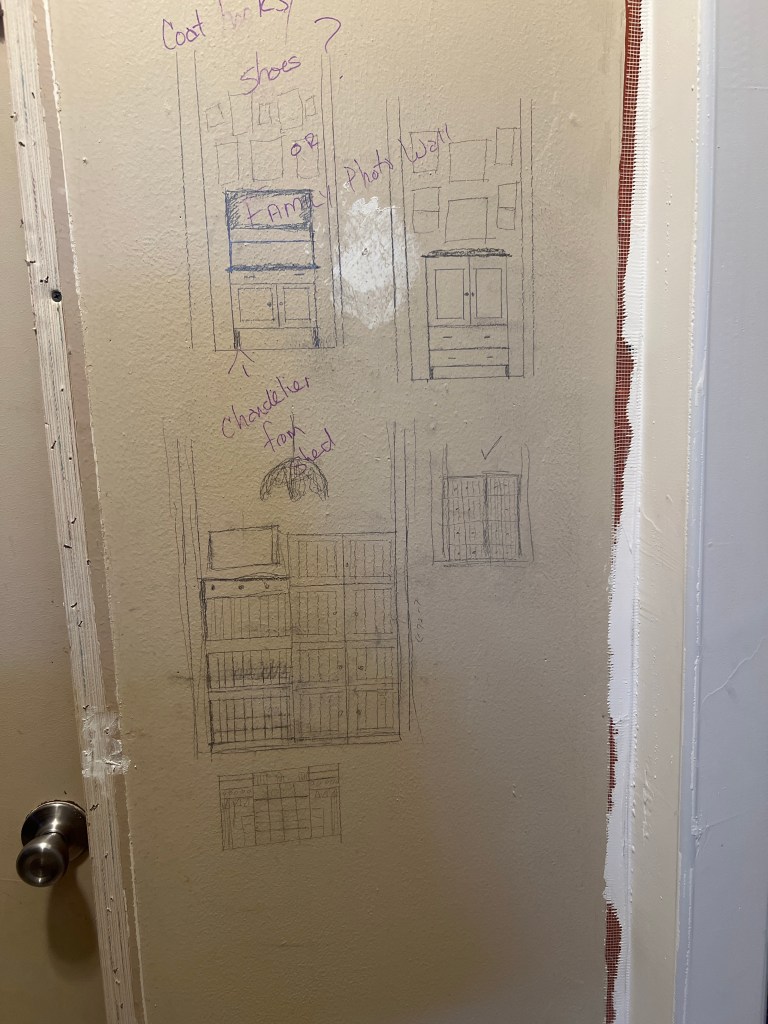
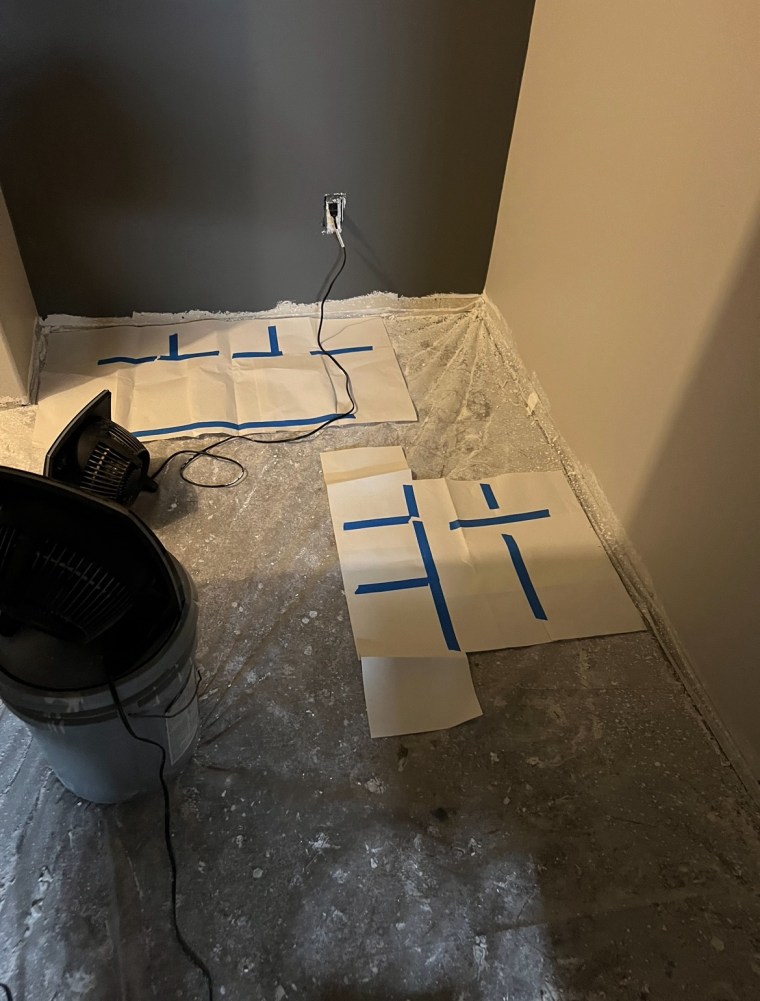
I have a handy little mockup that I’ve made for the rooms of the house. I use this when I want to rearrange something and it helps me to see if my idea would really work or not… saves a lot of time and effort as we don’t move the heavy furniture around or put up walls until we know the plan will work the way we need it to work.
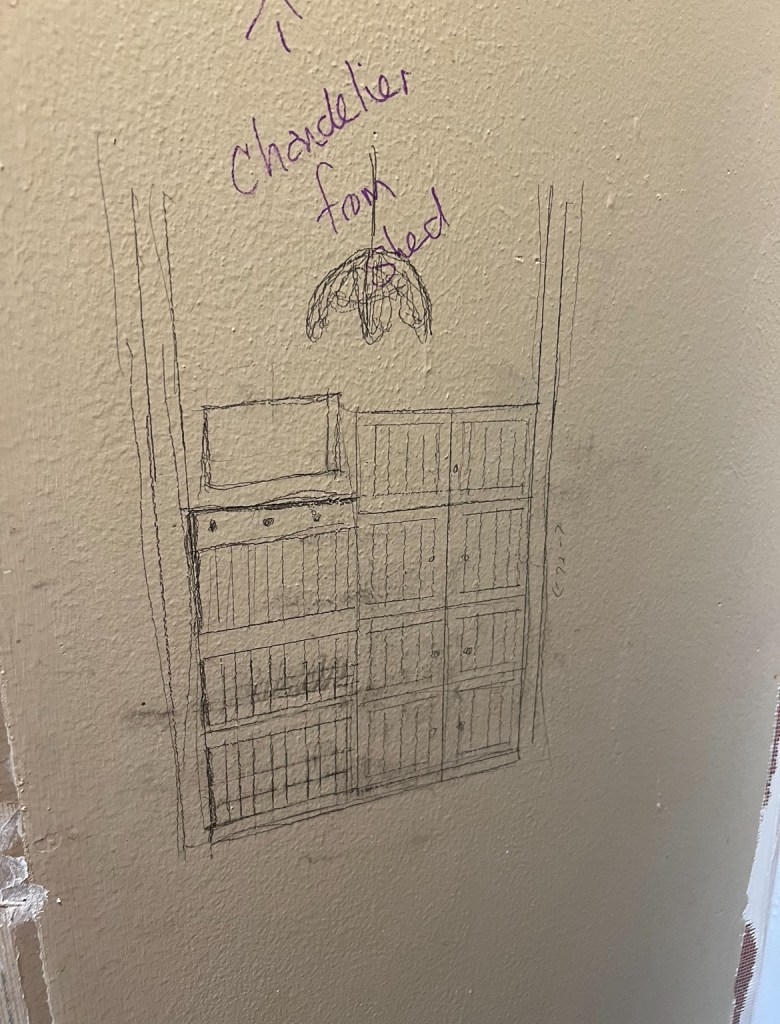
You can also see the notes I made on the wall so that hopefully everyone would understand THE PLAN.. sometimes they do and sometimes the plans have to change a little but it does help for everyone to see the big picture. I also used masking tape on the floor to tape where I would like the walls and doors to be.
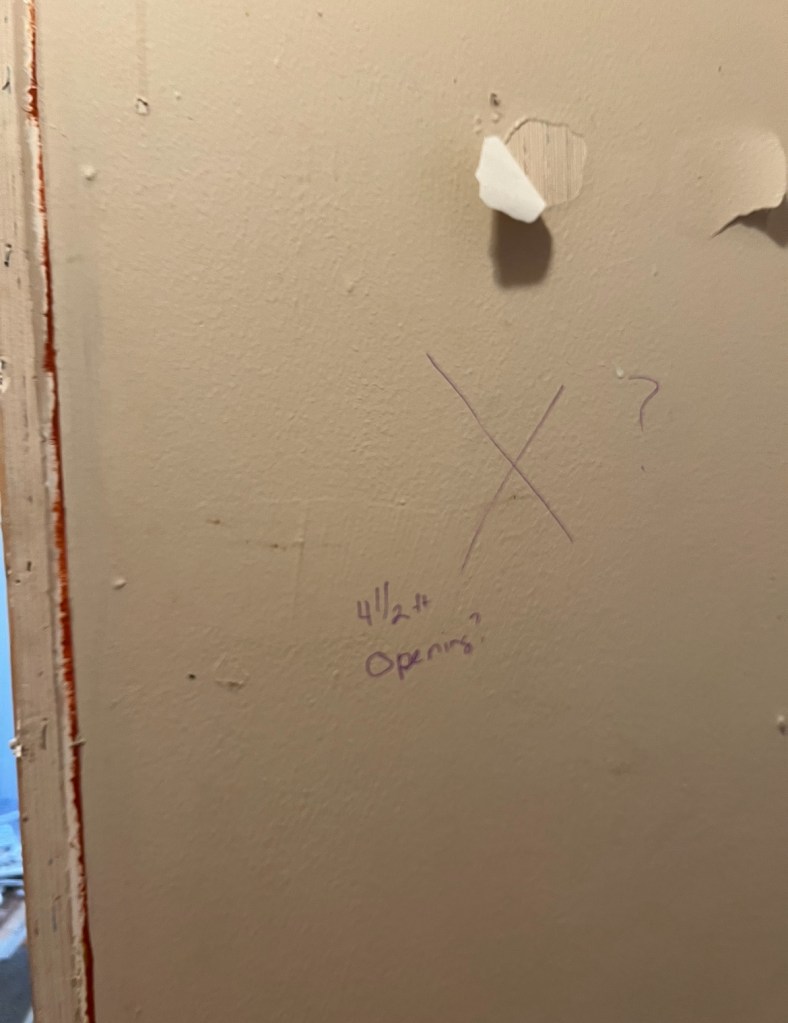

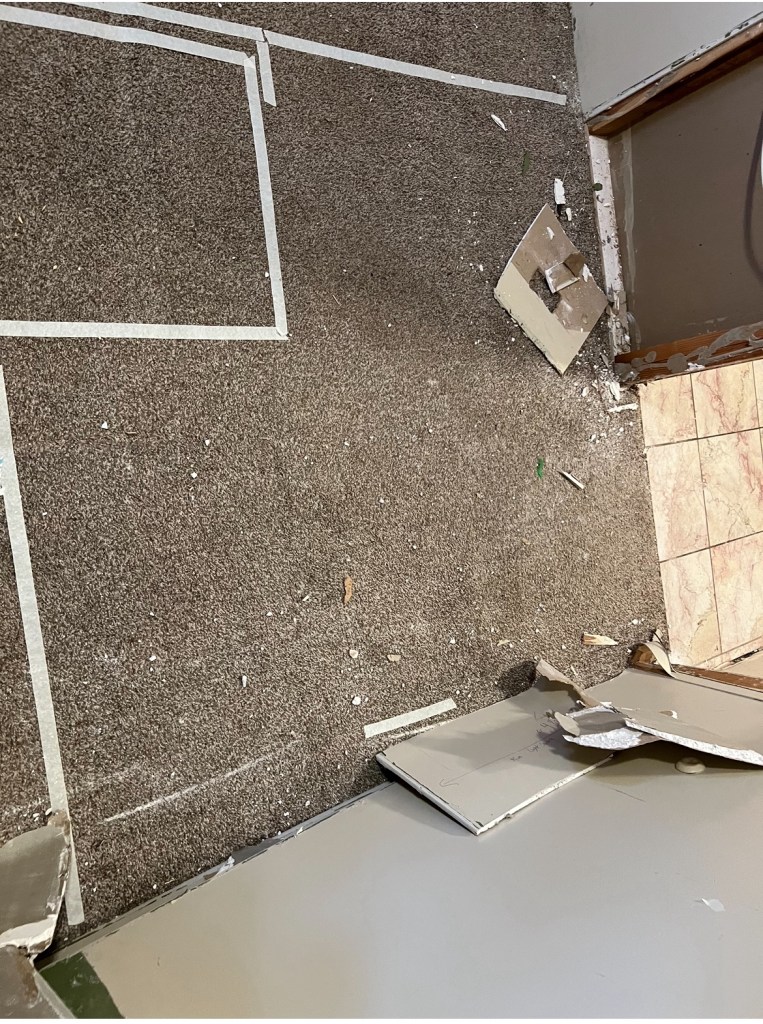
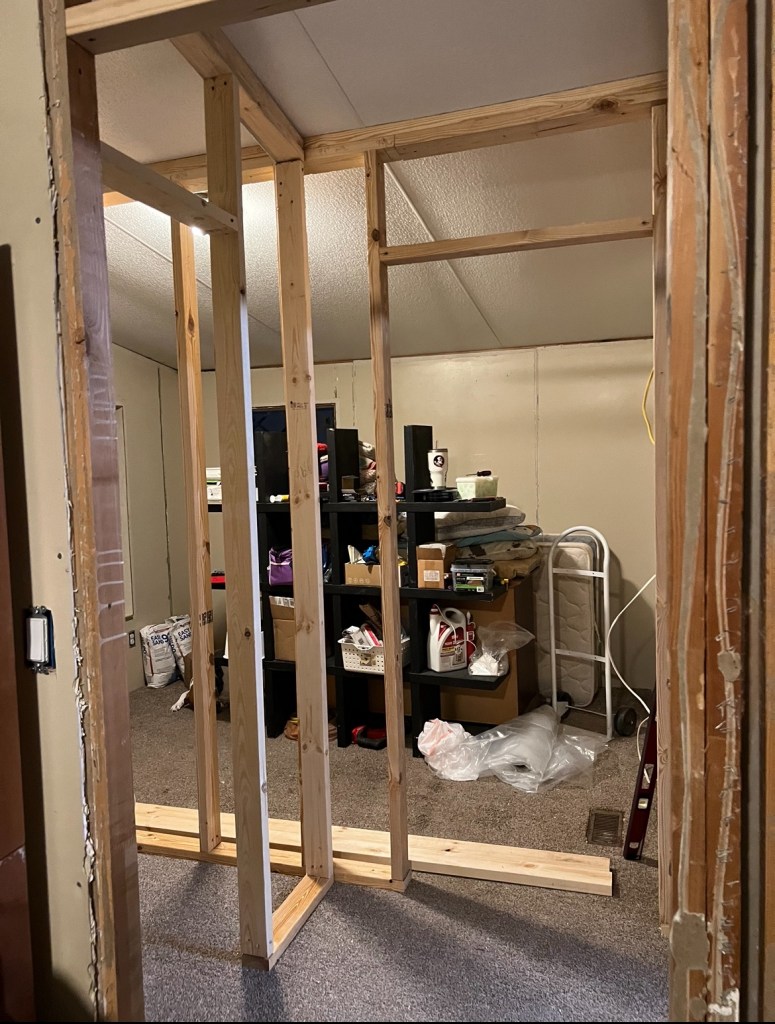
Once the plans were reviewed and a few changes made we could begin the real work.

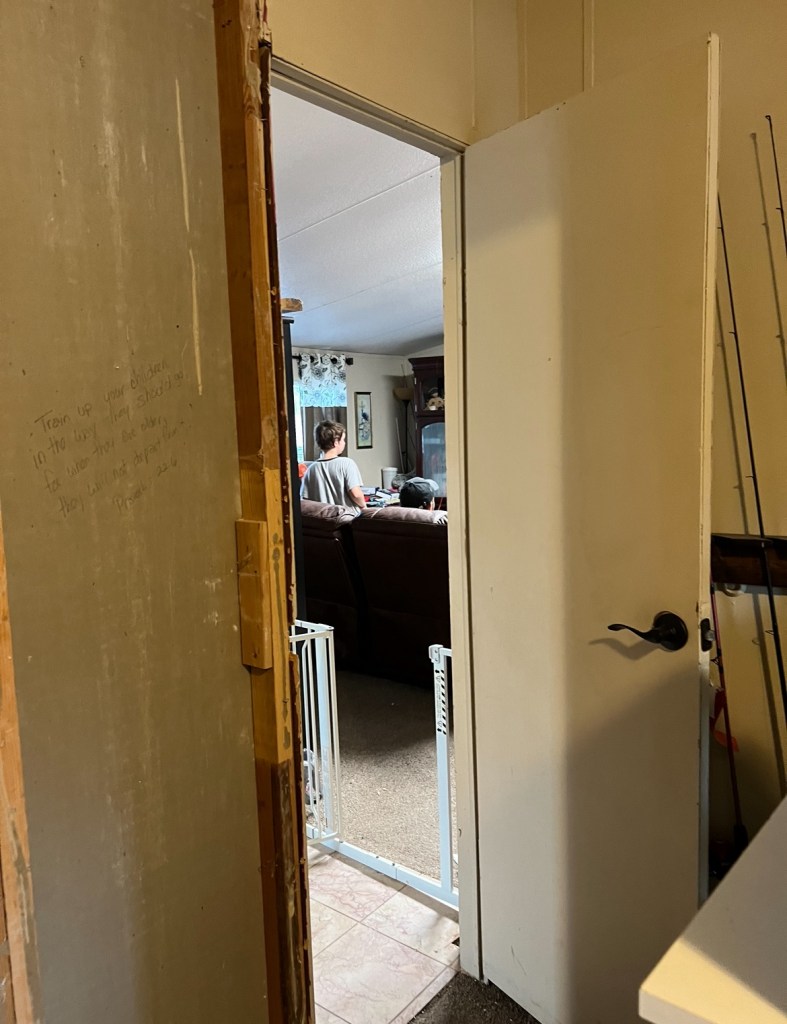
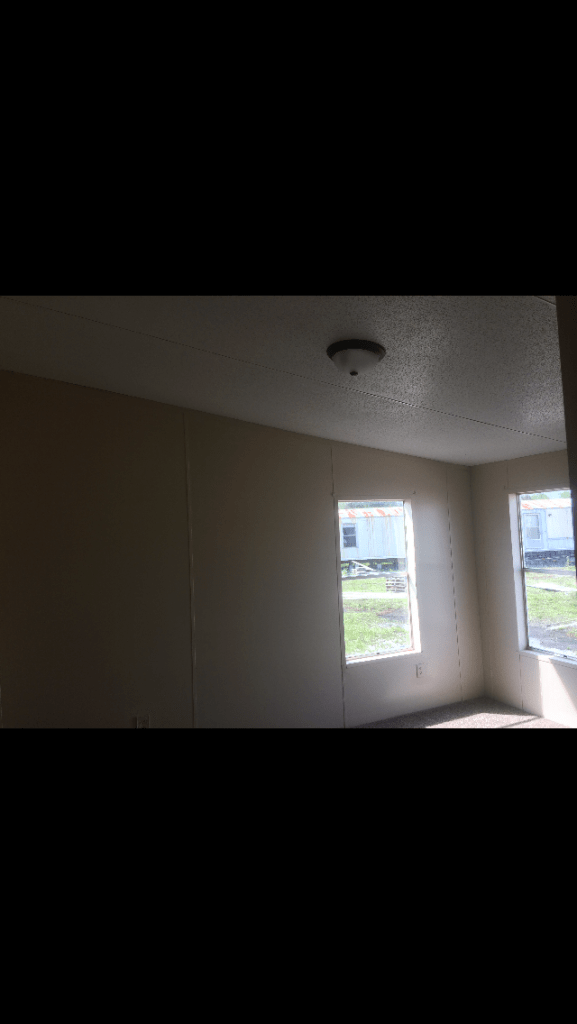
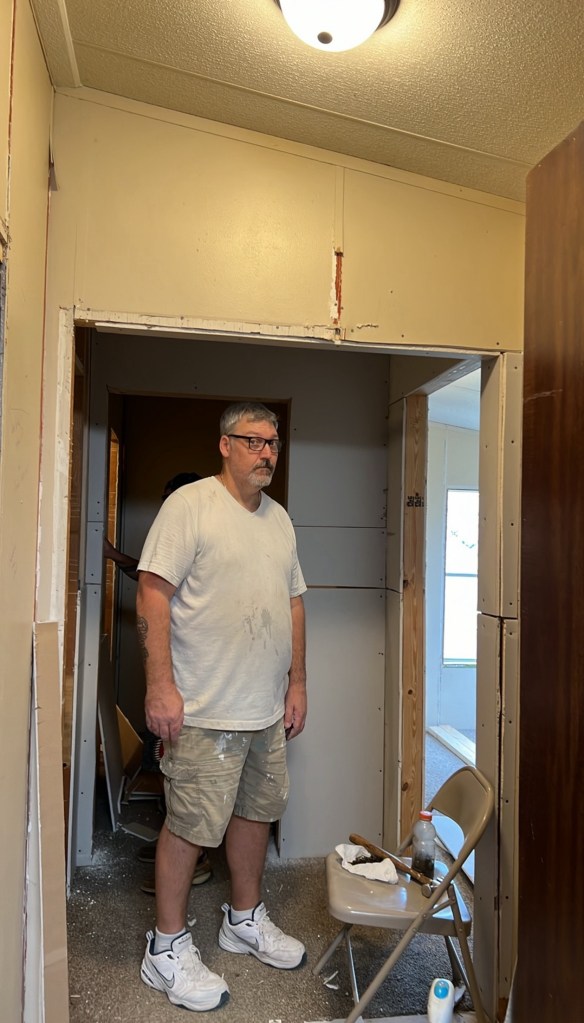
It felt so good to see the plan coming together… but scary when I realized we had just created one big room!


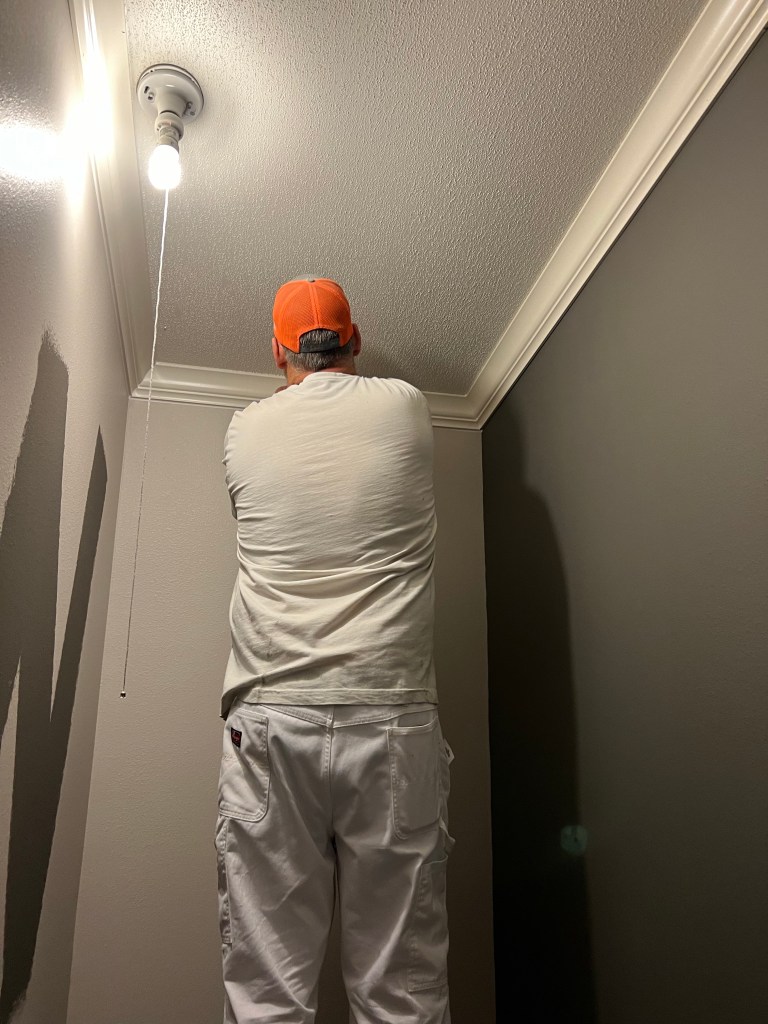
Once a couple of light switches were moved, it was time to start adding walls back to the area but I had a little project I wanted to tackle first:
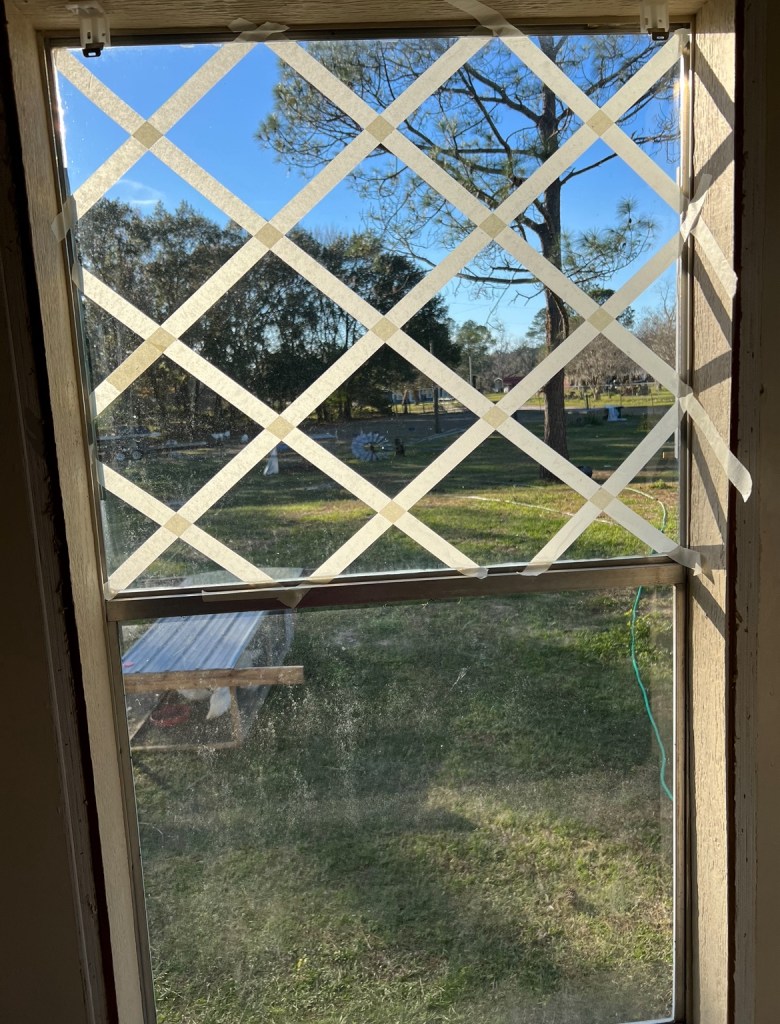
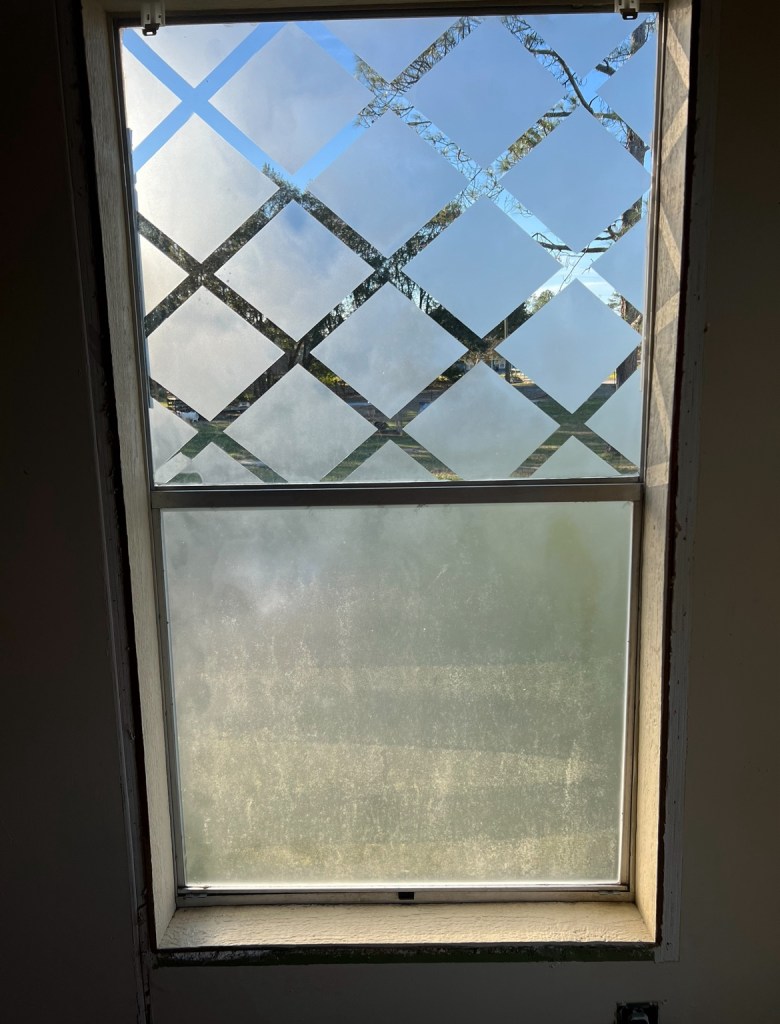
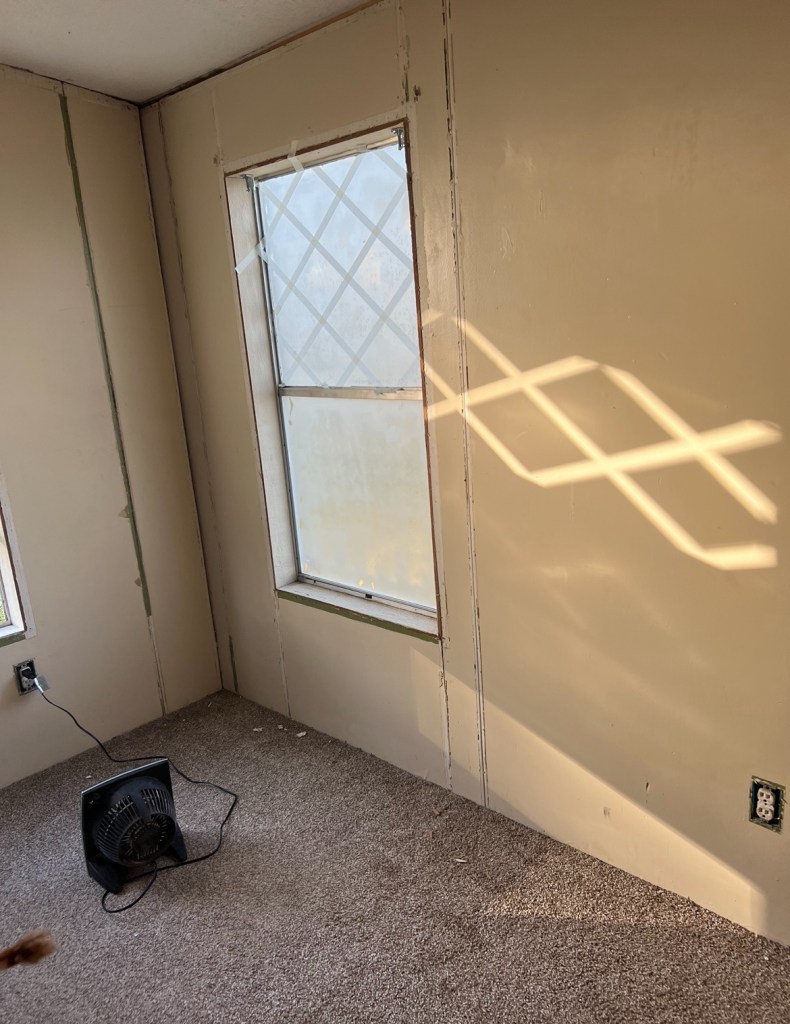
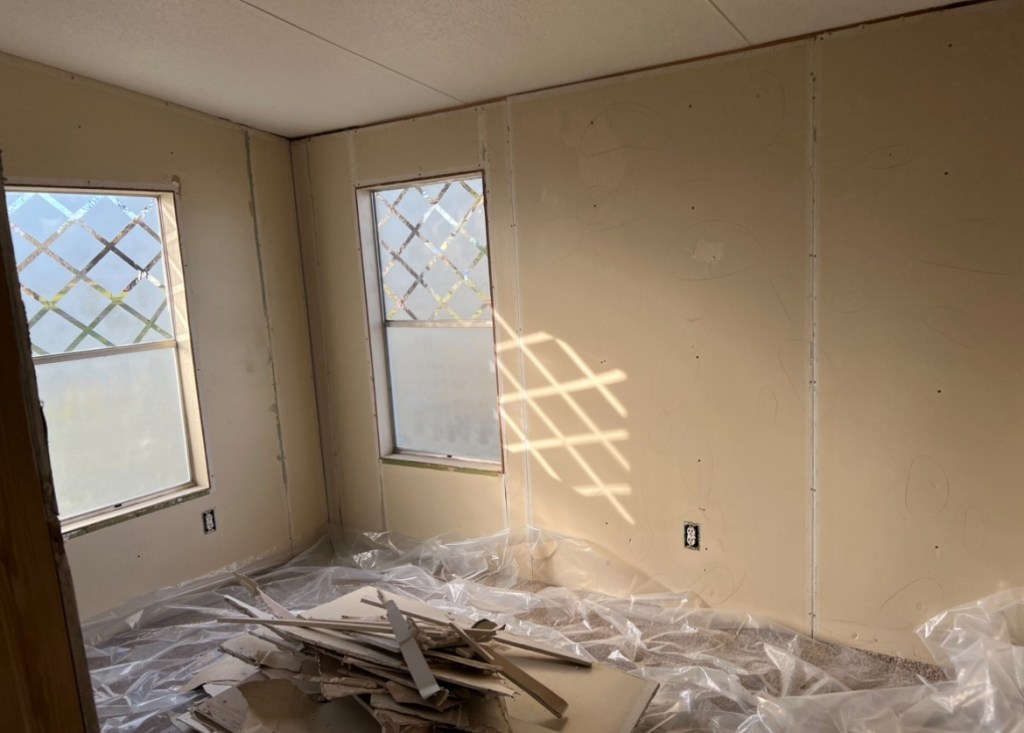
It looks so much better than the blinds did… we plan to replace the windows sometime in the future though. I may do this to some of the other windows as well because it looks pretty cute and it’s so much CHEAPER than buying all-new window blinds! You might remember this from another project I did at the little house:
Weekend Warrior Project: Old Window Transformation

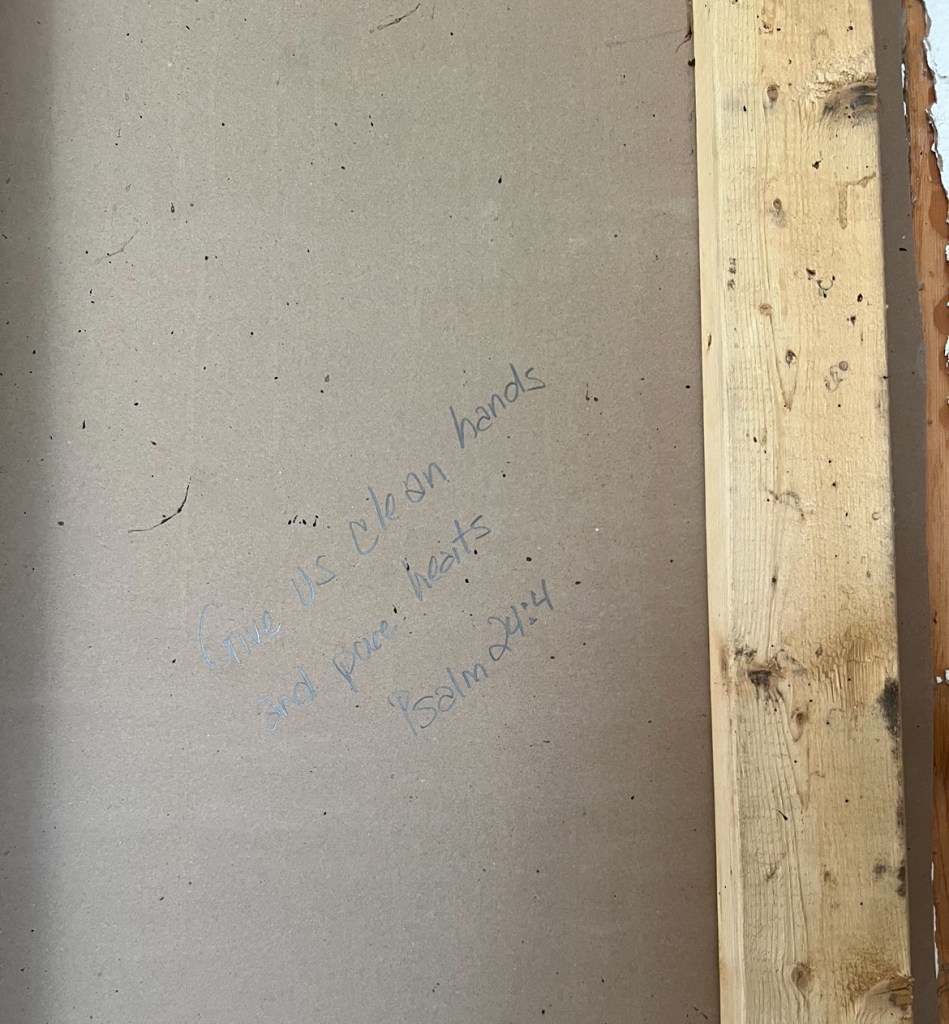

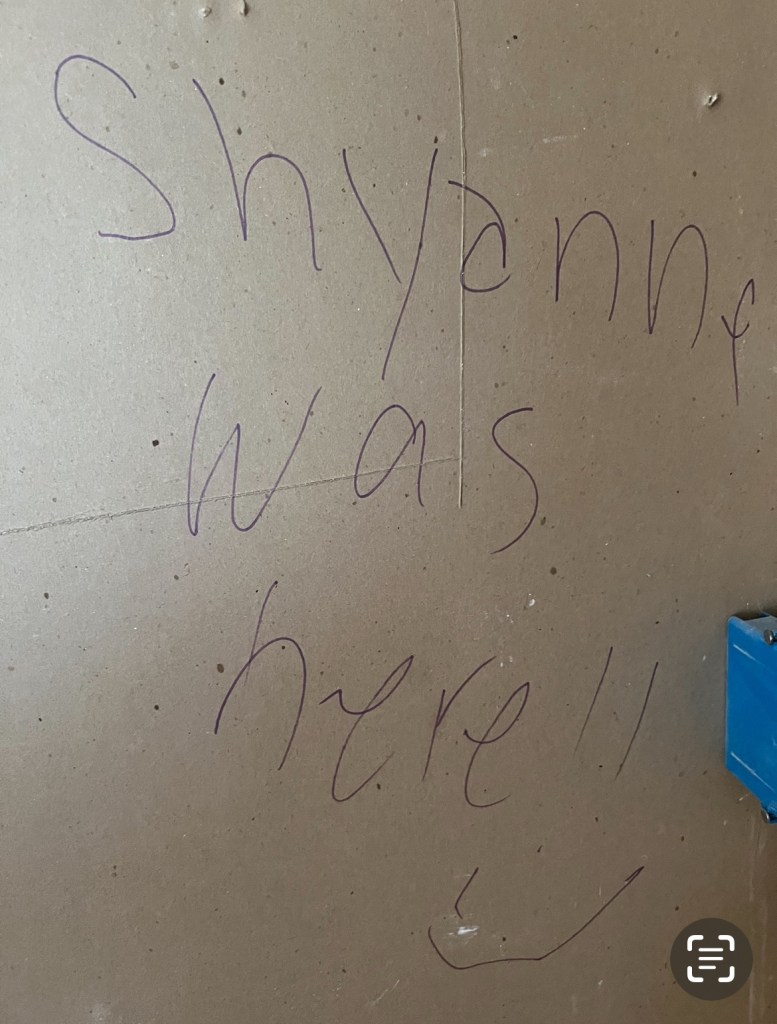
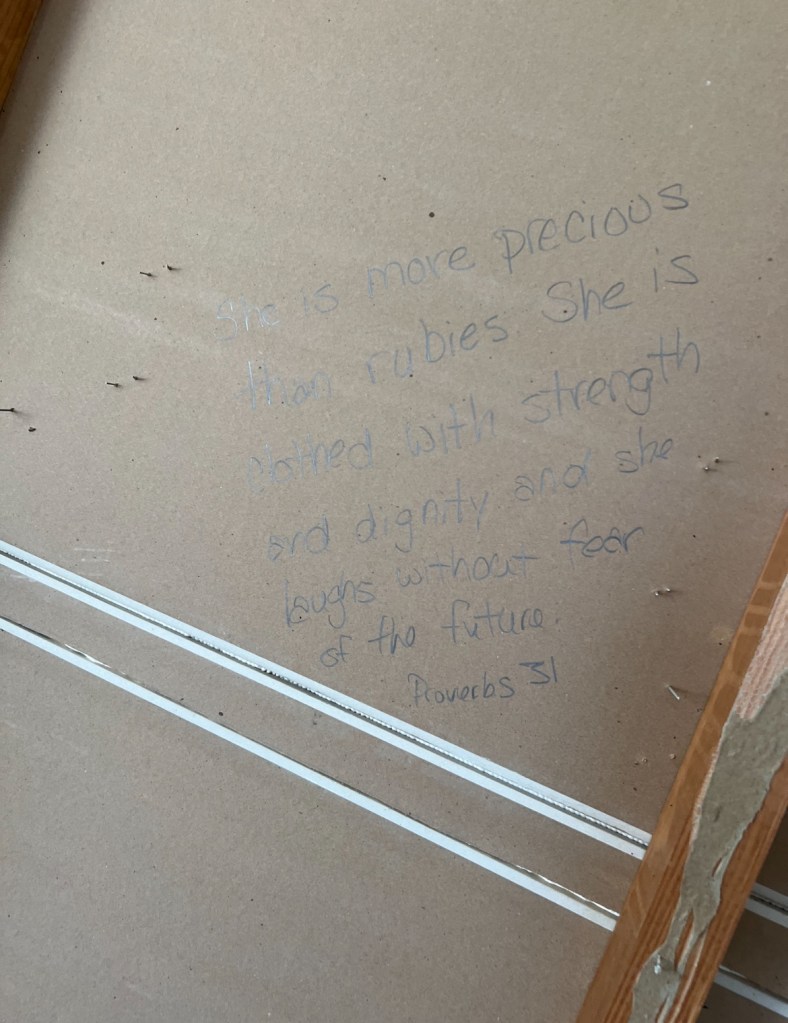
We did write some Bible verses on the walls as well like we did when we made the loft in the little house. I miss that house sometimes!
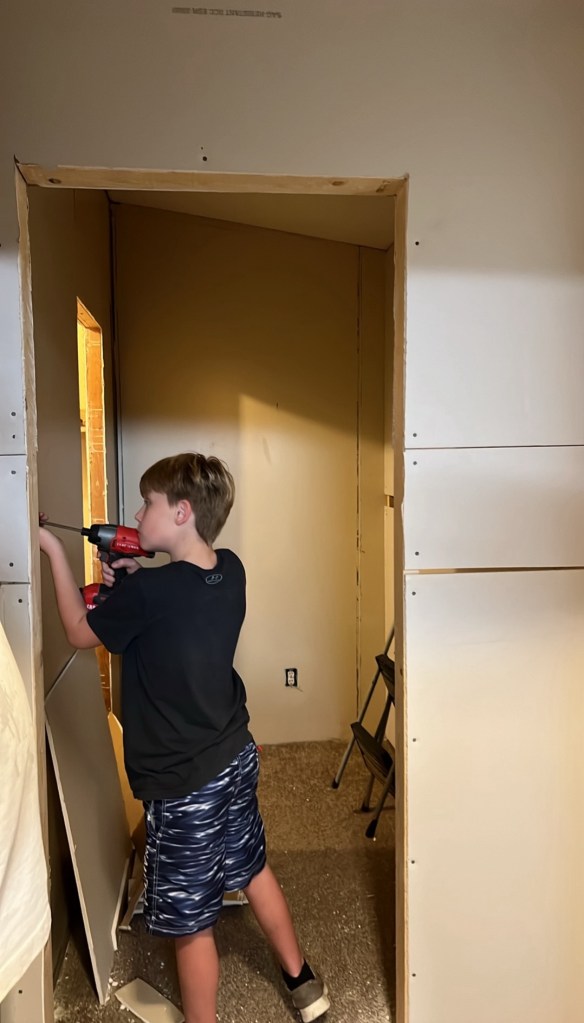
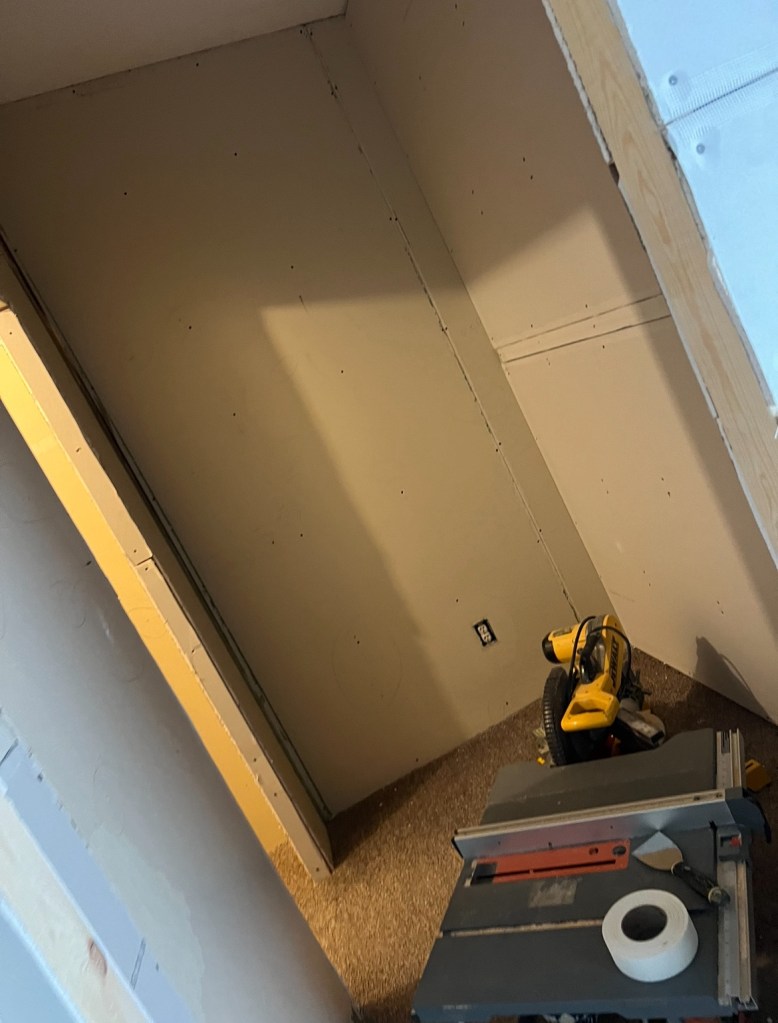
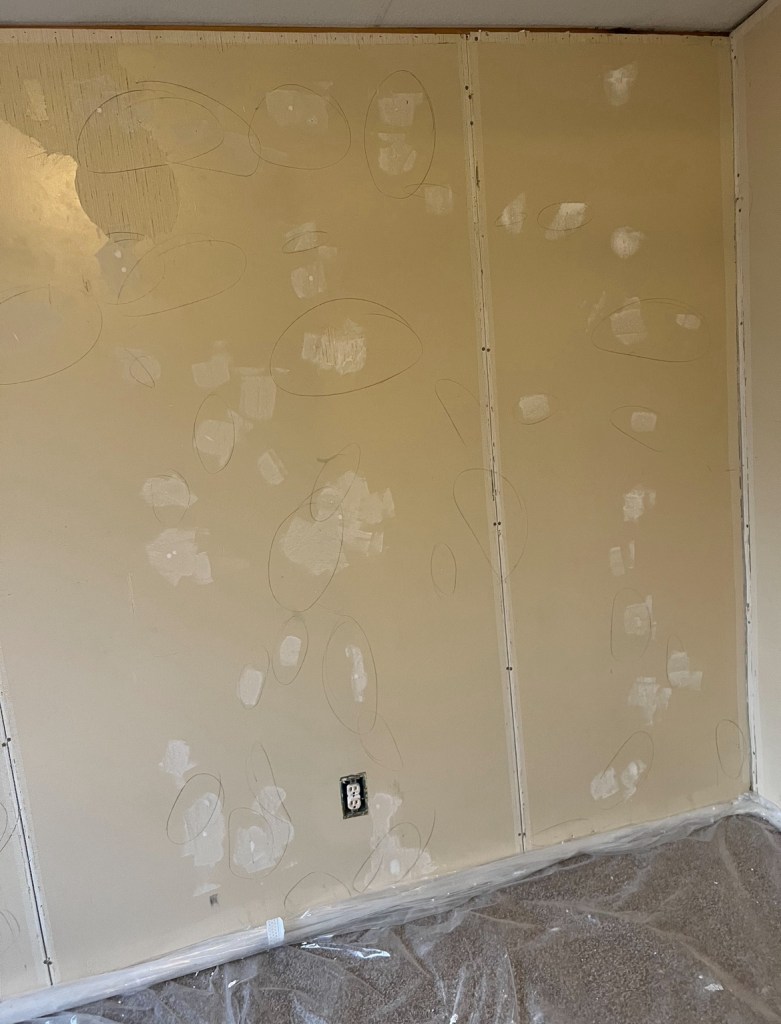
We hung the new drywall, patched some of the old drywall, and scraped for what seemed like days to make sure we had gotten rid of all the old staples! It seemed like the house was being held together by staples and glue!
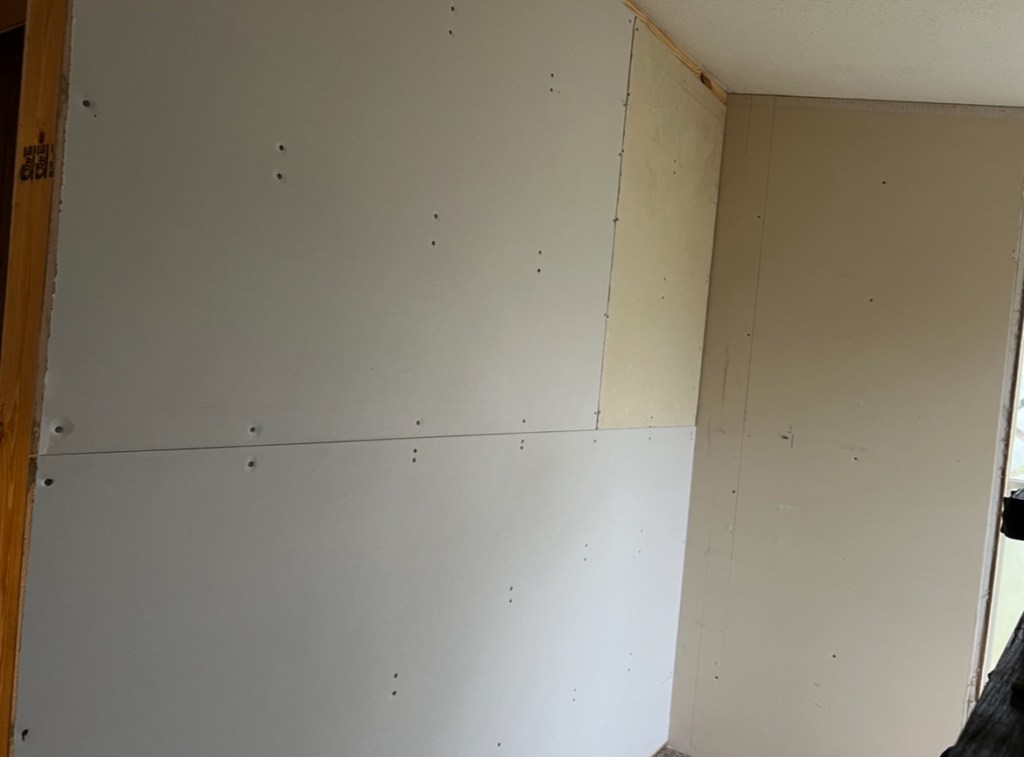
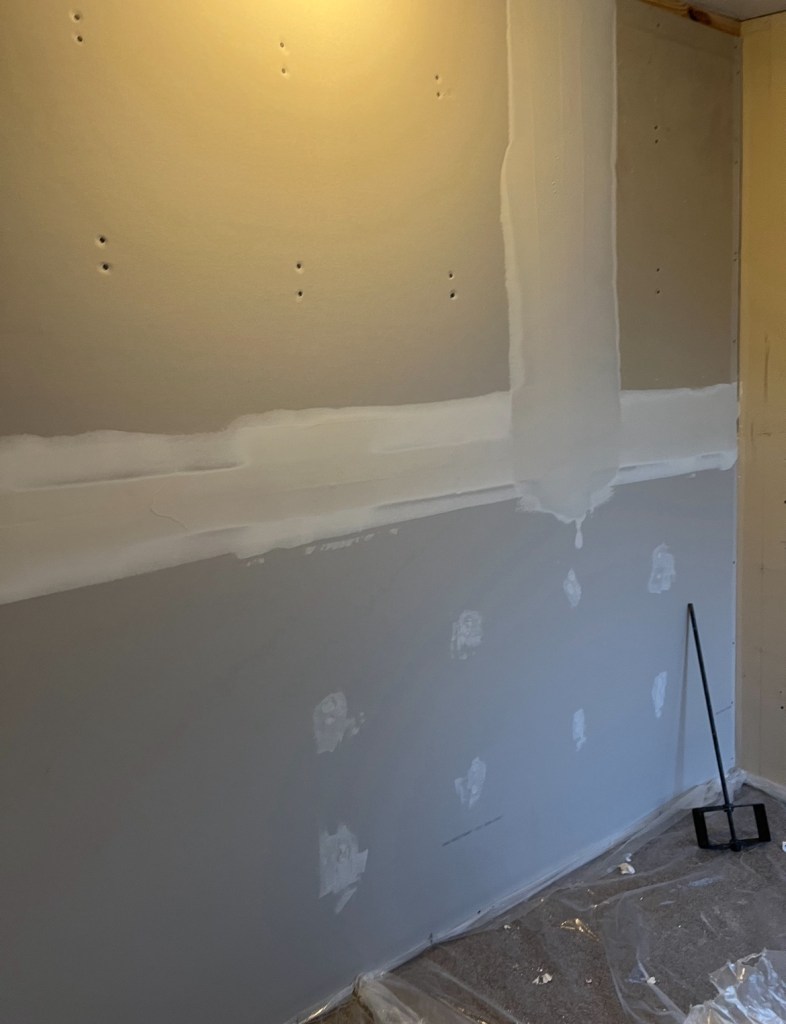
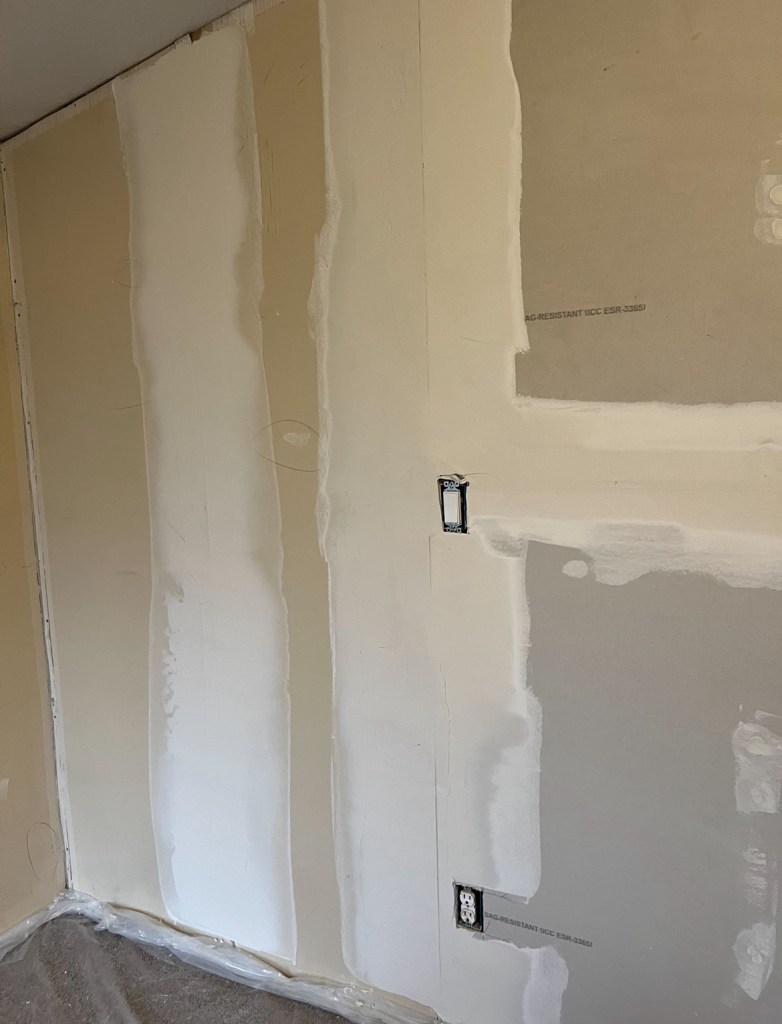
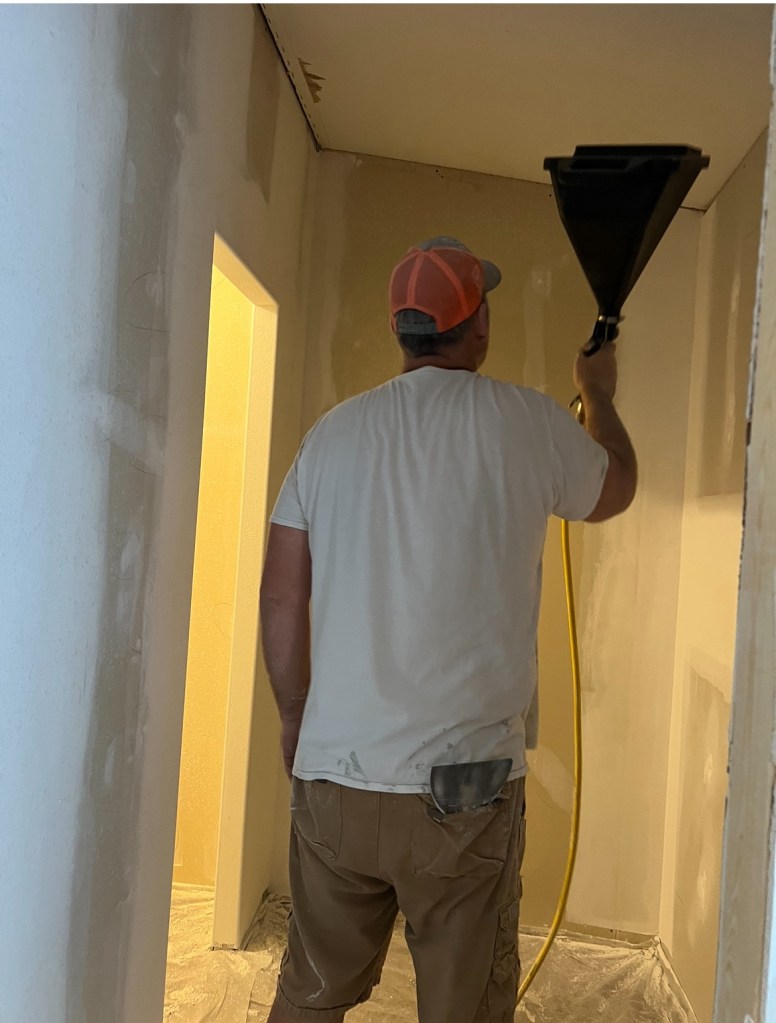
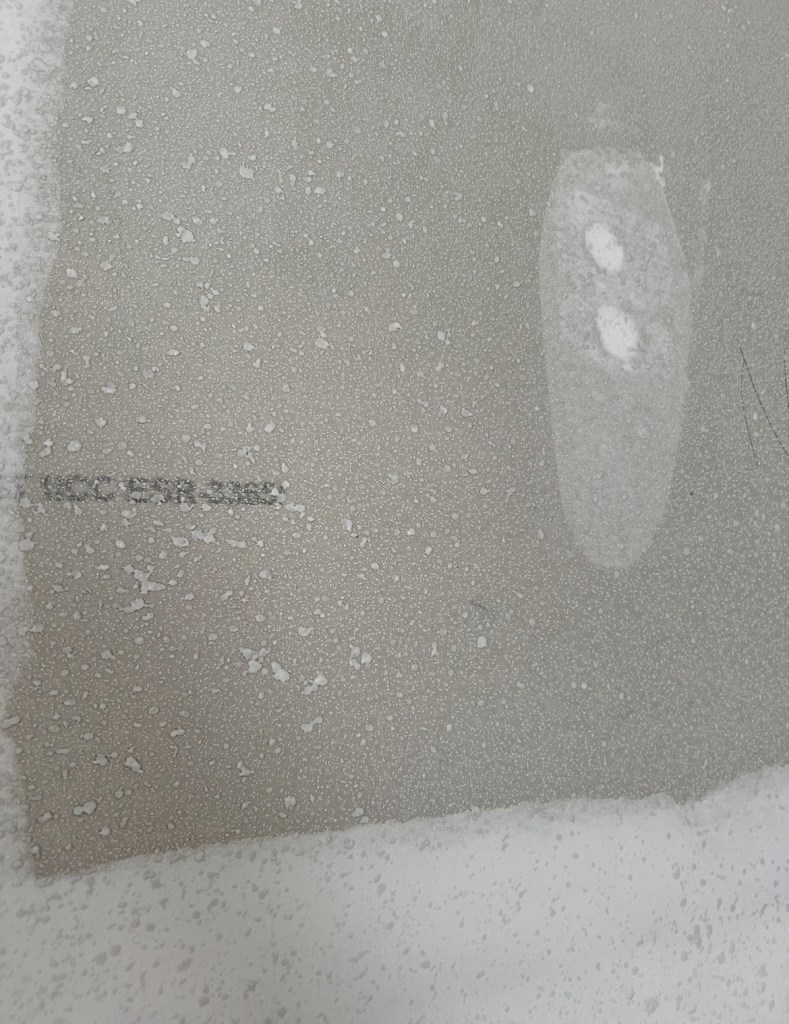
Mr. Awesome sprayed some texture on the walls after the mudding was finished.
Then it was time to paint! Yay! We used a primer first for all the walls. Then the main parts of the walls are Alpaca from SW that we had previously bought for the whole house.

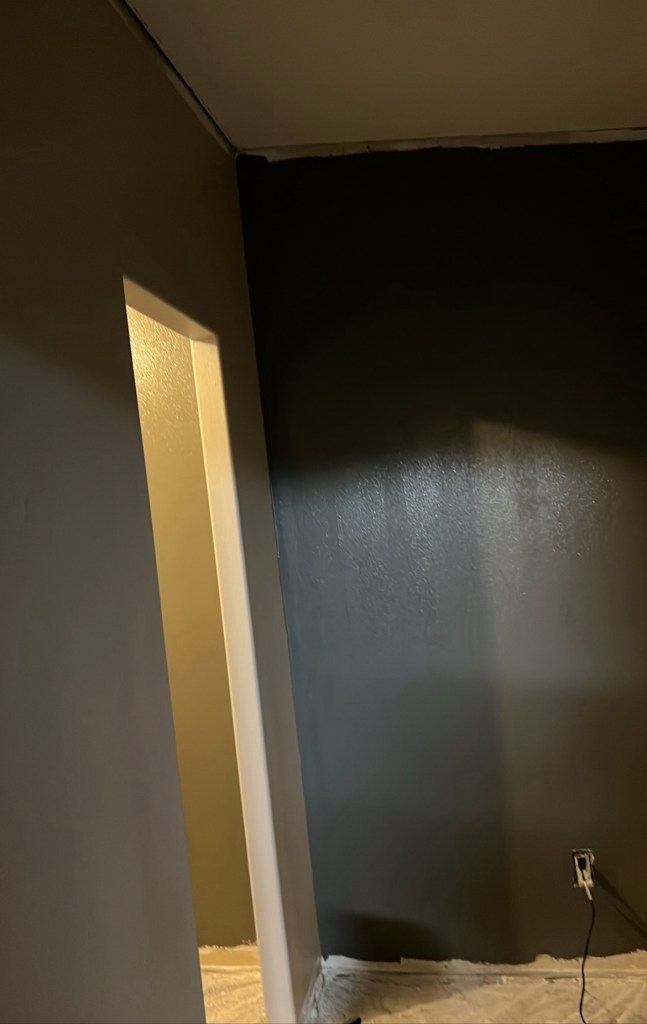
The accent walls were colors that we had left over from other projects. Here are the pictures of the cans for reference:
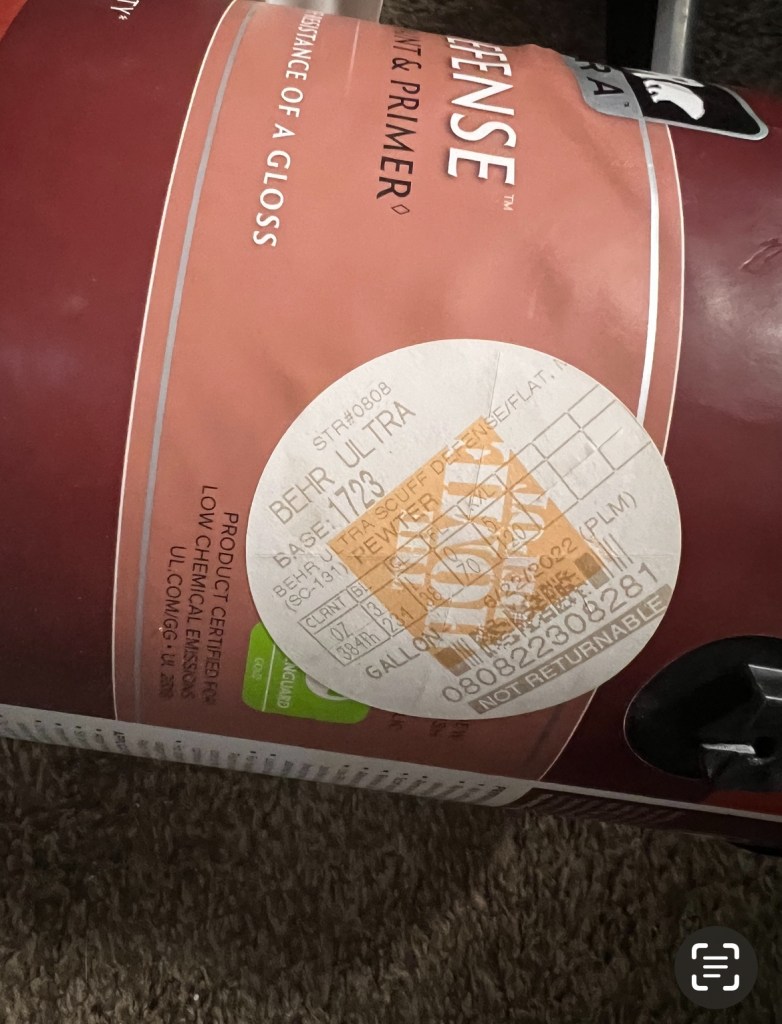
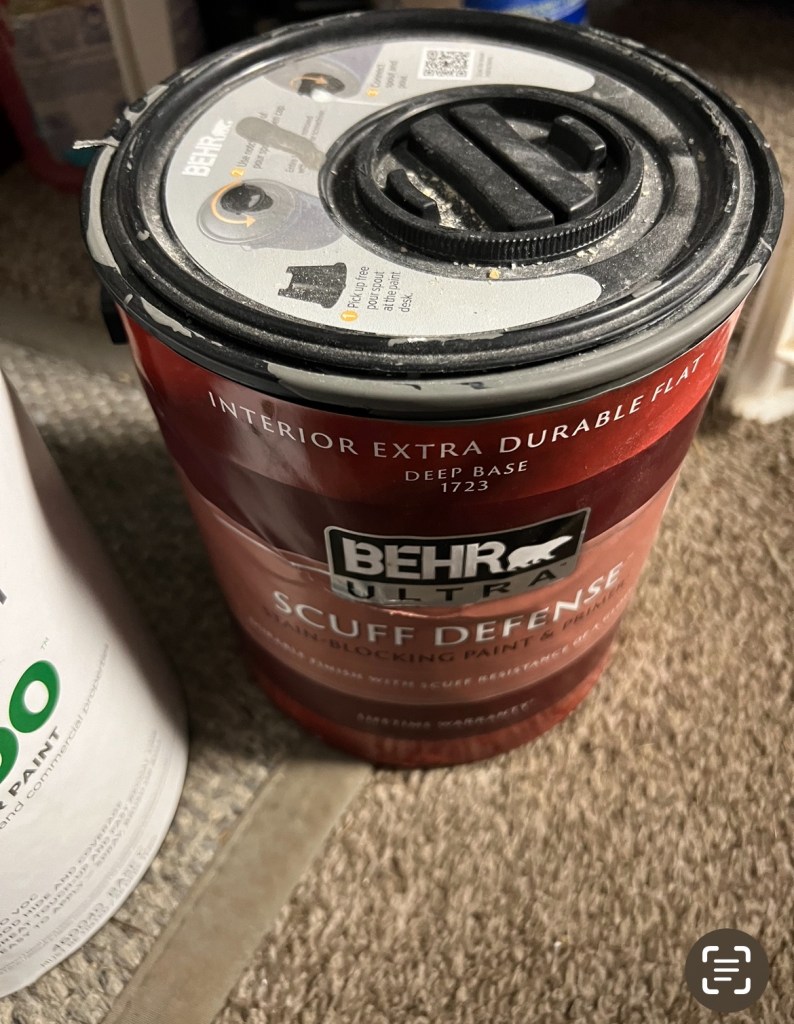

Charming Pink # 6309 and Pewter Gray
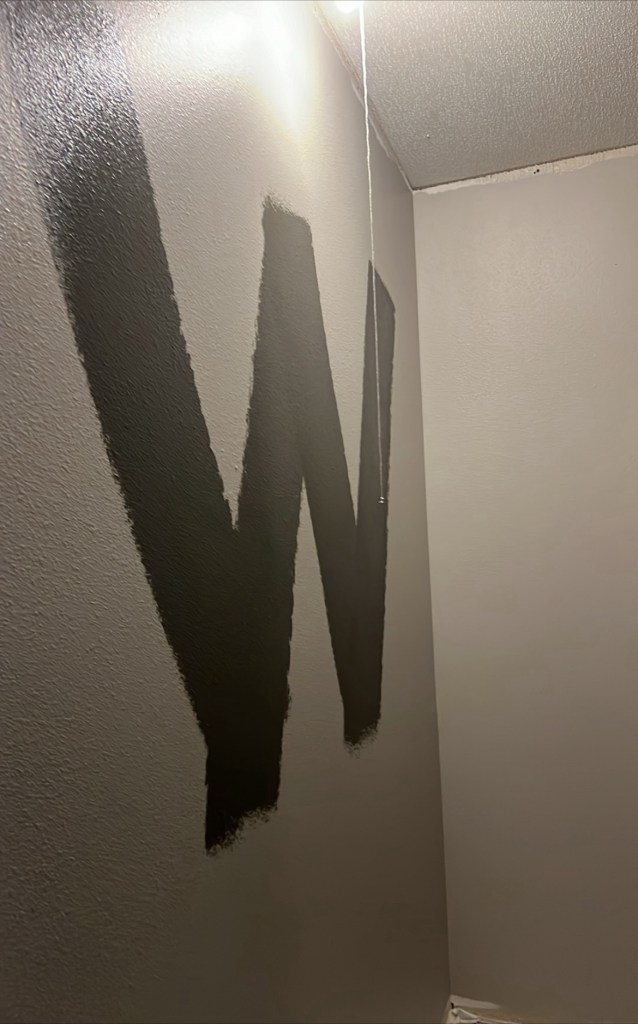
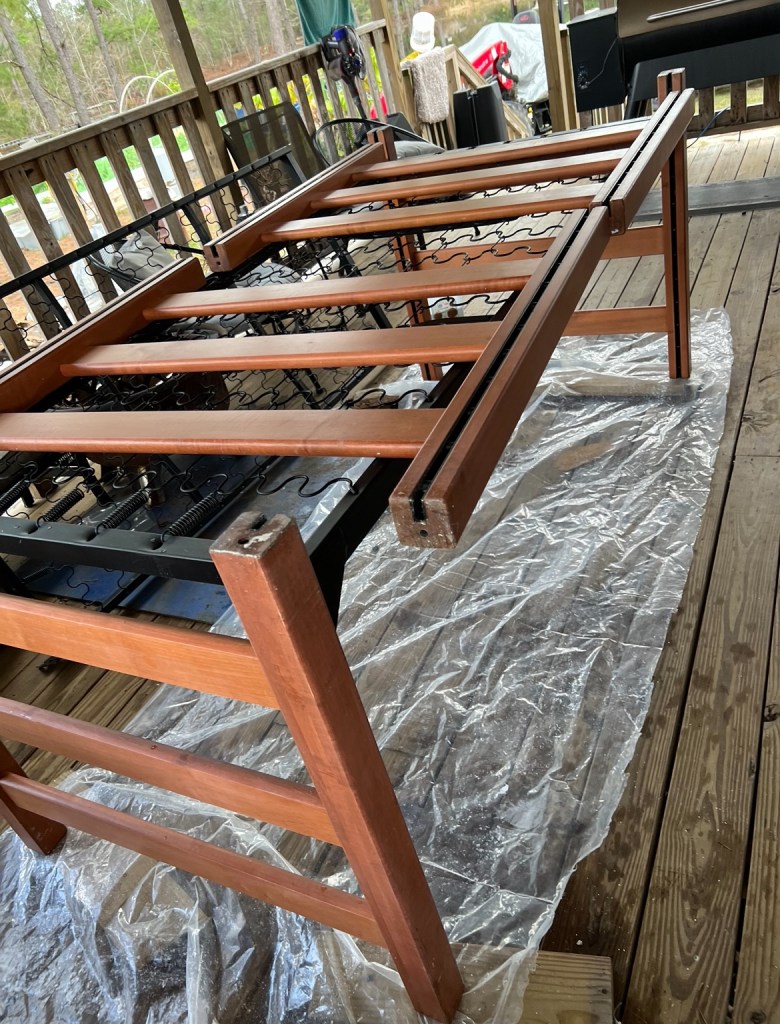
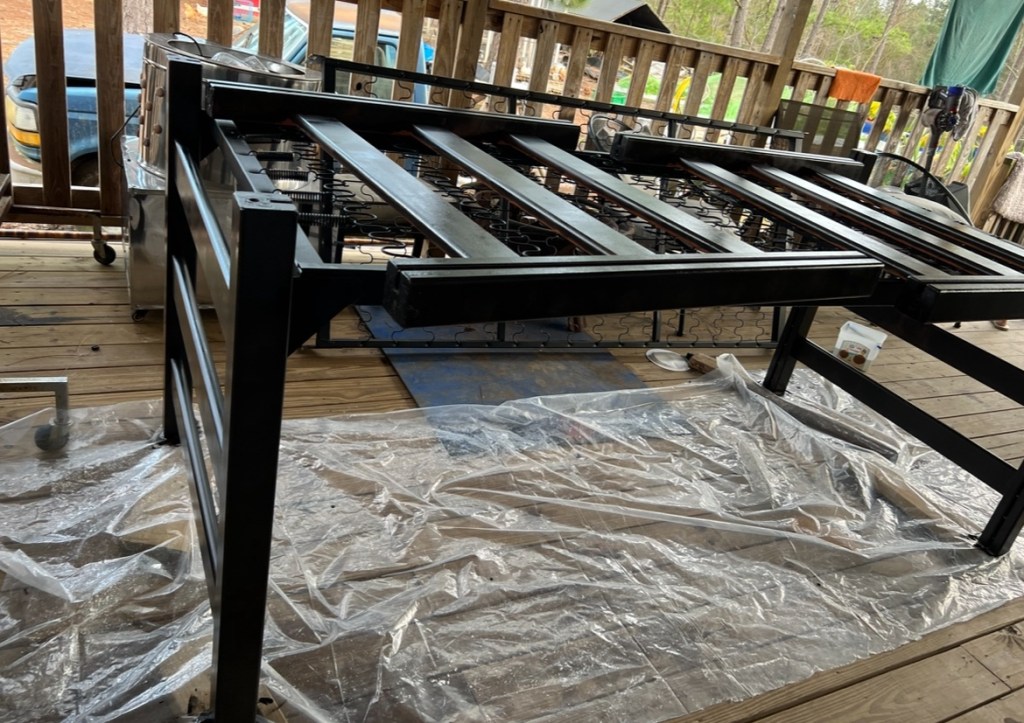
While waiting for the paint to dry I had another project to try. I had a color scheme in mind and those brown bunk beds just wouldn’t work. I used the Heirloom Traditions paint that I used for the kitchen remodel but in a warm black color for the beds. It wasn’t a fun project as we had very COLD temps and lots of rainy weather but they turned out pretty good!
After the painting, I decided to check and see how things were going to fit in the smaller room. I ended up making some changes to the furniture I was planning to use but it all turned out better than I had originally planned!
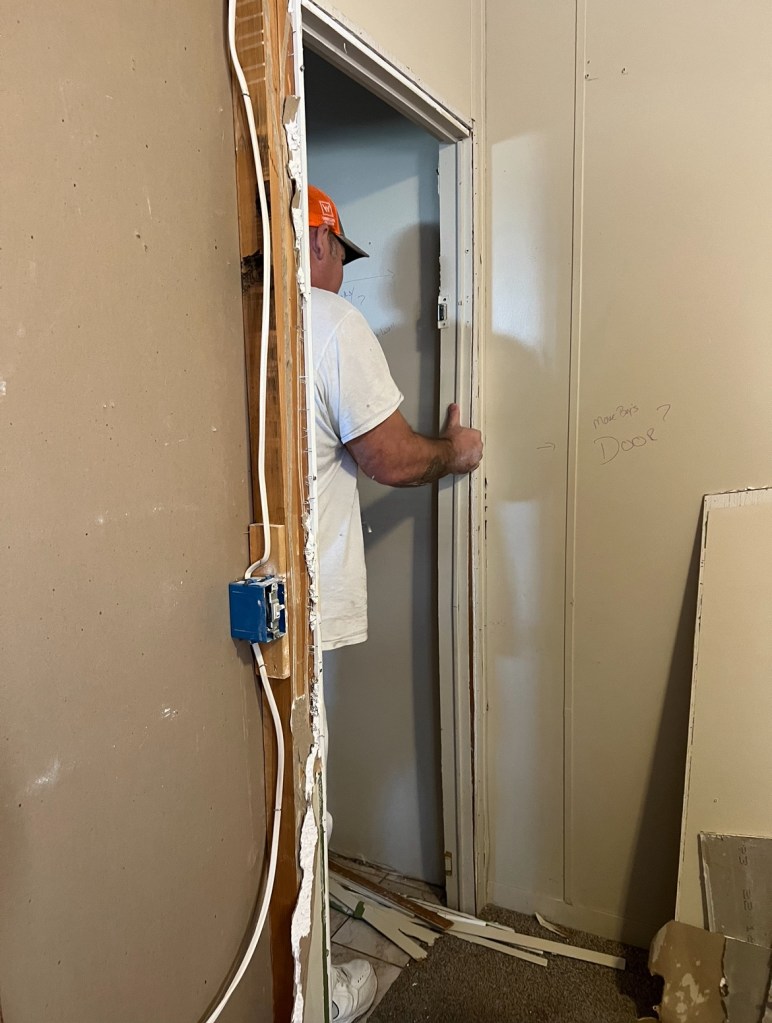
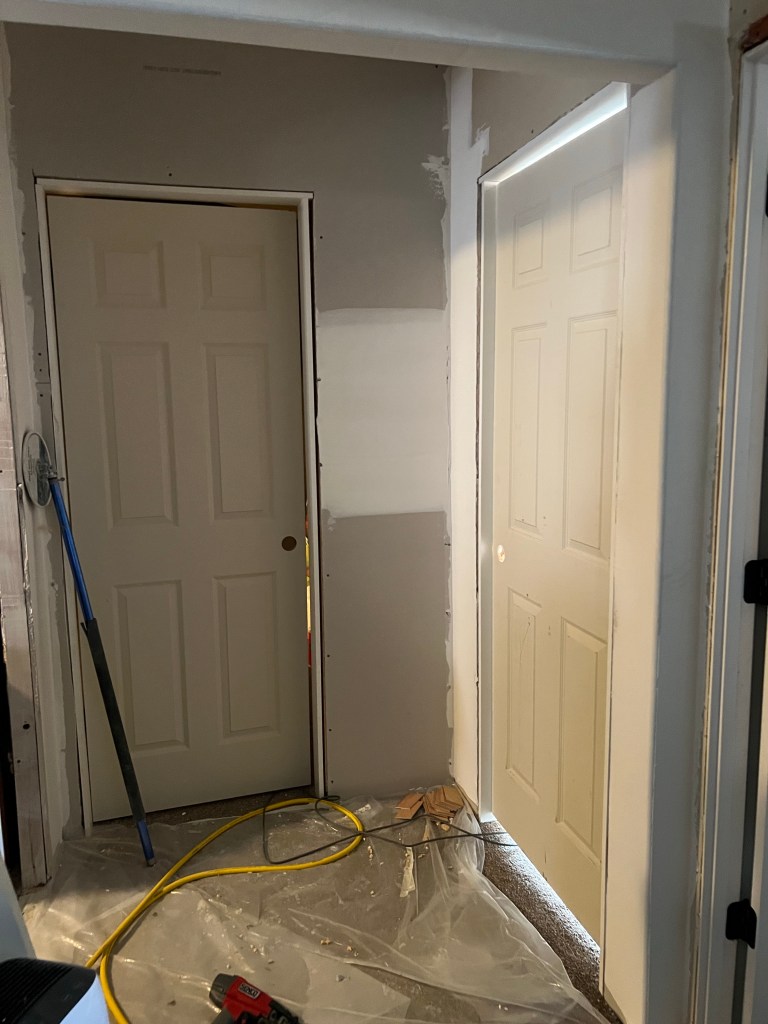
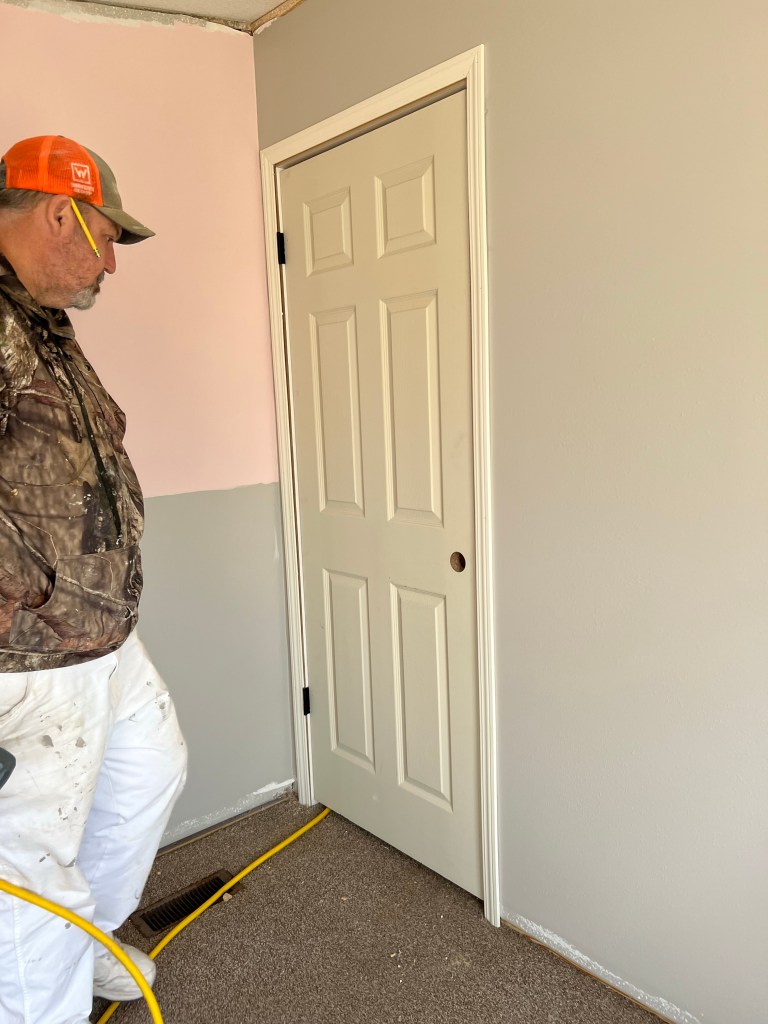
Then it was time for molding. We had planned to buy the prehung doors but the budget would’ve only allowed for one door so we/Mr. Awesome decided he could try to get just the doors and make it work… he did a pretty AWESOME job. It was so COLD that day and the house got chilly as we had to leave the door open to get in and out easier. We also fixed a hole in the floor that we had found when when we moved in... YAY!

I was going to do this post in two parts but I figured if you made it this far then you might want to see the final projects. We still have to finish the hallway, the boys’ room, paint the doors, and add the handles, plus we need one more piece of trim for the girls’ room but all in all it turned out better than we’d hoped and the kids are ecstatic. I did a mini ‘refresh’ in the boys’ room so I’ll post that later on. A good majority of the items we used in these spaces were reused or repurposed.
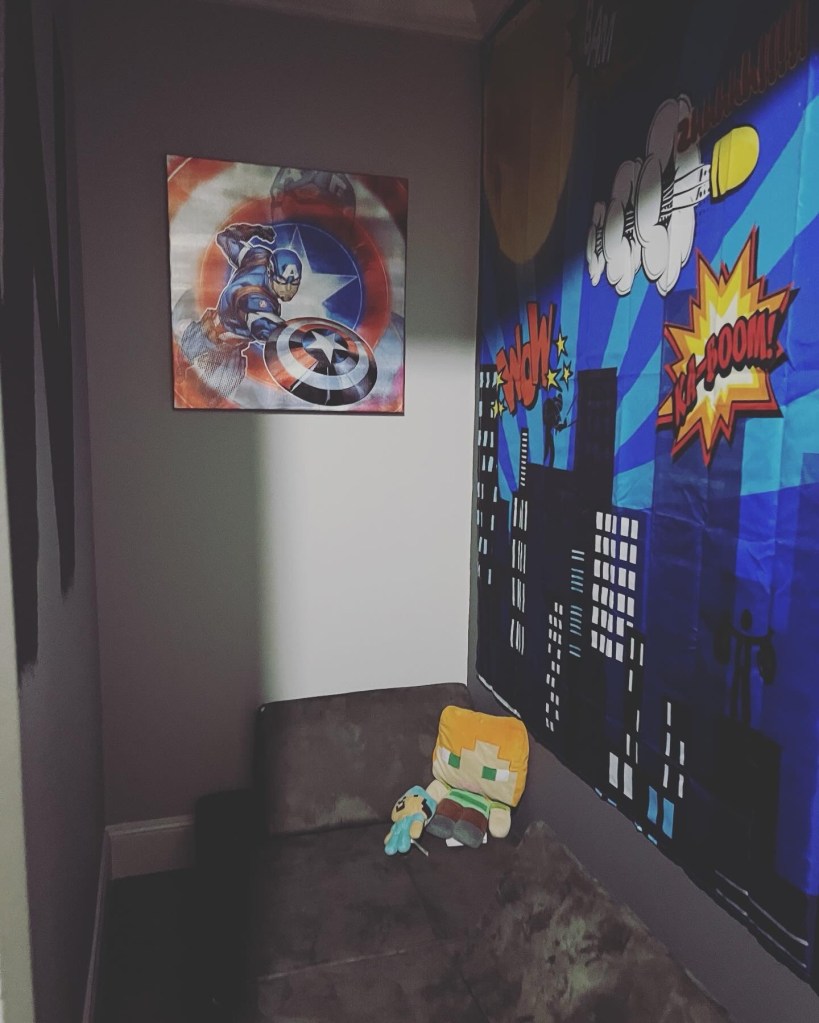
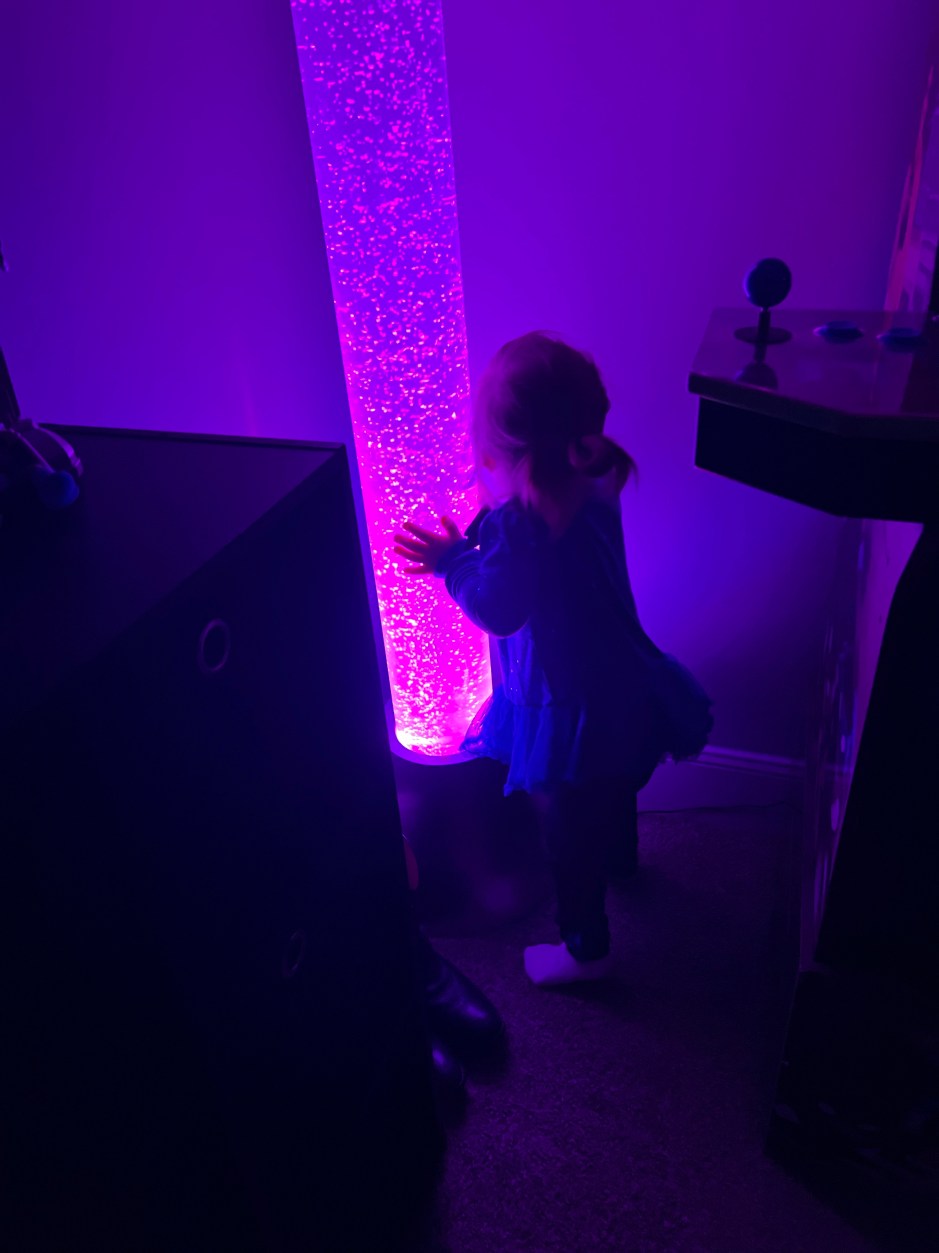
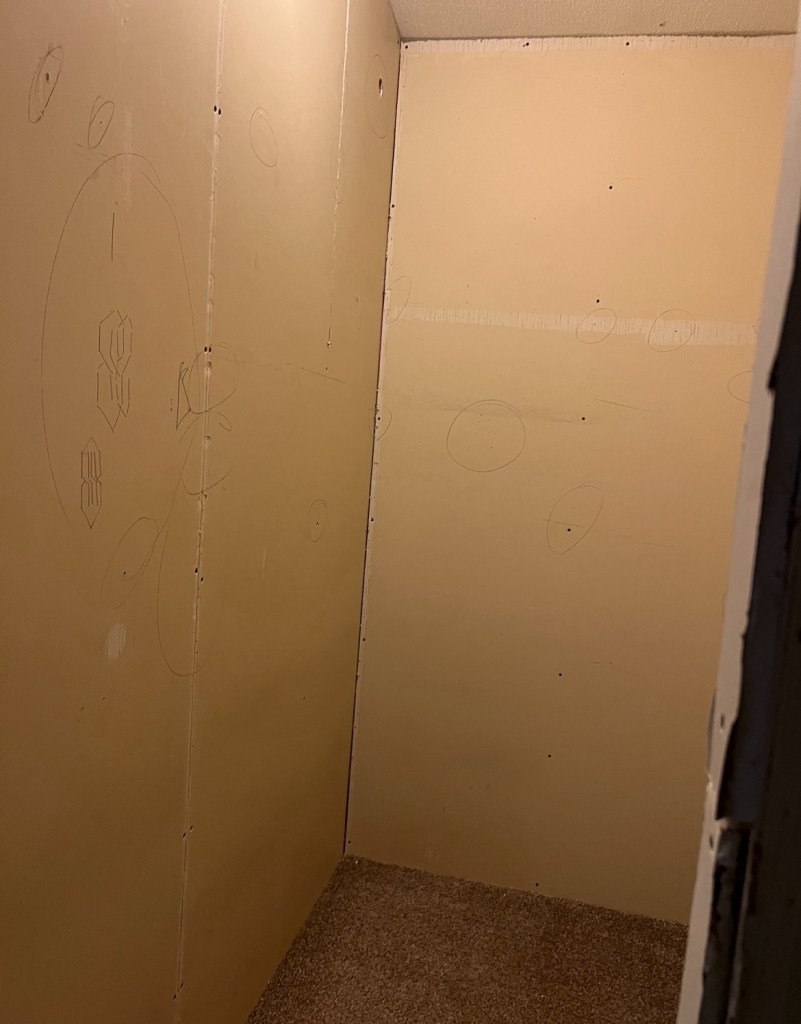
This little room is a bit awkward as it is an ‘L’ shape but it works well for the purpose. Everyone is in love with this room and everyone wants it… I wanted it for an office, Mr. Awesome wanted it for his hobby room, and all the kids were begging for it but Mr. W needed a room so he is the one who gets it for now… even little miss has been trying to kick her older brother out of the room so she can claim it. Seriously, it is a VERY relaxing space and I had a hard time not taking a nap while I was decorating it! I also love that I can see into this room from the kitchen and living areas.
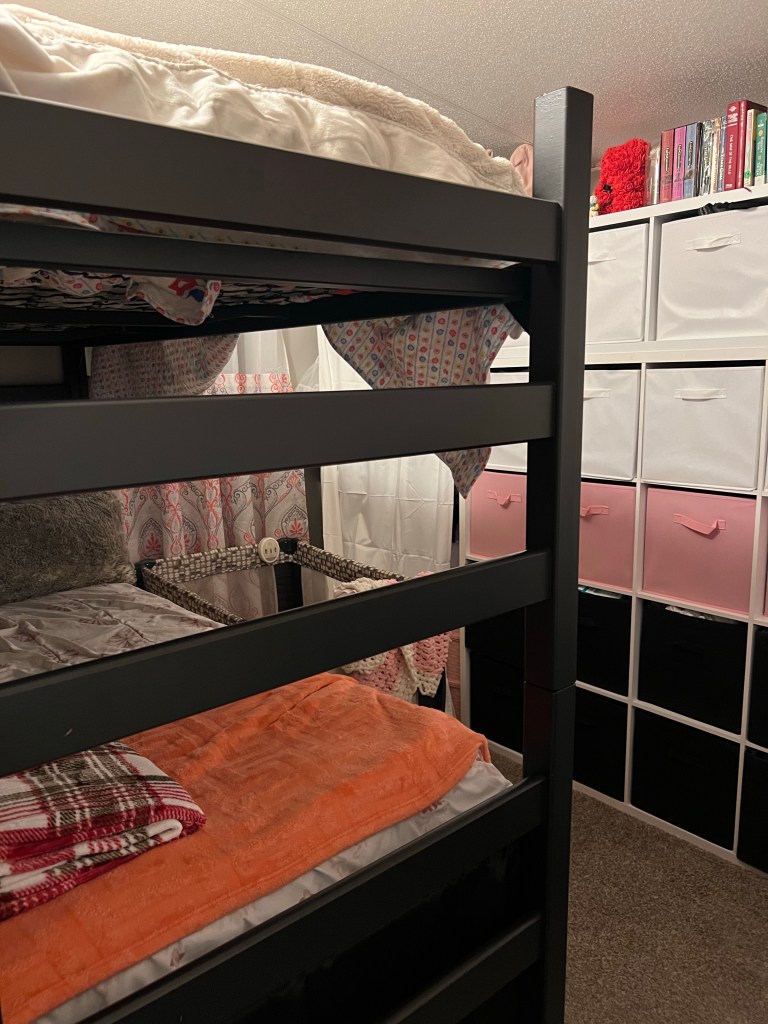
The girls have also ordered some new bedding but it hasn’t come in yet. I will update the pictures when it does. We also swapped out the baby bed for a mattress on the floor so she could be a little more independent. The mattress is tucked in under the bunk beds during the day when she isn’t using it… kind of like a trundle bed. She really likes her big girl space! (sniff, sniff… she is growing up too fast! Actually they all are but that is how life goes!)

It is so crazy how a simple wall can make such a BIG DIFFERENCE in the way our house functions and looks but it is 100x better than it was. Even when we had made the divider walls from the cabinets it functioned much better but this does look a bit nicer! I’ll do some separate posts about each room later on!
This end of the house feels like a brand new place and we can’t wait to get the rest of the house finished… It’s not fancy but it’s HOME and it’s filled with LOVE and LAUGHTER and FAMILY… that’s what is most important!
Have a blessed weekend!
**This post does contain some affiliate and/or referral links to products and/or services that we use. If you happen to click through a link and make a purchase we may earn a teensy-weensy small commission (at NO EXTRA cost to you) if a purchase is made through these links. These links help to support our family, our blog, and our homeschooling mission. This means that we can keep bringing you great recipes, ideas, and tips for FREE! Click HERE for a full disclaimer. –Thank you!
Affiliate Links to products used:
Girls’ Room: to see more of their room makeover click HERE.
Frosting Spray – I used less than 1 can of spray for this project.I had several cans from a previous project.
Heirloom Traditions Warm Ember paint – check out their site for deals and coupons
Girls’ closet
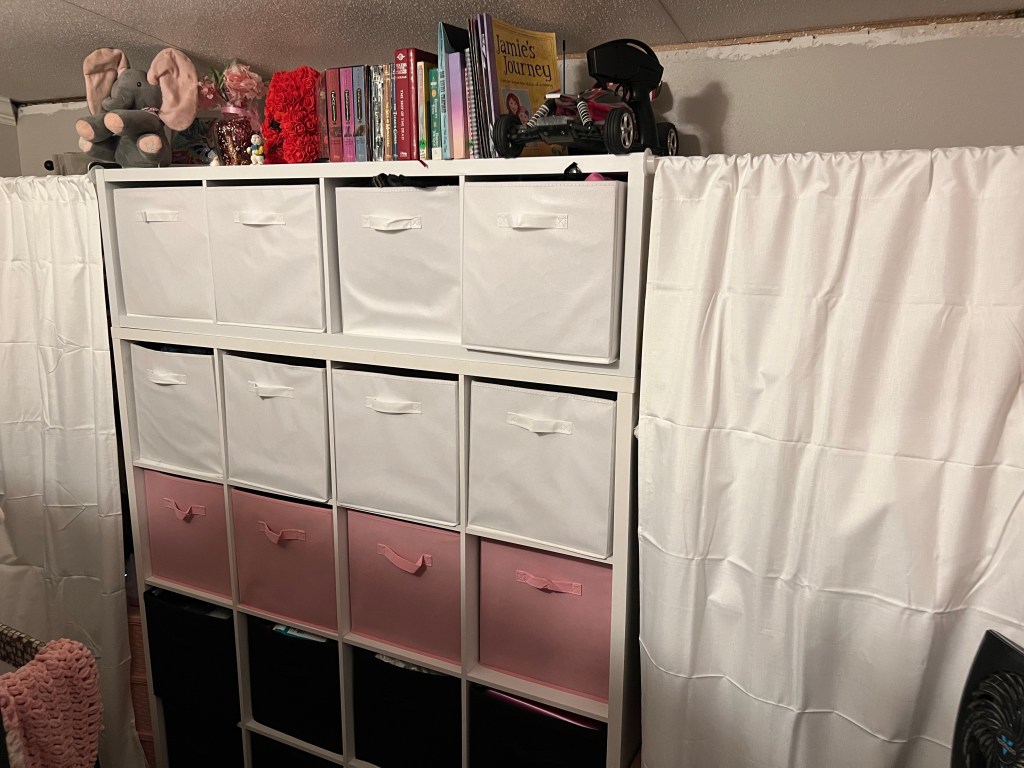
Cube organizers/bins – the black one in the boy’s room was given to me a couple of years ago. The white ones came from Target and the small black on came from Walmart a few years ago. Prices have drastically changed since then… the only one I had to purchase for this project was the 4 cube white organizer for the girls’ room.
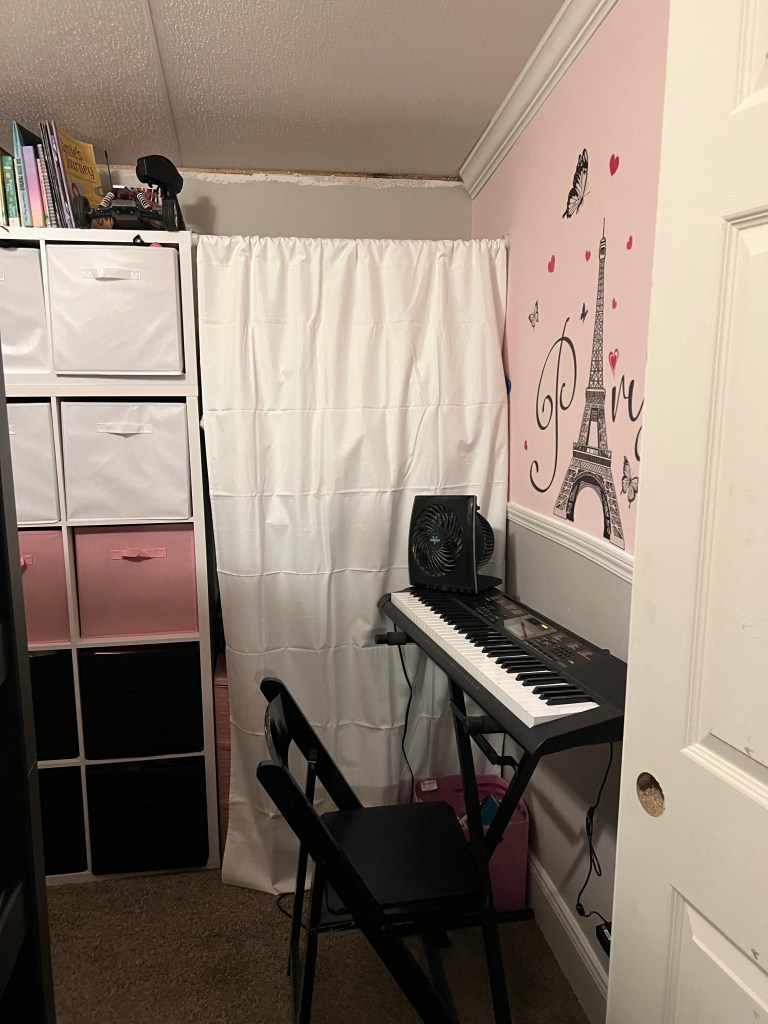
gray curtain (matches with the Alpaca gray walls – on the window covered by the closet area)
shower curtain – used as a window curtain but I couldn’t find it available anywhere as I have had this since 2020
black curtains (used as bed skirts for the lofted bottom bed)
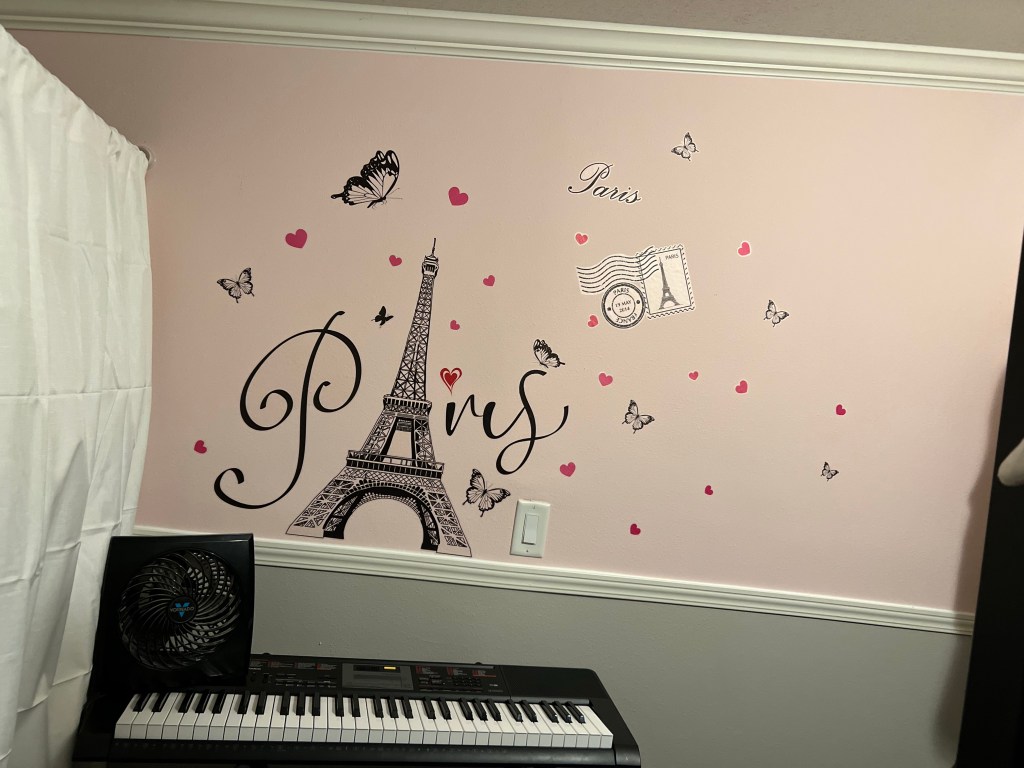
Paris bedspreads:
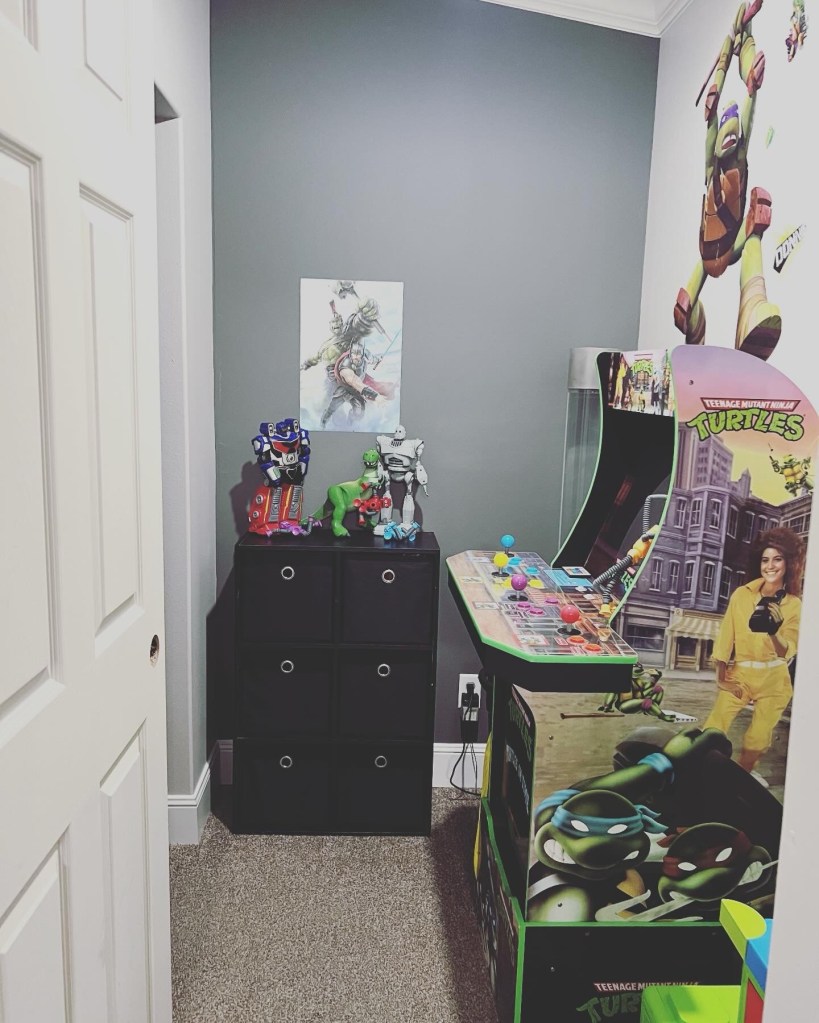
Mr. W’s Room
6 cube (black) – I had this for school supplies, then it was used for Shyanne’s clothes, and now it is here. I just had to buy some black bins to replace the pink ones.
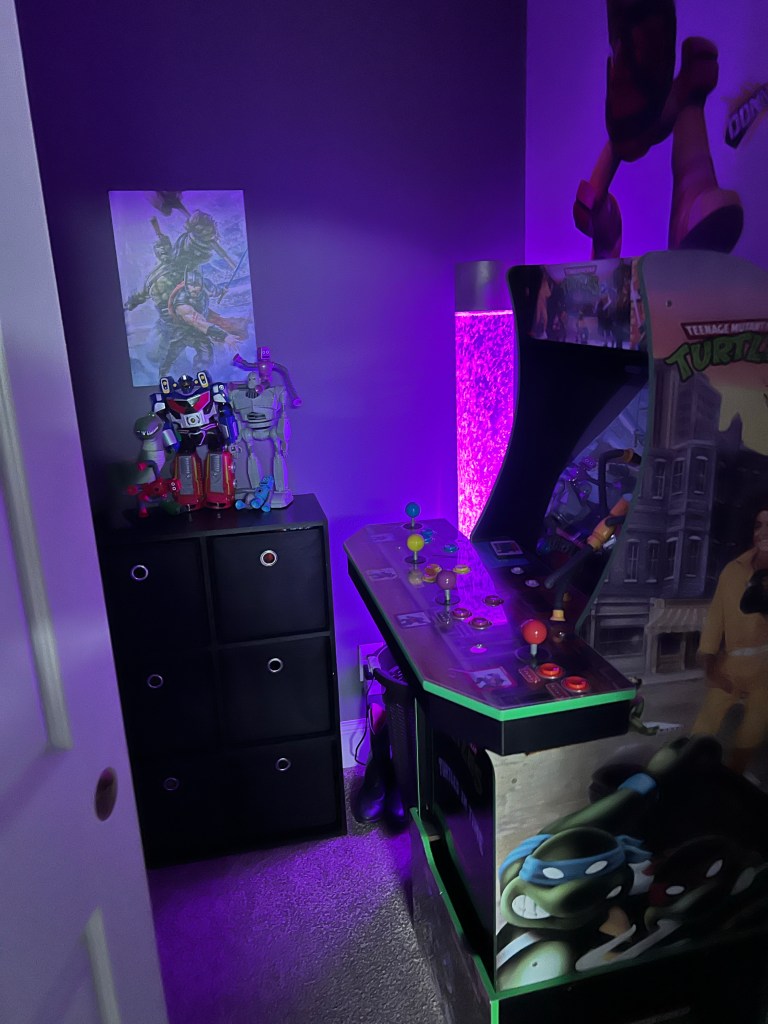
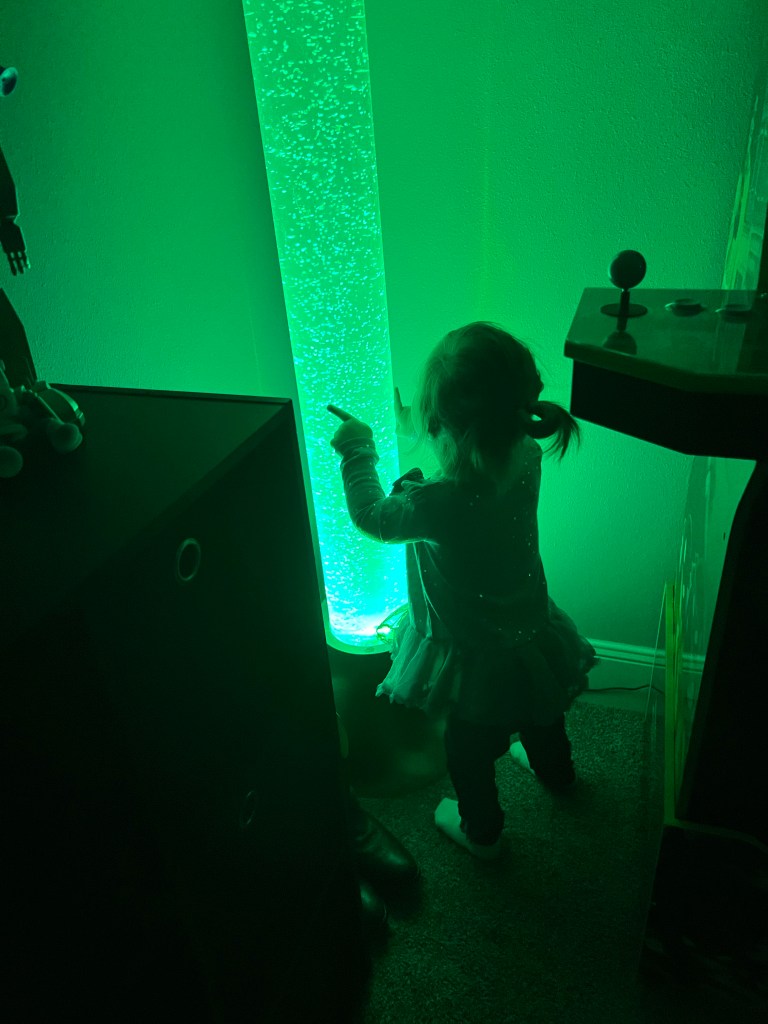
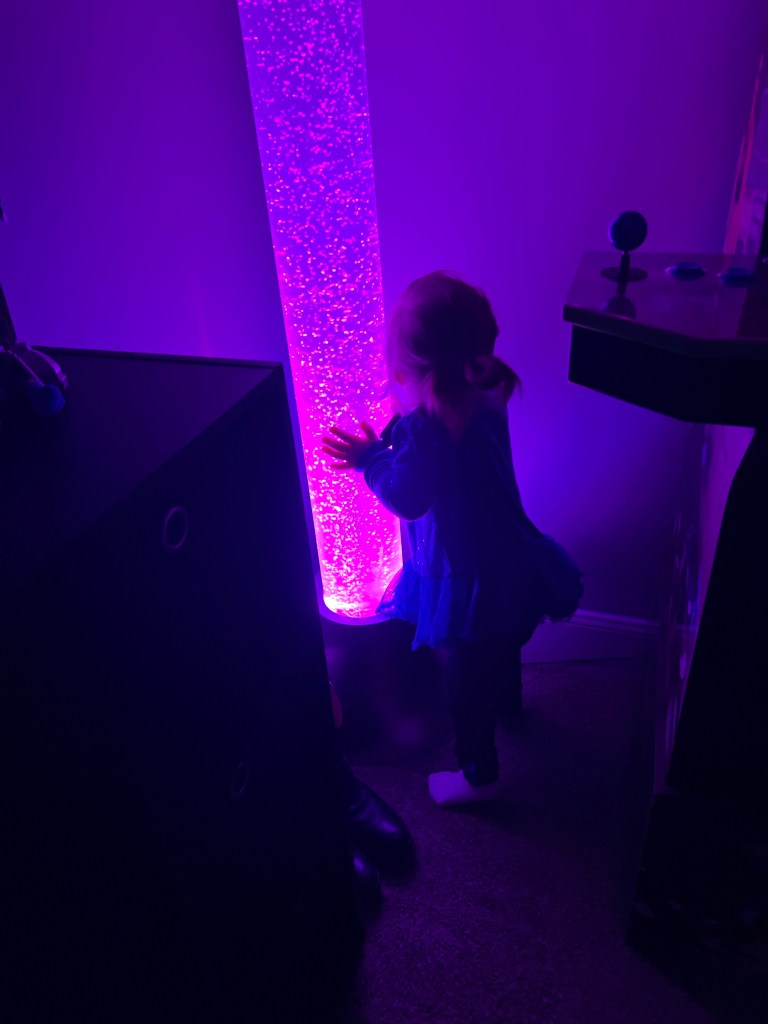
light tube – this is not the same one as I’ve had ours for several years but this one is similar and cheaper
lego block storage cubes – these were given to us and I couldn’t find the exact ones to link to
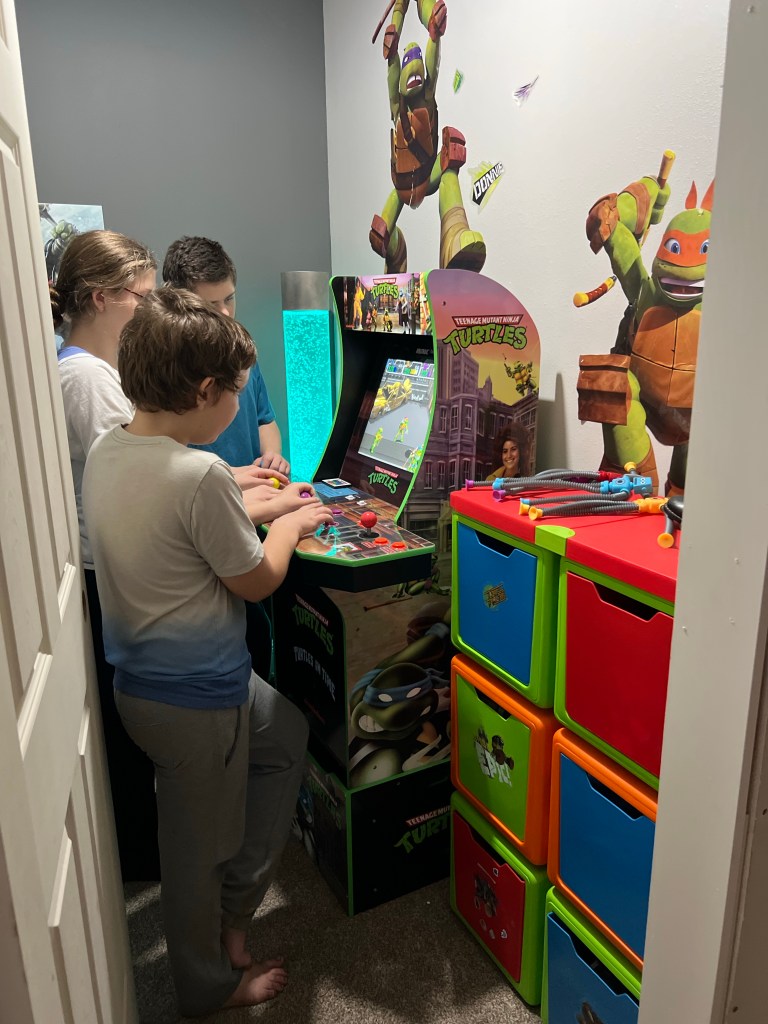
Ninja Mutant Ninja Turtle Arcade – this was given to us a couple of years ago
hanging pendant light and canopy kit although the light does come with a hook for the ceiling
remote switch for light – Mr. W has been known to pull the strings on the lights too hard so this was a necessity.
wall stickers- I couldn’t find them for sale as I have had these for a few years now. They were reused so they don’t stick well and he has since requested a Minecraft theme. I am looking at this Minecraft shower curtain or this Starry Night curtain to use as a backdrop in place of the stickers.

9 thoughts on “Shared Bedroom Makeovers… Two become three”