Bathroom And Extra Room Kleaning Missions Weekly Wrap Up

Hey everybody! I haven’t been doing daily updates this week as we haven’t done a whole lot of major cleaning missions at all. I overdid it last week and had to call in reinforcements just to get a few projects tackled this week.

Luckily Ms. Olivia was free for a couple of days and she came to stay with us. The kids loved having big sister back home and she really did help out quite a bit.

This week has been a very dreary week with rain and storms almost everyday. Not great for getting motivated to work but perfect for sleeping. The good side is that we haven’t had to water the garden at all!

This week was also a pantry challenge week for us and since we just finished organizing our pantry last week we had a pretty good idea of what needed to be used up. Continue reading “Bathroom And Extra Room Kleaning Missions Weekly Wrap Up”

Kitchen Kleaning Tuesday Mission: Refrigerator

Well today has been a bit more eventful than I planned. I am writing most of this post on the way to a dance. We did accomplish quite a bit today though.

My goal was to get the refrigerator corner of the kitchen cleaned and organized a bit. Continue reading “Kitchen Kleaning Tuesday Mission: Refrigerator”

Keeper of The Home: Cleaning Your Stainless Steel Sink

**Please note this post does contain affiliate links to which I may, possibly, earn a small commission from if you click on and purchase an item. For full disclosure click here.

As you all probably know we moved into a smaller cozier, older home. This home is indeed very cozy.

As I’ve said in other posts I believe that part of being a Keeper of the Home is taking care of what you have. Sometimes we want newer things but there is really no reason to replace things that are working just fine. Even if you do replace them you will need to provide general maintenance and upkeep on your items to keep them looking nice and in working order. Continue reading “Keeper of The Home: Cleaning Your Stainless Steel Sink”

Keeper of The Home: Getting Rid of Hard Water Stains

This is another post for my Keeper of The Home section. I know that it can be downright frustrating when you live in a home where you can clean, scrub, and it just doesn’t seem to make a difference.

Well our bathroom is one of those areas that just never seems to be clean enough. Granted I have not had the time to do a major, top to bottom, cleaning in this room since we moved in but I have been doing the basics. It is getting cleaner every time I do my daily and weekly cleanings but it is still aggravating to walk in and see those orange brown stains everywhere. Yuck!

You will need:

  • Vinegar
  • Baking Soda
  • Pumice Stone
  • Gloves
  • Scrub sponge
  • Elbow grease (you may need more than you think)

This is what we are starting with:


For the shower:

Make a thick paste with the baking soda and vinegar. (I started with about 1/4 c. baking soda and just added a few drops of vinegar at a time to make the paste.)

Then spread the paste on the stain.

IMG_9040

Let it sit 10-15 minutes or longer and then use your scrub sponge to start cleaning it.

It actually came off rather easily where I had a good bit of paste spread on. Some of the other areas needed a bit more elbow grease but I managed to get most of it clean.

IMG_9051

There was still a bit of orange in the bottom of the shower… I guess I didn’t notice it as much before because of the stain on the wall. I sprinkled this with a bit of Comet and let it sit while I went to work on the toilet.

(A bit of bleach would probably work as well but this bathroom is very small with no fan so I didn’t want to be around the fumes while I cleaned the toilet.)

IMG_9053

After I finished the toilet I scrubbed some more…

IMG_9065

It isn’t perfect but it is so much better than it was when I started. I keep this squeegee from Dollar Tree in the shower as our shower has a low side and tends to keep water in one side.

Now for the toilet:

You probably want to put your gloves on if you haven’t already done so. Flush the toilet and turn the water supply off so that the water level stays low.

IMG_9058

Grab the pumice stone. (I had broken mine in half as I thought half would do but I ended up using the whole stick and need to get another one.)

IMG_9055

You need to get the stone wet first and then rub it back and forth on the stain. (I used it first on some stains on the sink.)

IMG_9057

Scrub a little at a time and make sure to get the stone wet to generate the paste.

IMG_9059

This may or may not take a lot of elbow grease depending on how bad the stain is.

IMG_9064

This is what was left of the stone when I finished. I will get another one when I go grocery shopping so I can finish this up.

IMG_9060

The shower and the toilet may not be perfect but they are a lot better than they were to start with:

I made quite a bit of progress in here today and I am pleased with the way it turned out. I still have a lot of work to do but I will tackle it one day at a time.


1008705_us_associates_sep20_300x250.jpg

Start Date: Jan 20 , 2014
End Date: Ongoing
Type: Evergreen
Categories: Clothing & Accessories,Electronics,Home & Garden,Sports & Outdoors,Tools & Hardware


Keeper of the Home: Cleaning Your Smooth Top Stove

Today’s FlyLady mission was to check our stoves and ovens for things that shouldn’t be there. Once clearing off items that shouldn’t be there you should wipe down the stove.

Well, that kinda motivated me to give my stovetop (the oven will be a project for another day) a good cleaning. I’ve never had a smooth top stove so this is a new experience for me.

I did a little research on google and reading several posts and suggestions I decided on the following method. (I have another method linked below that I will try the next time around.) This is something you could get the kids involved in as this is one of those practical life skills that they will eventually need to know.

You will need:

  • white vinegar
  • baking soda
  • cleaning rags/paper towel
  • elbow grease

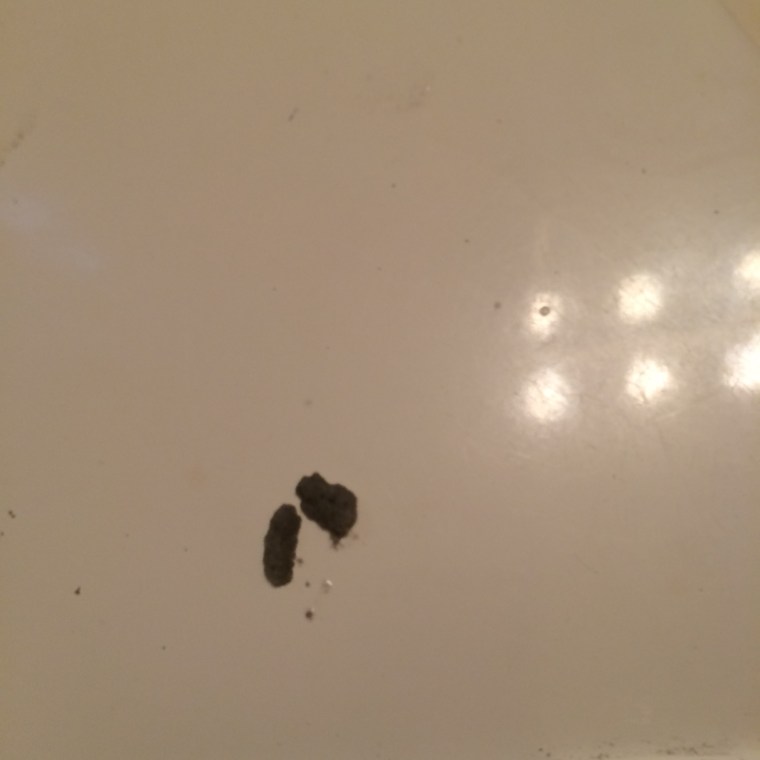
First off, this stove is not new and it did have some prior scratches and plenty of stuck on stuff. I also forgot to take a picture prior to beginning the process but this is a google image of what it resembled:

1442429069209

My first step was to wipe the stove down with white vinegar. I then sprinkled baking soda on the stove and covered it with wet paper towels. I let this sit for 20 – 30 minutes. (You could also let this sit overnight and possibly not need to scrub as much as I did.)

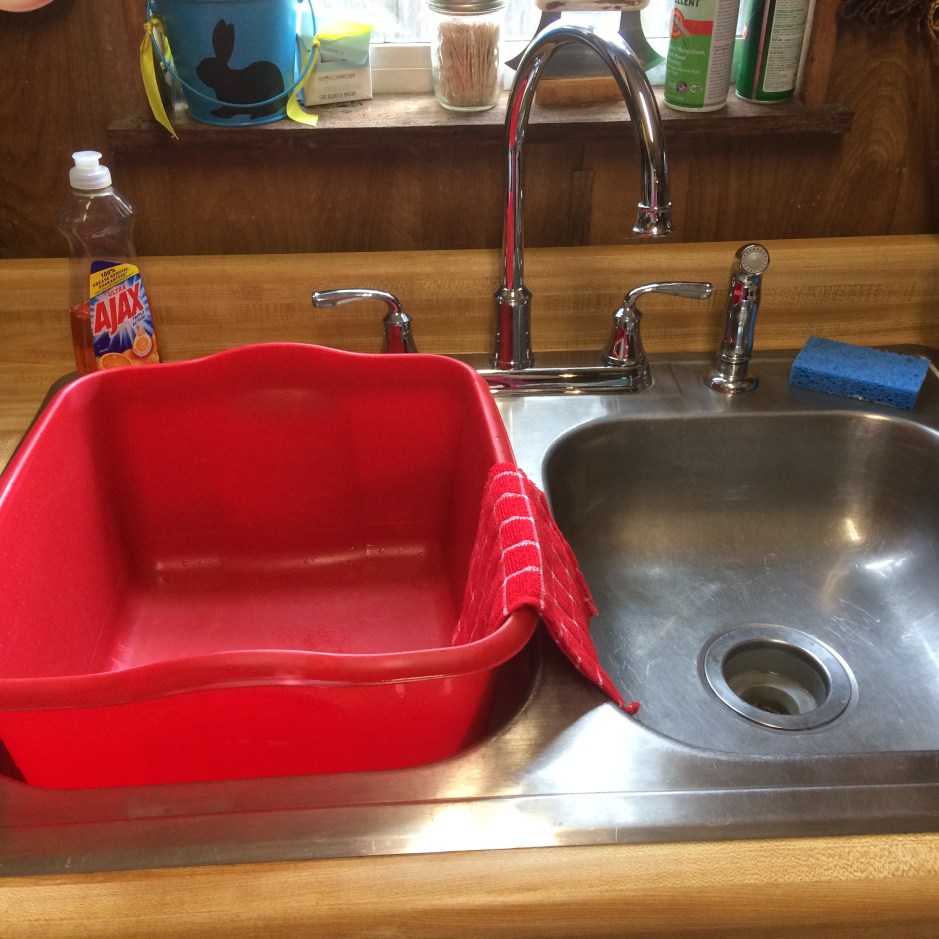
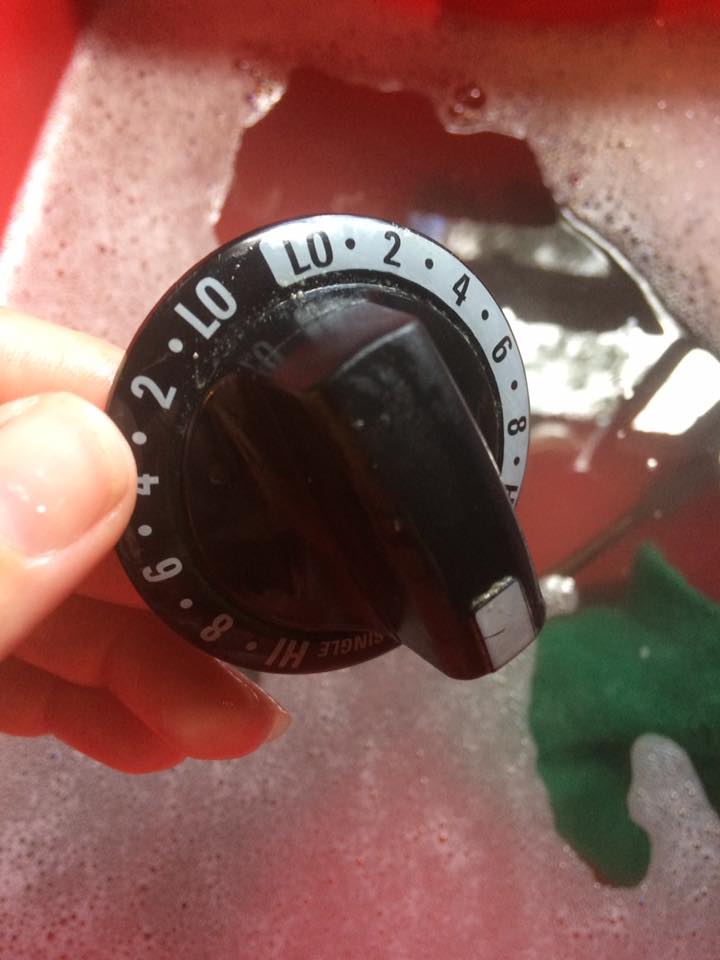
During this time I filled my dishpan with hot soapy water and I took the knobs off of the stove. I let the knobs (and the spoons that were hanging above the stove) soak while the stovetop was being cleaned.

22281790_10214141623678187_2170185629387495895_n

During the time everything was sitting and soaking I was back and forth between helping the kids with school work, cleaning the bathroom, laundry, and other household tasks.

Once this part was cleaned to my satisfaction (not to perfection) I wiped the knobs down and dried them well. (If you have to scrub them be careful not to scrub the lettering off.) I then placed them back on the stove. So shiny! (A little wipe down with vinegar will give you this shine.)

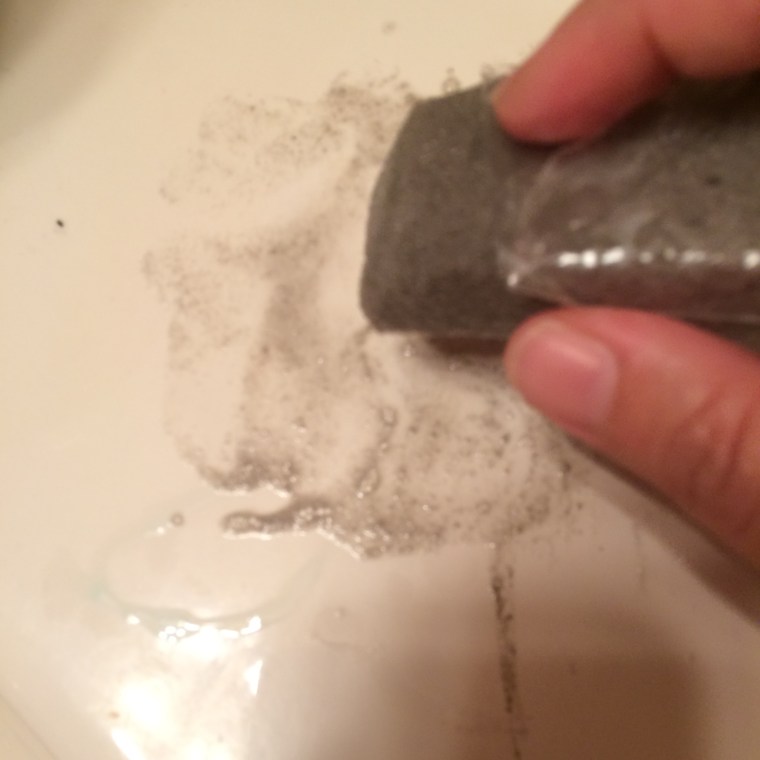
Now to the stovetop. I started by taking up the paper towels and wiping most of the baking soda off.

22406309_10214141624558209_2306536729891973243_n

Next I took a purple rag with the grooved side down and used a bit of elbow grease to start scrubbing on the stuck on stuff.

Once it was cleaned to my satisfaction I got a clean rag and wiped it down again using the smooth side of the rag, making sure to get in the edges and cracks. You can use a little vinegar to get it nice and shiny too.

22308527_10214141622238151_1328160384987173071_n

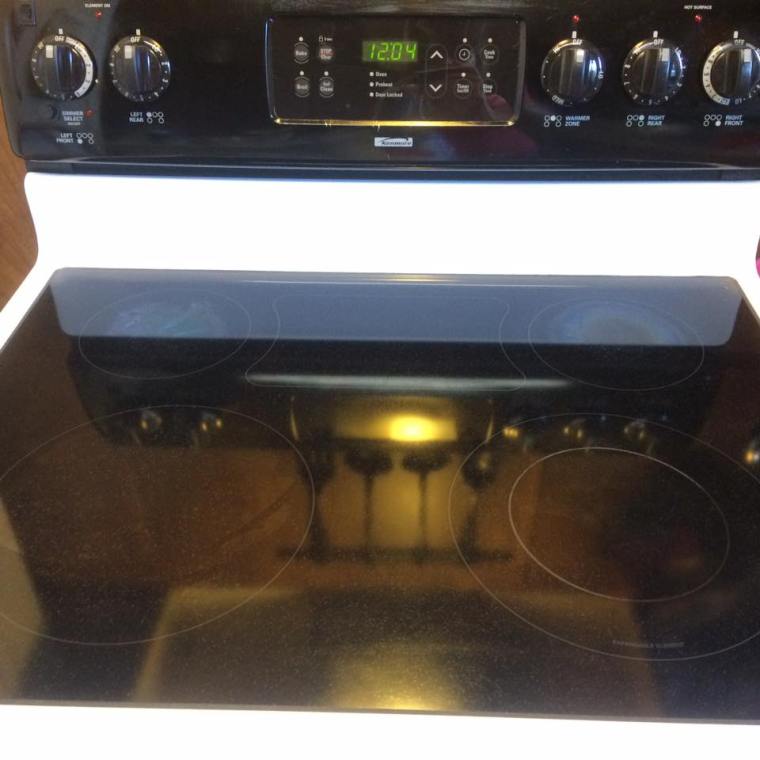
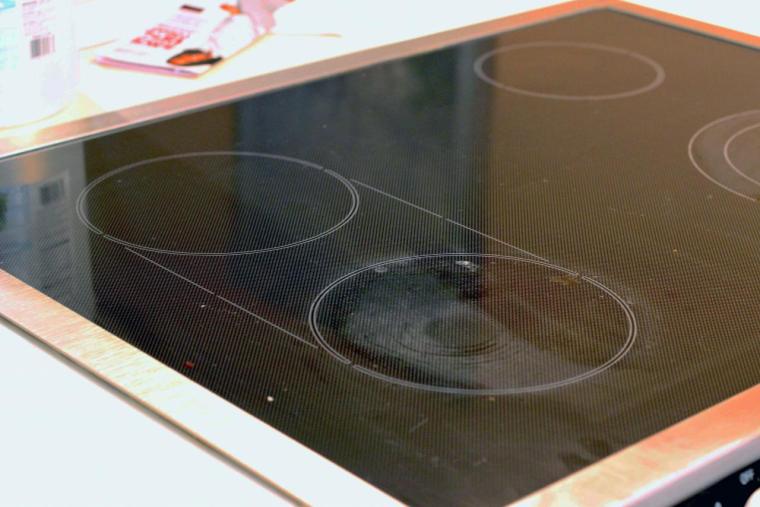
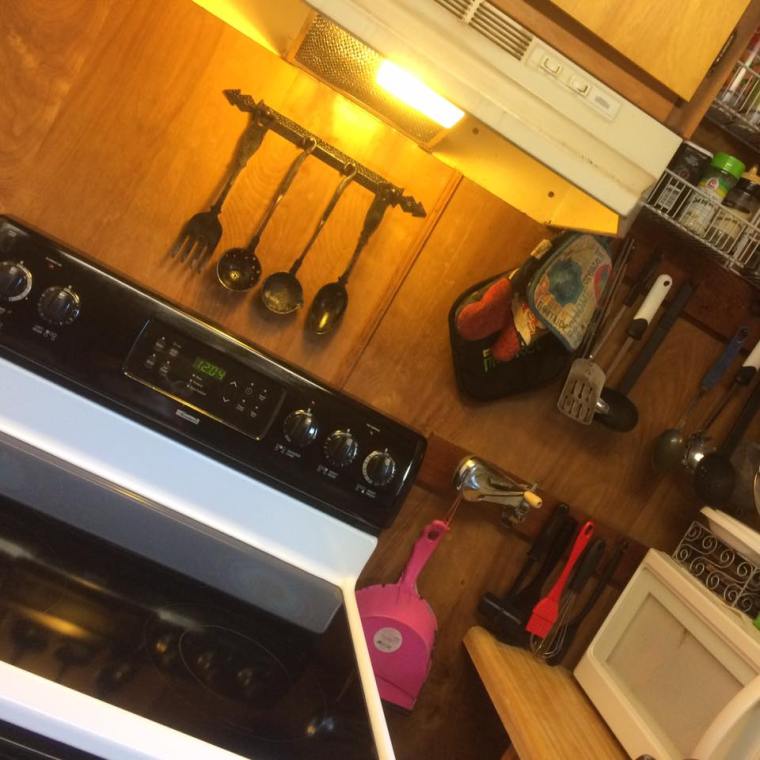
It’s not perfect but it is way better than it was before I started. Here is a pic of what the area looks like after I completed the FlyLady mission (I moved some aprons I had near the stove as they could be a fire hazard).

22406529_10214141622278152_1915227032917152925_n

I think it is important to be a good steward of what we have been blessed with no matter how new or old it is. You don’t have to keep things spotless nor do you have to go on a frenzy and clean everything from top to bottom.

Don’t let yourself get overwhelmed! I know how easy it is to get that way and how easily being overwhelmed can cause you to just give up. Trust me, this recent move has almost had me ready to throw my hands up and cry a couple of times.

Just start on one thing at a time. Little by little you will get there. Today I just cleaned the stove top and I will do the oven on another day. Don’t stress over perfection either.

Each day you will make progress and if you get your routines set up you’ll be spending less and less time on cleaning. Ex: Get in the habit of clearing the stove of anything that doesn’t belong every night and give it a quick wipe. This will keep it clutter free so you can use it and will help to keep it cleaner.

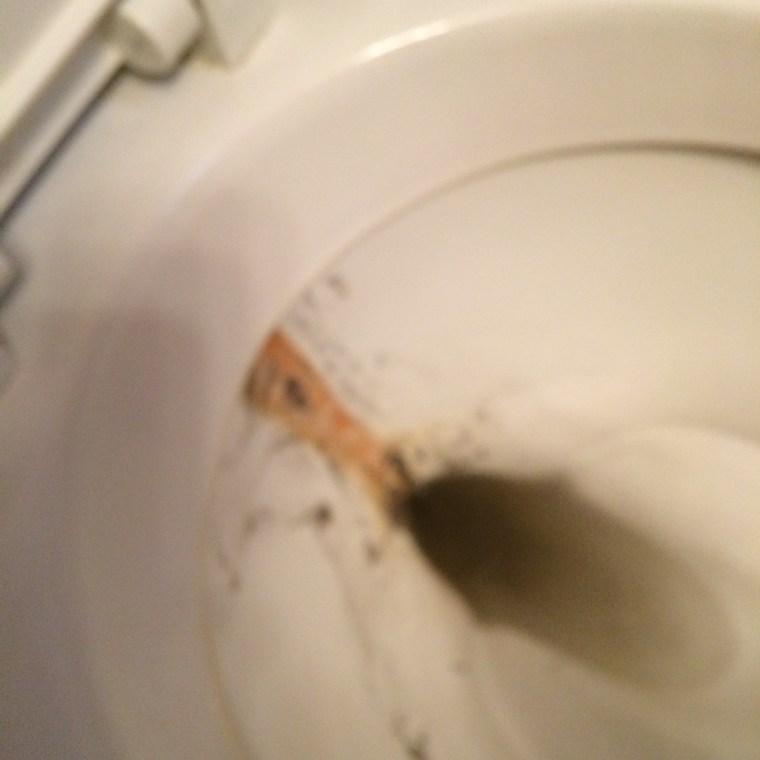
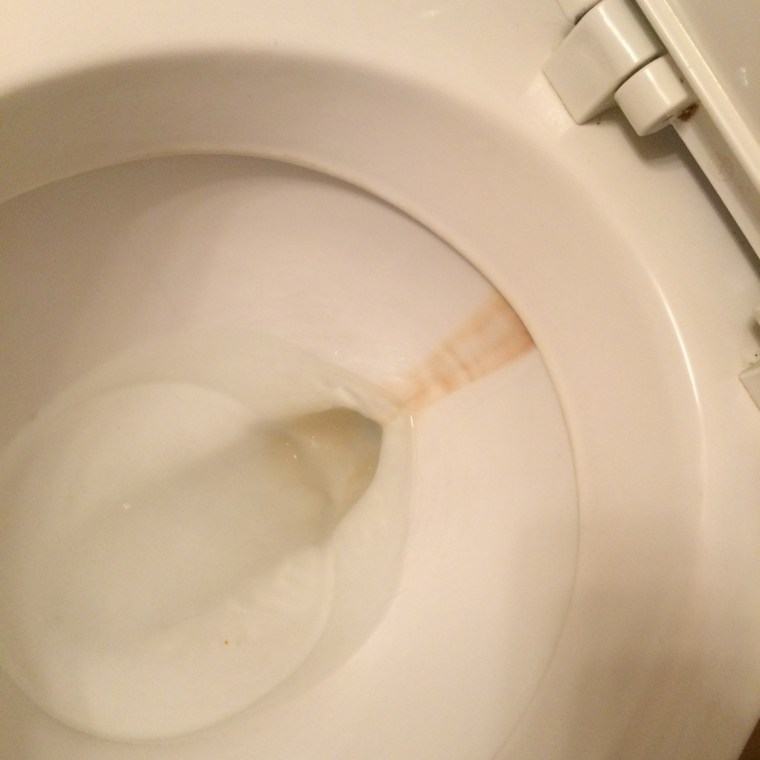
Yesterday I cleaned out the trash can. Not that anyone really notices that I did it but I know I did and it made me feel that I had accomplished something. Regularly cleaning it out keeps it from getting stinky too.

I put it in the shower and sprayed it down with hot water. I did use a little bleach in it and let that sit while I cleaned the bathroom. I then rinsed it out well and let it dry before returning it to the kitchen.

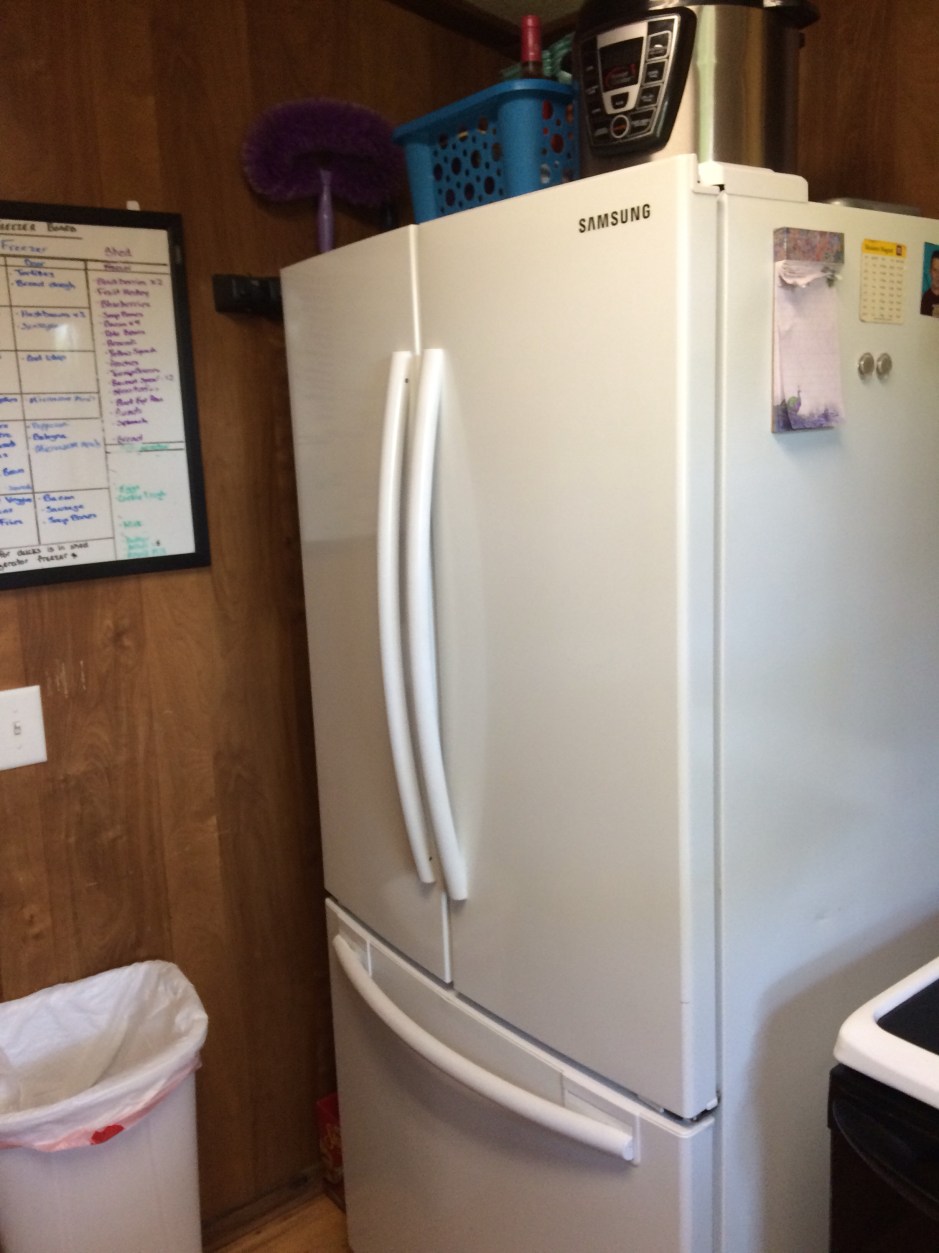
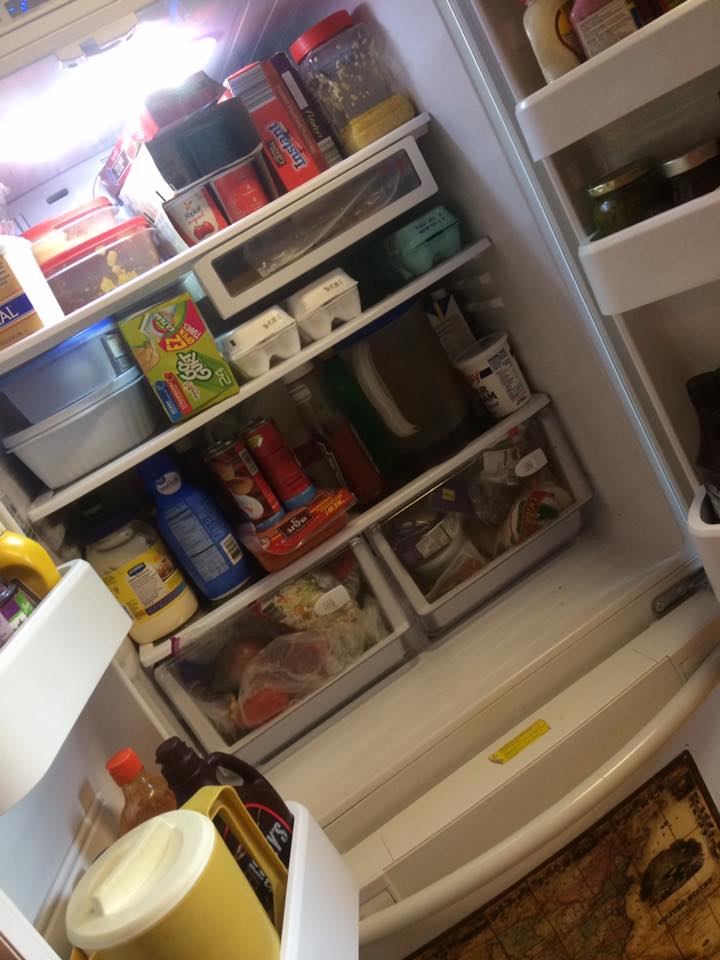
Tomorrow will probably be the inside of the refrigerator. Here’s a peek of the before:

22308568_10214141620238101_7400784190972612477_n

Happy housekeeping!

Here is the link to method I will try the next time I clean my stove top.

Do It Yourself Glass Stove Top Cleaner! Only THREE Ingredients!