
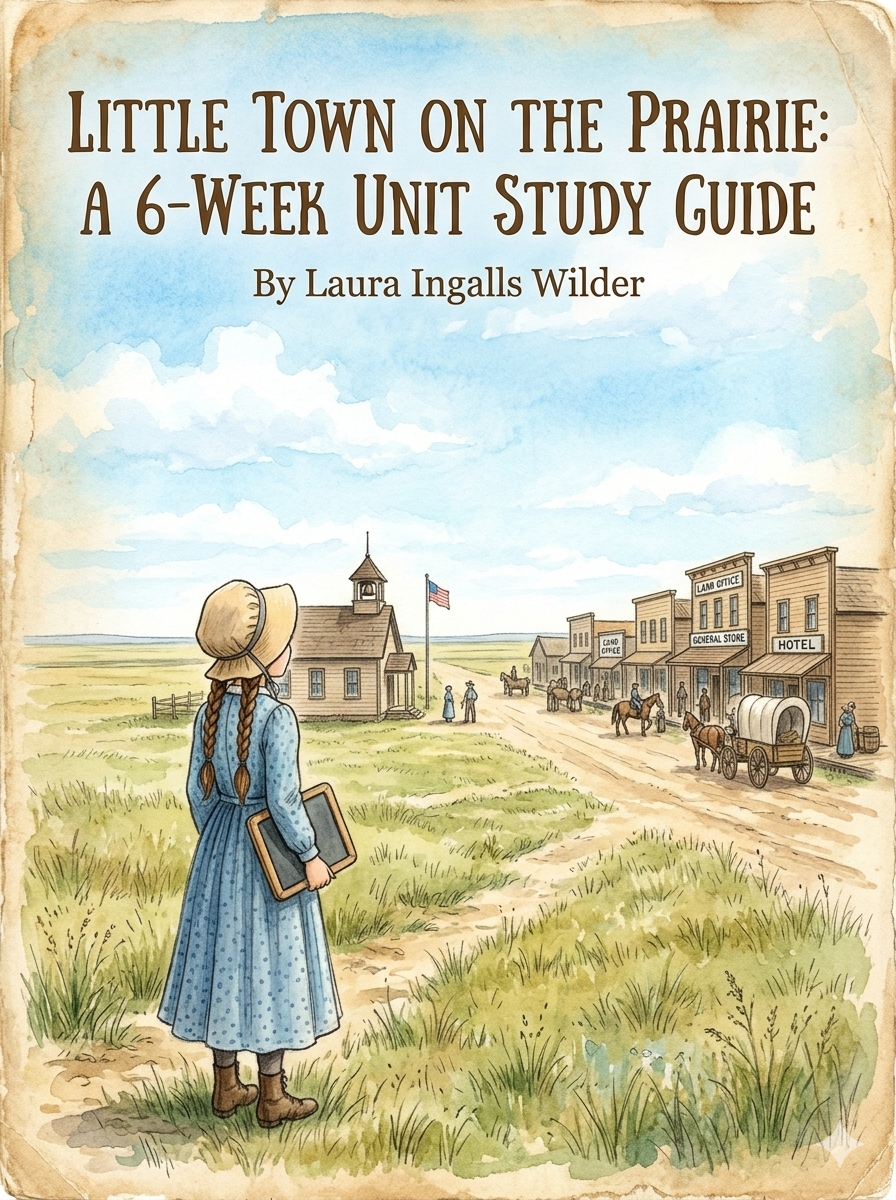
If your family fell in love with the high-stakes survival story of the Dakota blockades, then returning to the prairie as spring blooms is an absolute joy. In our homeschool, moving from the dark winter months into the bright, bustling pages of Little Town on the Prairie by Laura Ingalls Wilder** marked a beautiful transition—not just for the landscape, but for Laura herself. Seeing a fifteen-year-old Laura step up to take her first job sewing shirts in town sparked incredible family discussions about maturity, work ethic, and community duty. If you’re ready to channel that reading excitement into a complete, rigorous academic plan, here is our comprehensive 6-week unit study designed to turn this beloved classic into a hands-on learning adventure for your middle schooler.
**As an Amazon Associate, I earn from qualifying purchases. This post does contain some affiliate and/or referral links to products and/or services that we use. If you happen to click through a link and make a purchase, we may earn a teensy-weensy small commission (at NO EXTRA cost to you) if a purchase is made through these links. These links help to support our family, our blog, and our homeschooling mission. This means that we can keep bringing you great recipes, ideas, and tips for FREE! Click HERE for a full disclaimer. –Thank you!
Mornings:
We start every morning off with our prayers and the Pledge of Allegiance. Below is a video of how we start our mornings.
Don’t have a flag? Grab one HEREand print it out to put up somewhere… you could even let the kids make a flag to proudly display. Amazon also has some little ones like this one HERE and HERE.
Tip: If you want to go to a certain week/chapter or topic simply push the ‘ctrl’ and the ‘F’ button down together and a small bar will pop up. Type in the week number or chapter number you want and it will take you to it.
Little Town on The Prairie Unit Study Teacher Answer Key
Week 2: Town Life & Industrial Growth (Chapters 5–8)
Reading Schedule:
- Day 1: Ch. 5 (Working in Town)
- Day 2: Ch. 6 (The Dark Hour)
- Day 3: Ch. 7 (The Tiny Paper)
- Day 4: Ch. 8 (Fourth of July)
Language Arts
Vocabulary:
- Bastings
- Speculator
- Typography
- Patriotic
- Orator
- assembly
Discussion Question:
- What does Laura’s choice to take an exhausting job sewing shirts in town tell you about her commitment to Mary’s college fund?
Writing Activity: Imagine you are a town reporter writing for the local pioneer newspaper. Write a headline story covering the town’s festive Fourth of July celebration events.
Optional Activities:
Math Word Problem
Problem: Laura earns $0.25 for every custom shirt she sews for the local tailor shop. If she manages to sew a total of 14 shirts in a standard 6-day workweek, what is her total dollar income for that week?
Optional Activities:
- Beginning Fractions & Decimals by Rock ‘N Learn
- Bubble Pop! Math Challenge Games – Gr. 3‑4
- CoolMath4Kids
- PBS Kids Games
Geography & History
Historical Map Guide: The Spatial Geography of De Smet & The Fourth of July, 1881
Topic: The historic significance of the 4th of July celebration on the American frontier. Read about the early printing presses used to run simple community newspapers in developing western territories. See instructions at the end of the lesson plan.
Optional Activities:
Science
Topic: Mechanics of textiles and needles. Study how different weave variations (linens, flannels, wools) hold together structurally under tensile stress forces.
“The Printing Press Lever Lab: Early frontier newspapers were printed using a hand-cranked lever press. Review the three classes of levers in physics. Sketch a diagram showing where the Effort, Fulcrum, and Load sit on a traditional mechanical flatbed press. Using a handheld rolling pin or a lever-arm garlic press in your kitchen, test how changing the distance of your hand (force arm) from the pivot point affects the mechanical advantage and pressure applied to the surface. Record your observations on a force data chart.”
Optional Activities:
- Mystery Science
- All About Life Science Activities
- National Geographic Match the Fact Cards
- National Geographic Kids What Animal Am I Card Game
Life Skills & Labs
The Tailor’s Stitching Lab (Life Skills Integration): Practice hand-stitching a basic straight stitch, hem stitch, and basting stitch using scrap canvas fabric, needles, and colorful heavy thread. See instructions at the end of the lesson plan.
Optional Activities:
- Plain and Not So Plain Home Economics Course (she has other subjects as well)
PE, Health & Safety
Topic: Heat stroke prevention during summer celebrations. Analyze the physical hazards of extreme outdoor temperature exposure during crowded community festivals and identify active hydration parameters.
Art, Music & Crafts
Topic: Frontier patriotic tunes. Listen to historic 1880 variations of “The Star-Spangled Banner” or “My Country, ‘Tis of Thee” and research why brass horns dominated holiday parades.
Historical Map Guide
The Spatial Geography of De Smet & The Fourth of July, 1881
Unit Context: Chapter 7 (The Tiny Paper) & Chapter 8 (Fourth of July)
Part 1: Mapping the Frontier Town Grid
In Chapter 8, the entire county gathers in the bustling town of De Smet to celebrate Independence Day. To visualize this community growth, follow the instructions below to sketch and analyze a 1881 frontier town layout grid.
Student Mapping Activity:
On a blank sheet of grid paper, use a ruler and colored pencils to map out the town layout described by Laura Ingalls Wilder, utilizing these key parameters:
The Main Intersection: Draw two wide, intersecting lines in the center of your page. Label the horizontal road “Calumet Avenue” (Main Street) and the vertical intersecting line “The Railroad Right-of-Way”.
The Iron Horse: Draw a series of dashed tracks along the railroad line. Label the small building directly next to the tracks as the “Chicago & North Western Train Depot”.
Commercial Center: Along Calumet Avenue, draw a block of narrow, shared-wall rectangles to represent the storefronts. Label Pa’s town building, the General Store, and the Tailor Shop where Laura sews shirts.
The Civic Center: On the corner of the grid, mark a larger square with a flagpole out front. Label this the “Town Schoolhouse”.
Part 2: Mapping the Fourth of July Festival Route
Read Chapter 8 carefully, tracking the movements of the crowd. Fill in the geographic milestones below to trace the festival layout.
[ Train Depot ] —> ( 1. Calumet Avenue Parade ) —> [ 2. The Public Square ] —> ( 3. The Open Prairie Race Track )
Milestone 1: Calumet Avenue Promenade
Geographical Context: The townspeople line up along Main Street to watch the horse-drawn wagons pass by.
Map Analysis Question: Why did early railroad towns build all their commercial shops facing a single main street (Calumet Ave) directly perpendicular to the train tracks? How does this layout help a newly arrived traveler?
________________________________________________________________________
Milestone 2: The Public Square & Pavilion
Geographical Context: The crowd moves to an open pavilion area where a massive American flag flies, patriotic speeches are read by an orator, and the entire community sings songs together.
Map Analysis Question: In 1881, De Smet was located in the Dakota Territory, which was not yet an official US state. Why was celebrating the 4th of July so deeply important to pioneers living in an unorganized territory thousands of miles away from Washington, D.C.?
________________________________________________________________________
Milestone 3: The Open Prairie Race Track
Geographical Context: The celebration moves outside the town limits to the wide, flat, open prairie for the footprint races and the horse races, where single-rig buggies compete on a long, straight dirt track.
Map Analysis Question: How did the flat, tree-less, glacial topography of the Great Plains geography make it easy for pioneers to instantly set up long race tracks and fields without heavy clearing work?
________________________________________________________________________
Week 2: The Tailor’s Stitching Lab
Student Activity Pages & Guided Practicum
Unit Context: Chapter 5 (Working in Town) & Chapter 6 (The Dark Hour)
Student Name: ____________________
Date Started: ____________ Date Completed: ____________
Part 1: Background & Reading Connection
In Chapter 5, Laura takes on a difficult, repetitive job in town helping a local tailor sew custom shirts. Sitting on a hard bench for hours, she carefully pulls out basting threads and sews straight, flat seams by hand. Every single stitch has to be small, strong, and perfectly spaced to earn her pay.
Pioneer families couldn’t just walk into a department store to buy cheap, ready-made clothes. Fabric was a precious resource, and clothing construction was a vital survival skill. If a seam failed during a winter blizzard, it wasn’t just an inconvenience—it was a safety hazard.
Today, you will step into Laura’s shoes. You will practice handling a needle, regulating your tension, and mastering the three foundational stitches of 19th-century garment making.
Part 2: Lab Setup & Materials
Gather your tools before beginning. Check off each box as you place the item on your workspace:
- Scrap Fabric: Two pieces of plain, light-colored woven fabric (cotton canvas, muslin, or an old flannel sheet cut into 6 inch × 6 inch squares).
- Hand Sewing Needle: A standard sharp embroidery or sewing needle.
- Thread: A bright, high-contrast color of heavy sewing thread or embroidery floss (using a bright color makes it easy for you and your teacher to examine your stitch spacing).
- Scissors: Sharp fabric shears.
- Ruler & Pencil: For marking guide parameters.
Part 3: Preparation & Fabric Mapping
Before you make your first stitch, tailors must prepare their material. Complete these layout steps:
Lay your two fabric squares flat on top of each other, aligning the edges perfectly.
Using your ruler and a pencil, lightly draw three parallel horizontal guidelines across the top piece of fabric. Space the lines exactly 1.5 inches apart.
Label the top line “Line 1: Basting Stitch”.
Label the middle line “Line 2: Straight Running Stitch”.
Label the bottom line “Line 3: Hem Stitch”.
Part 4: The Stitching Practicum
Activity 1: The Basting Stitch (Line 1)
Pioneer Purpose: A temporary, loose stitch used to pin layers of a shirt or dress together securely before the permanent sewing begins. It is designed to be easily snipped and pulled out later.
Task: Thread your needle and tie a knot at the end. Starting at the left edge of Line 1, push your needle up through both layers of fabric. Sew a series of long, spaced stitches across the line.
Target Constraint: Each stitch must be exactly 1/2 inch long, with a 1/2 inch gap between stitches.
Activity 2: The Straight Running Stitch (Line 2)
Pioneer Purpose: The primary structural seam stitch used to hold shirts, trousers, and shifts together. These must be incredibly tight and close together so the seams do not pull open under physical stress.
Task: Start at the left edge of Line 2. Push your needle up and down through the fabric in a continuous, tight rhythm. Keep your thread tension even—do not pull so hard that the fabric puckers!
Target Constraint: Every single stitch must be tiny (approximately 1/8 inch long), perfectly straight on the pencil line, and touching the next stitch with minimal gaps.
Activity 3: The Blind Hem Stitch (Line 3)
Pioneer Purpose: Used to turn up the bottom edge of sleeves, skirts, and shirt tails so the raw, cut edges of the fabric do not fray or unravel over months of heavy washings.
Task: Fold the bottom edge of your fabric up by 1/2 inch along Line 3 to form a crisp hem crease. Starting from the inside fold, catch just a tiny thread of the main fabric layer, then push the needle through the folded edge. Repeat this slanted, catching pattern across the line.
Target Constraint: The stitches on the front side of the fabric should look like tiny, nearly invisible dots spaced uniformly apart.
Part 5: Student Lab Analysis
Answer the following analytical questions completely based on your experience during this lab.
Physical Labor & Empathy: How did your fingers, wrists, and neck feel after completing just three lines of hand-stitching? Based on this physical sensation, describe what it would be like for 15-year-old Laura to sit in a dim tailor shop sewing these lines for 10 hours every single day to save money for Mary’s college fund.
Mechanical Stress & Seam Quality: Look closely at your Line 2 (Straight Running Stitch). Gently pull the two pieces of fabric apart from the sides. Does your seam hold tightly together, or can you see gaps of thread stretching out? Explain why a loose seam would be a major structural failure for a pioneer working outdoors on a farm.
Industrial History Comparison: Today, electric sewing machines and automated factory looms can assembly thousands of shirts per hour. How does our modern ease of purchasing cheap clothing change how we treat and value our clothes compared to a pioneer family who hand-crafted every item?
Part 6: Teacher Inspection & Evaluation Card
Instructors: Securely staple the student’s completed stitching fabric sample to the back of this page and use this rubric card for grading.
Evaluation Metric
🌟 Mastery (5 Pts)
👍 Developing (3 Pts)
⚠️ Needs Revision (1 Pt)
Basting Accuracy
(Line 1)
Stitches are long, uniform (1/2 inch), and trace the line precisely.
Stitches are present but lengths are highly uneven or crooked.
Stitches are short, messy, or fail to bind the two fabric layers.
Seam Structural Integrity
(Line 2)
Stitches are tiny, tight, consistently close together, with no puckering.
Gaps are visible when seam is pulled; tension fluctuates.
Seam is completely loose or fabric is heavily bunched and twisted.
Hem Precision (Line 3)
Fabric fold is clean and straight; front-side needle points are small and uniform.
Hem fold is uneven; front-side stitches are large and visible.
Hem failed to catch the baseline fabric or unraveled completely.
Lab Analysis Quality
Answers show deep textual reflection and clear historical critical thinking.
Answers are brief or lack connections to the specific novel events.
Answers are incomplete, copying definitions without synthesis.
Total Score: _______ / 20 Points


One thought on “Little Town on The Prairie Unit Study Week 2”